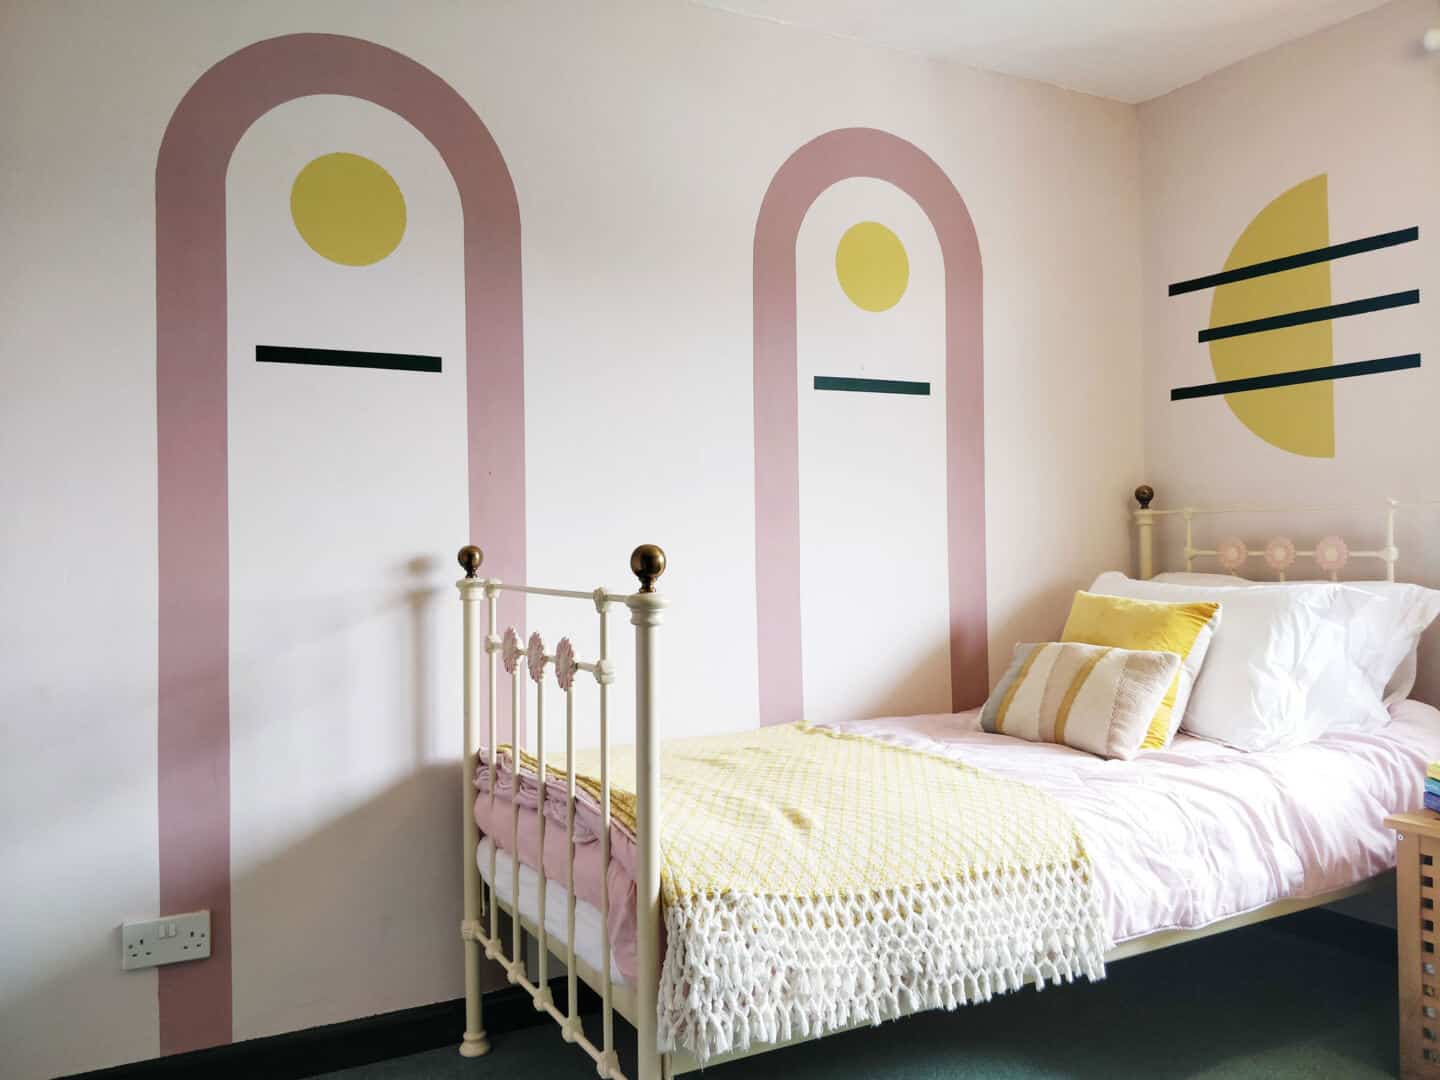
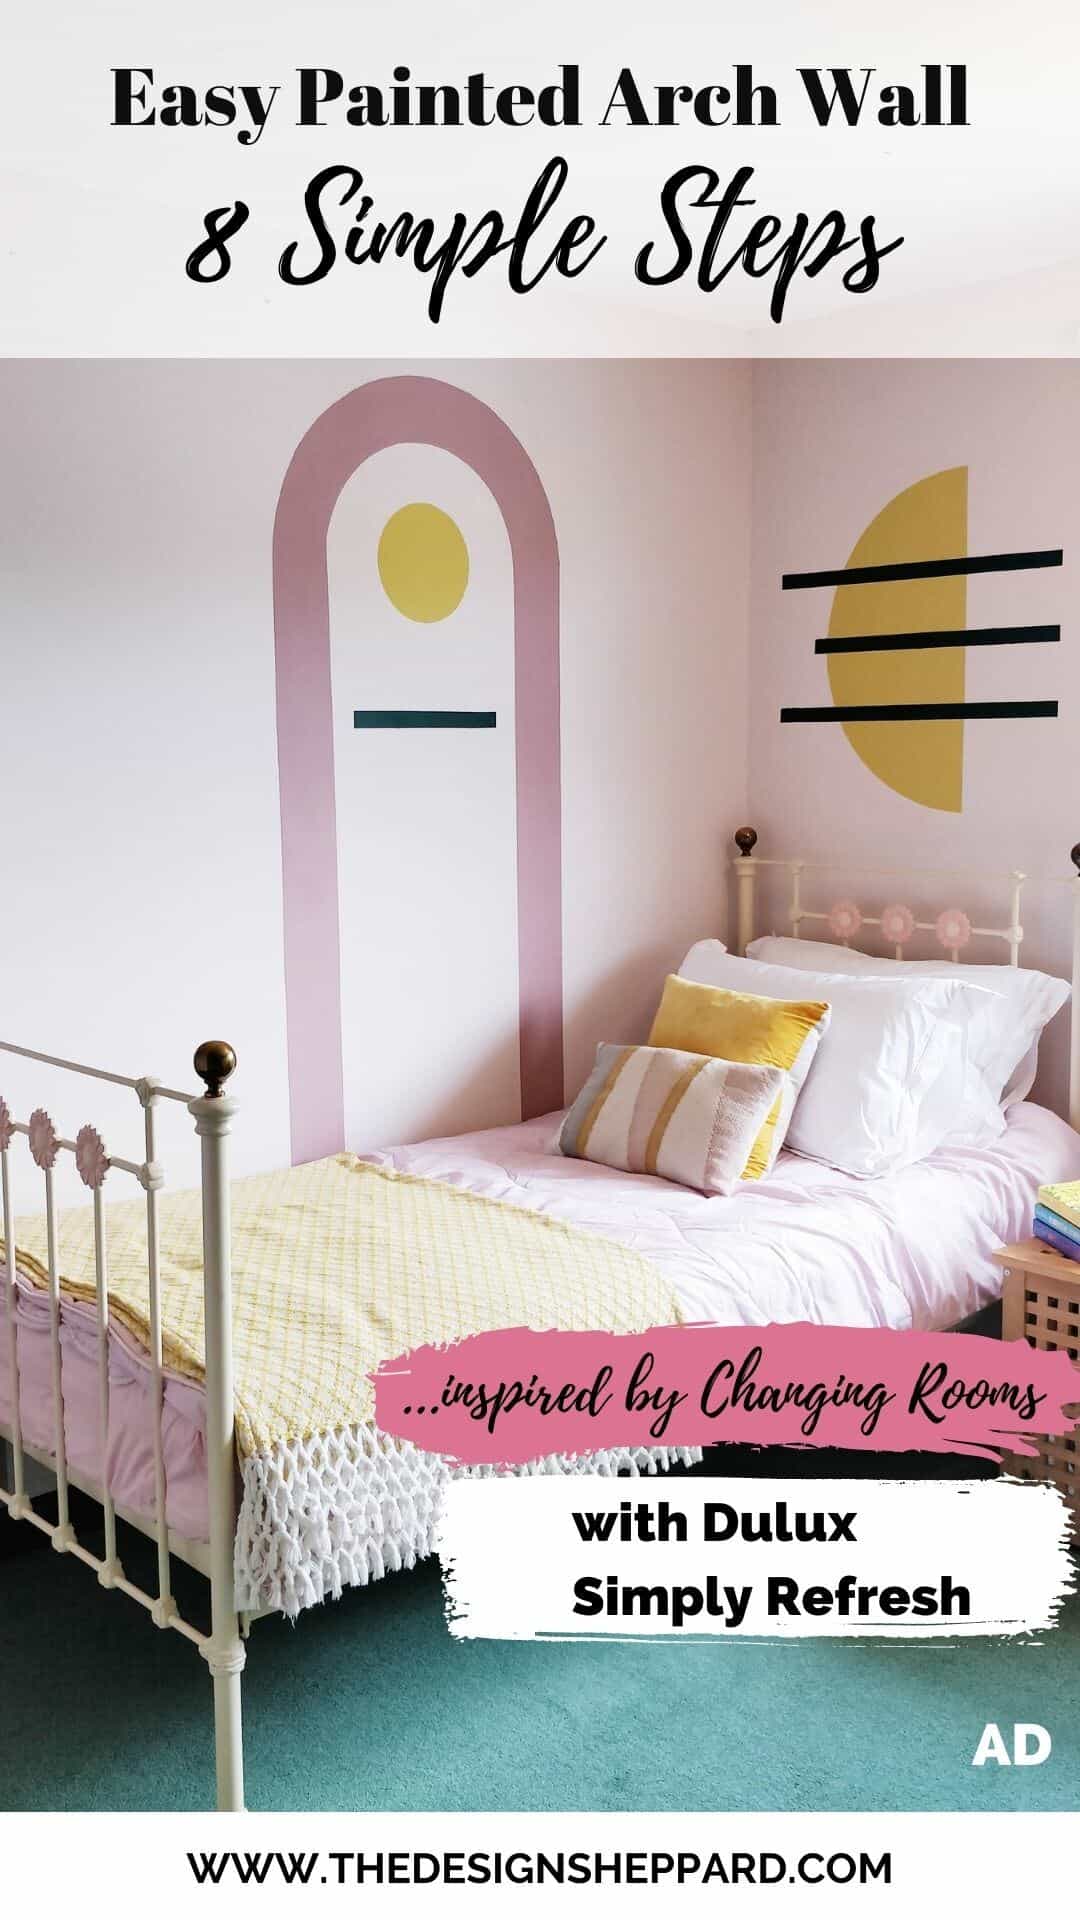
Find out how I created a DIY painted arch accent wall in my girls’ bedroom
How many of you have been watching the new series of Changing Rooms on Channel 4? When I heard that this was coming back after almost 20 years, I wasn’t really sure what to expect. Back in the day, I was a big fan of changing rooms as my interest in interiors had been sparked, but it wasn’t yet my career.
I loved seeing the transformations that were possible and how a room could end up looking unrecognisable with some simple but often imaginative and somewhat unconventional changes. Seeing friends and neighbours let loose on each other’s homes under the guidance of designers left the audience on the edge of their seats waiting to find out if the homeowners would love it or loathe it.
In the new series, Laurence Llewelyn-Bowen is once again back at it, this time up against Jordan and Russell of 2LG Studio. The transformations we’ve seen so far have been surprising, unexpected and unpredictable, but that’s what makes Changing Rooms what it is. And not much has changed since it last aired.
So when I was approached by Dulux, who are sponsoring the show, asking if I would be interested in undertaking my own Changing Rooms transformation, I was definitely game. And after the initial panic over what I would do, I actually felt really quite excited about this project and realised that I had been preparing for it for months already by saving inspiring images of painted feature walls over on my Pinterest Account.
Paint is such a flexible and versatile way to transform a room and it’s also an affordable way to create a completely new look with minimal effort. You don’t have to go quite as bold and brave as they do on Changing Rooms, if that’s not your cup of tea. Instead, you can use paint in a more subtle way by choosing colours that work for you and adding in smaller pops of brighter and bolder accent colours.
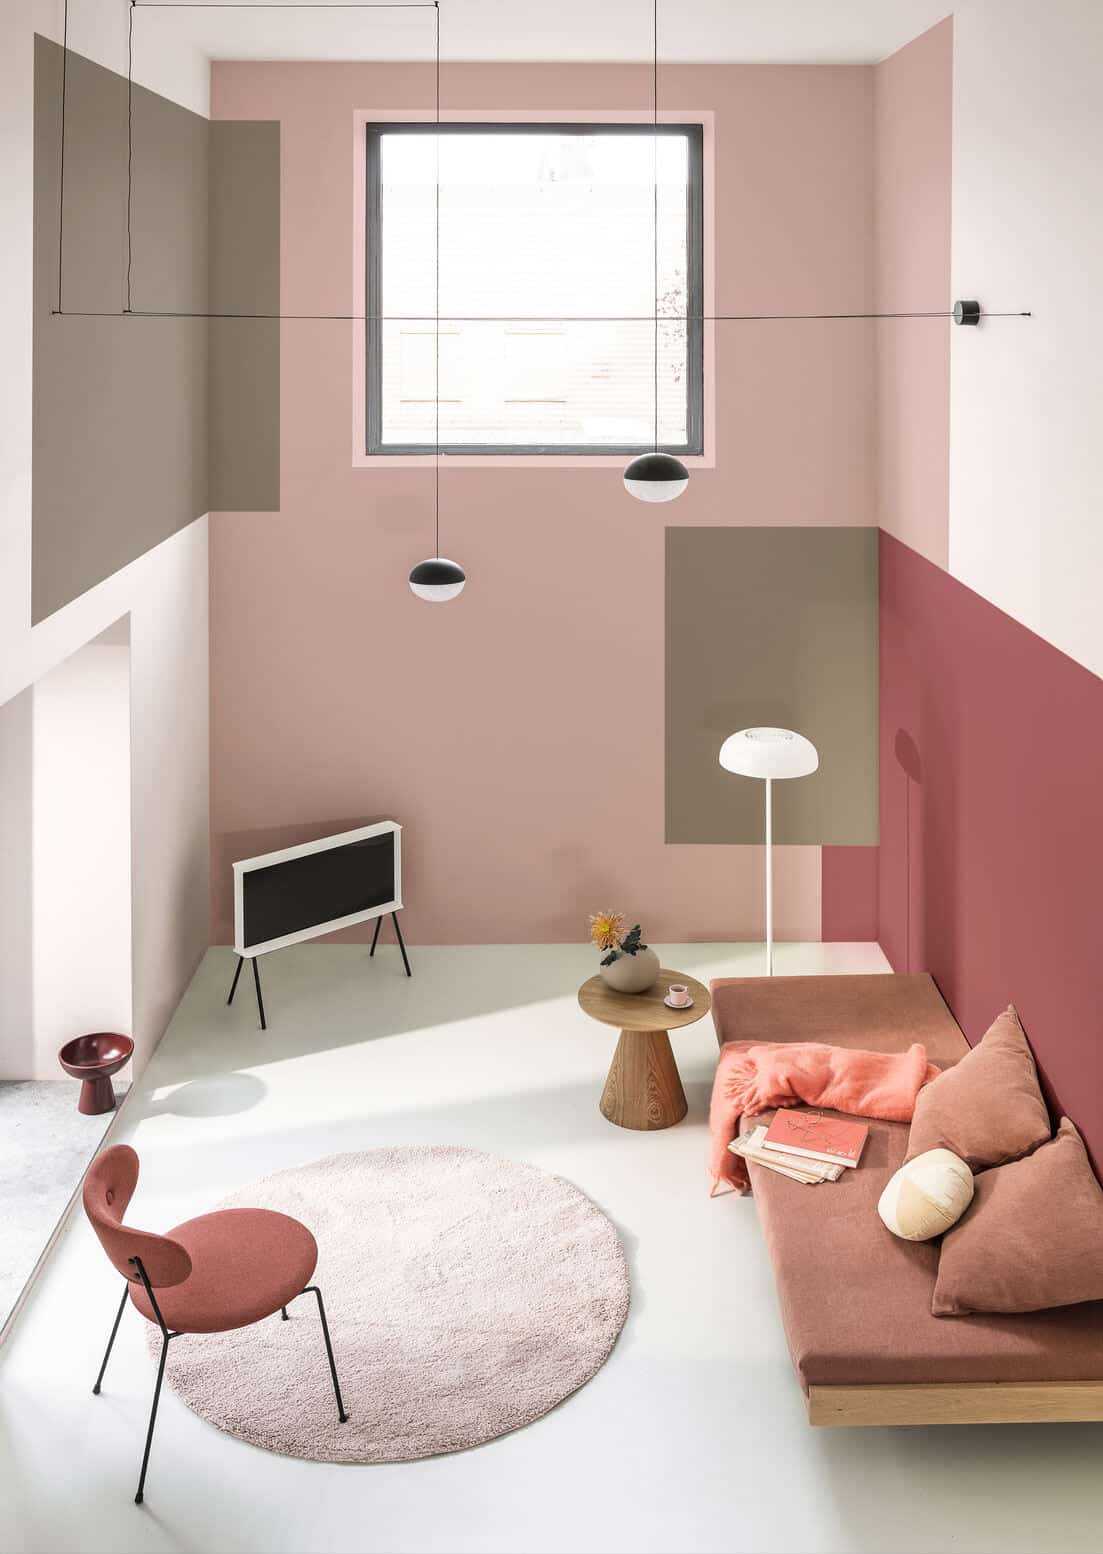
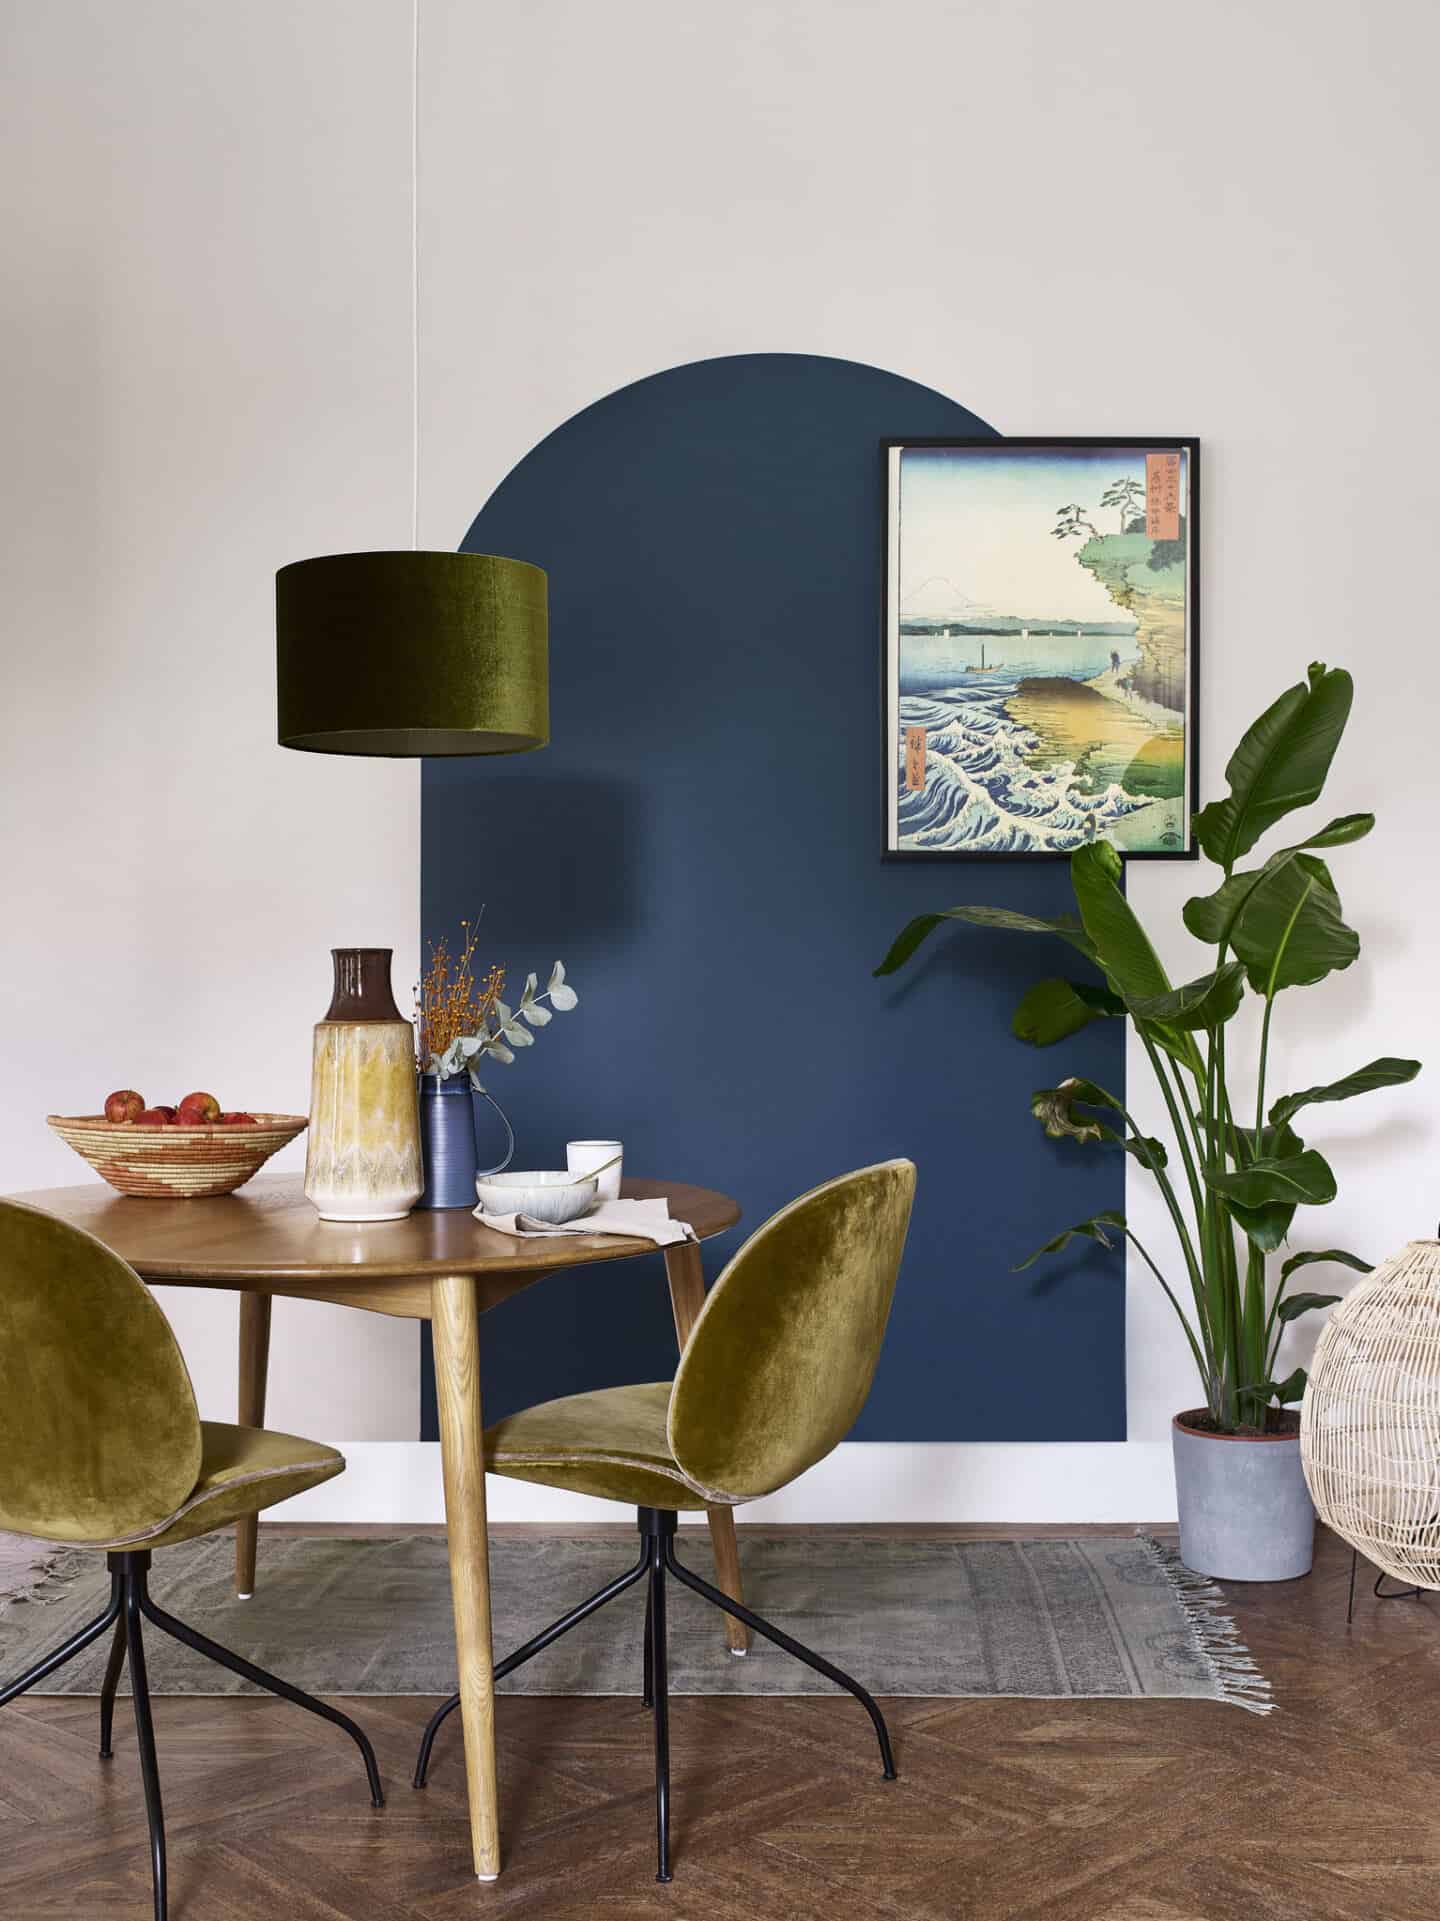
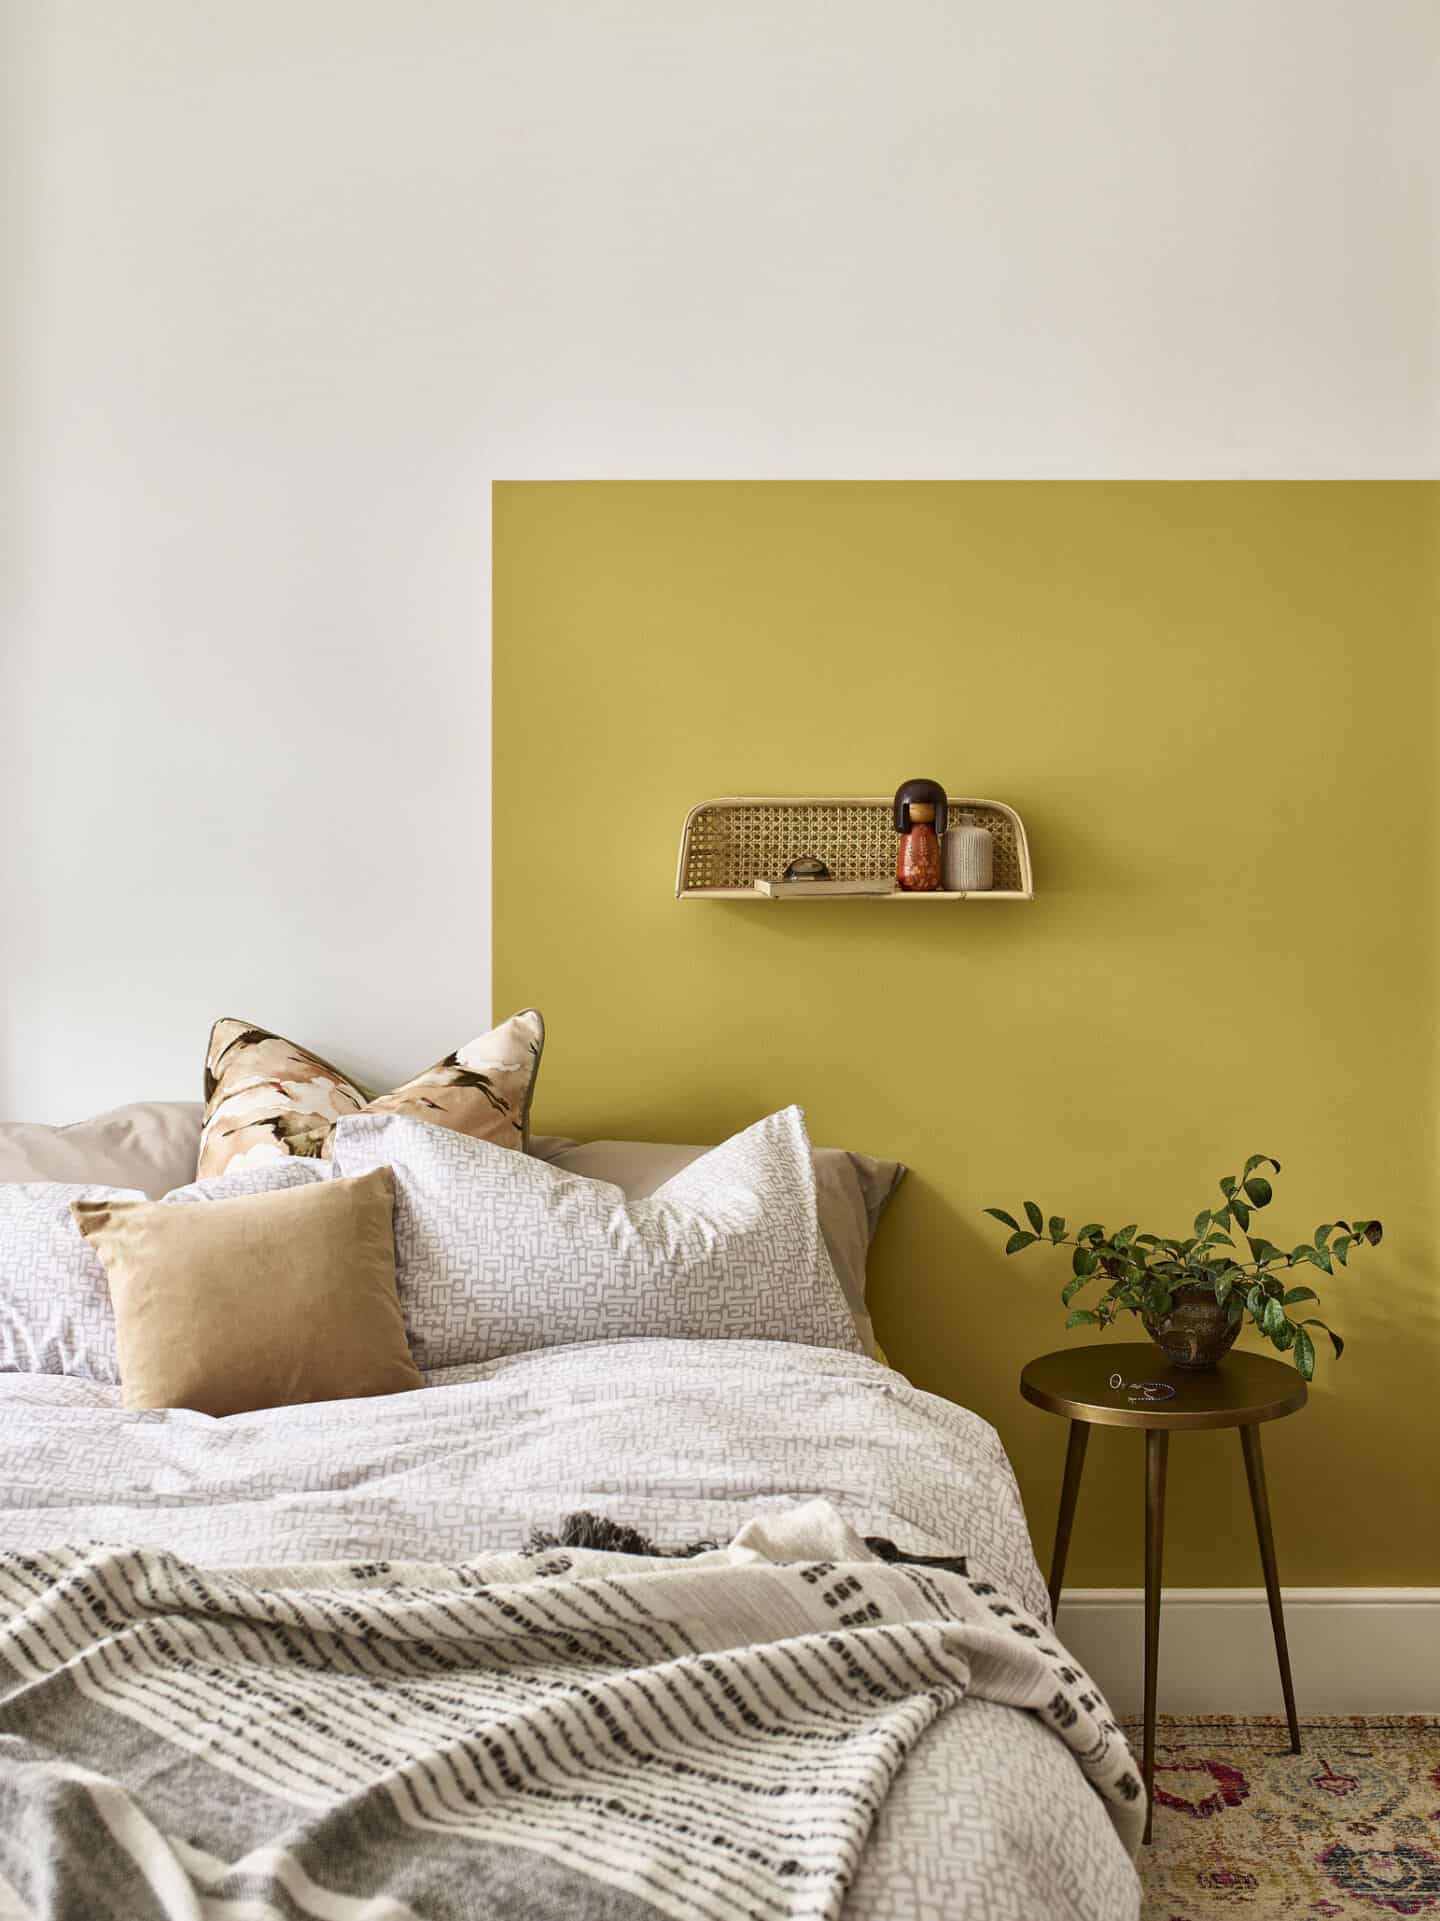
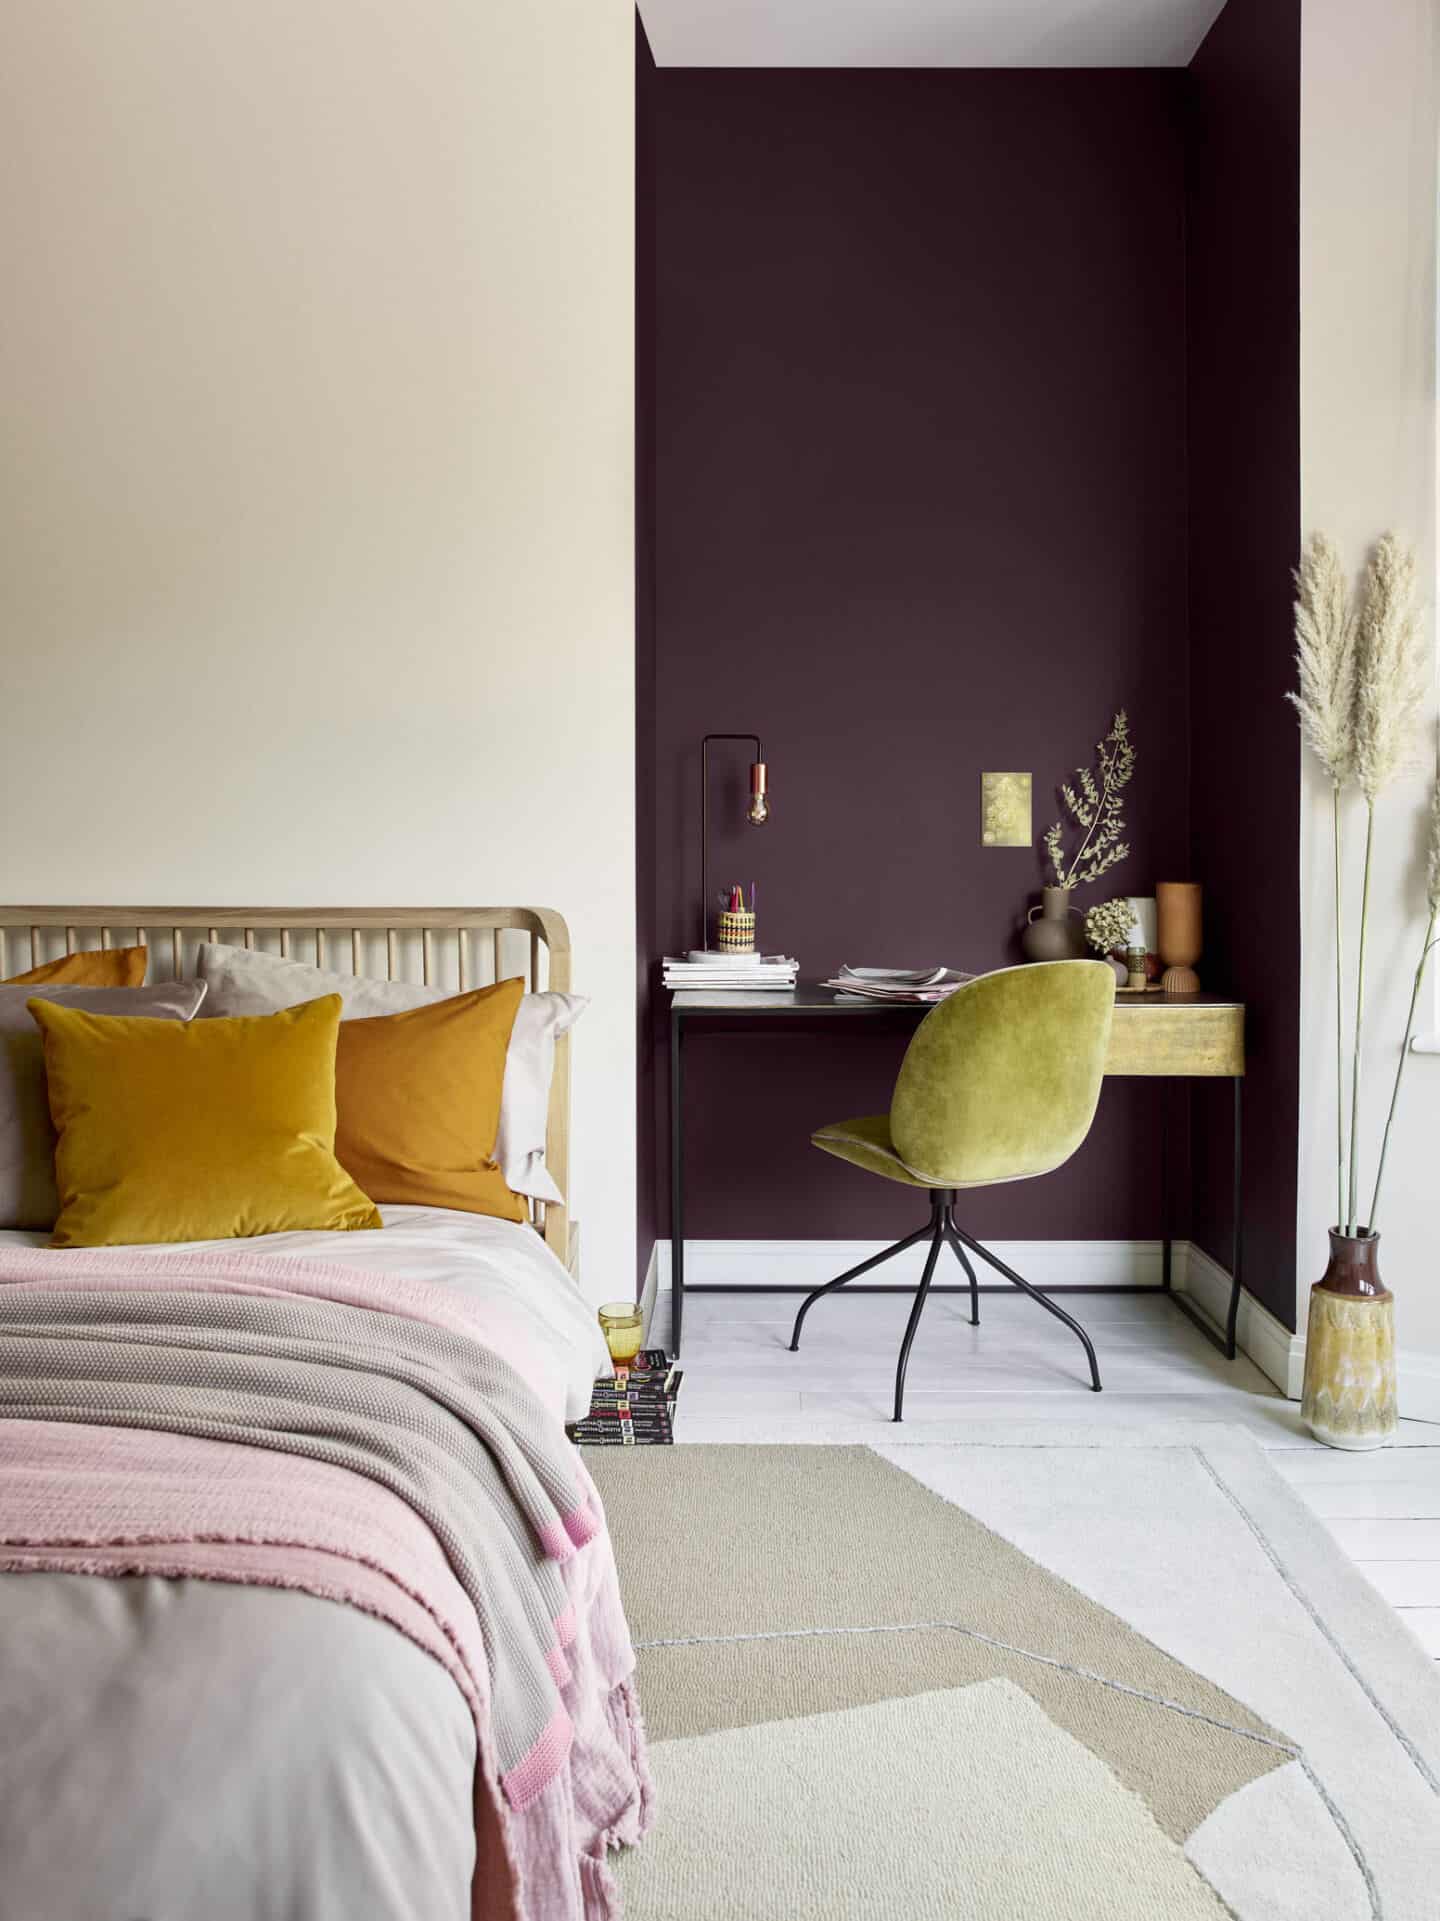
Here are some images from Dulux that show how you can use paint in a slightly more subtle way to create a real statement in your home just in case you’re not up for the full Changing Rooms experience.
After a bit of back and forth and negotiating with my two little girls, we came up with a plan to redecorate their bedroom, which was badly in need of a makeover. One of their walls is an external wall and we’ve had a problem with the paint on that wall for a while now.
A few months ago we found out that our building doesn’t have cavity wall insulation. Now we have had that done and it seems to have fixed the problem. Finally, we can transform their bedroom and make it into a lovely space fit for two growing girls.
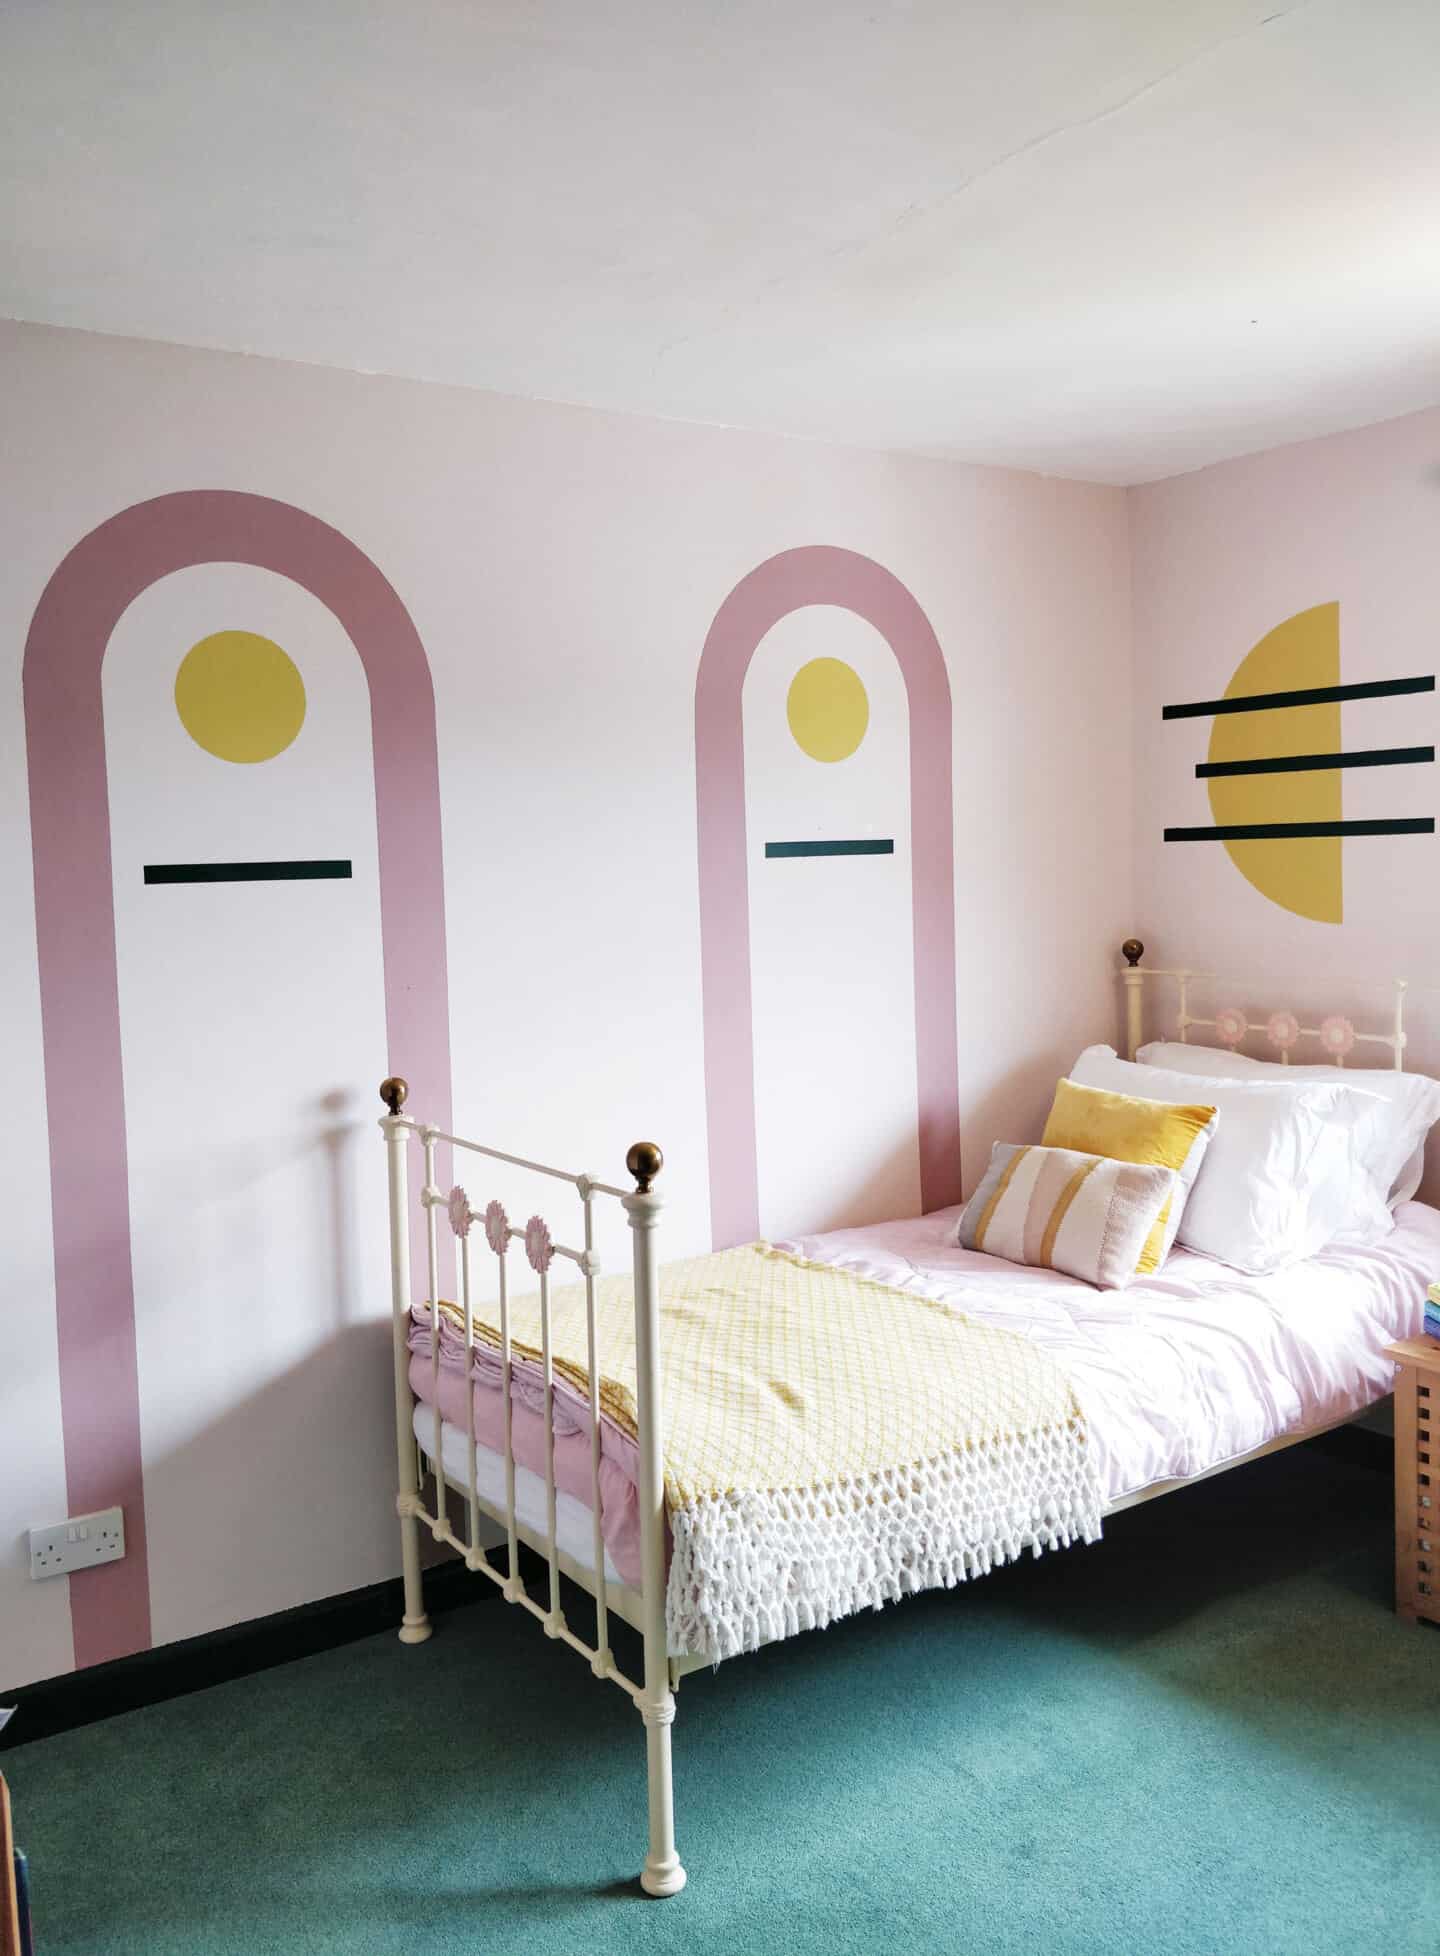
So I’d like to take you step-by-step through the transformation of the girls’ bedroom and show you exactly how we created our DIY painted arch accent wall.
Step 1 – Choose your Dulux Colours
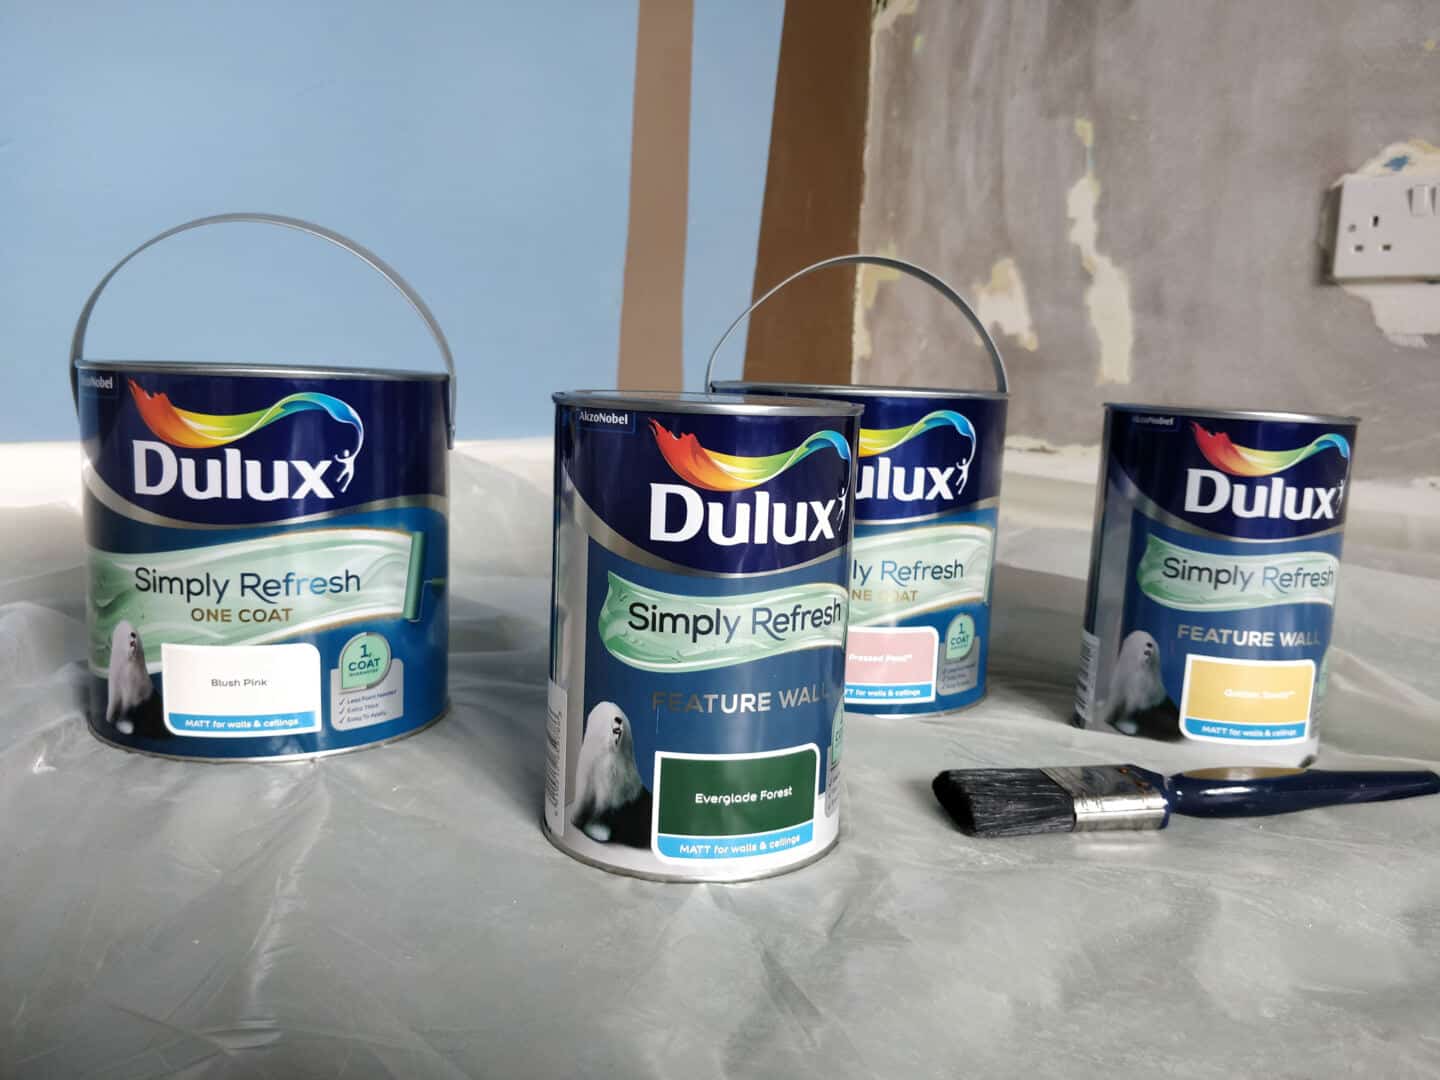
The first step in creating your DIY painted arch accent wall is to choose your paint colours. My current colour obsession is green, pink and yellow. This combo just makes me so happy. We have it in the living room and we all love these colours together. So it made sense to use a variation of this in the girls’ bedroom. One of my daughters loves pink, the other not so much. So I wanted to find a compromise that they could both live with and enjoy.
We went for Blush Pink to use as a base coat. I wanted something to brighten up the room and give it a fresh feel. We then chose to use Pressed Petal, which is a slightly deeper and warmer pink as one of the accent colours. Along with this, we opted for Golden Sands, a rich, warm shade of yellow and Everglade Forest, a delicious dark green.
Step 2 – Prepare the Walls
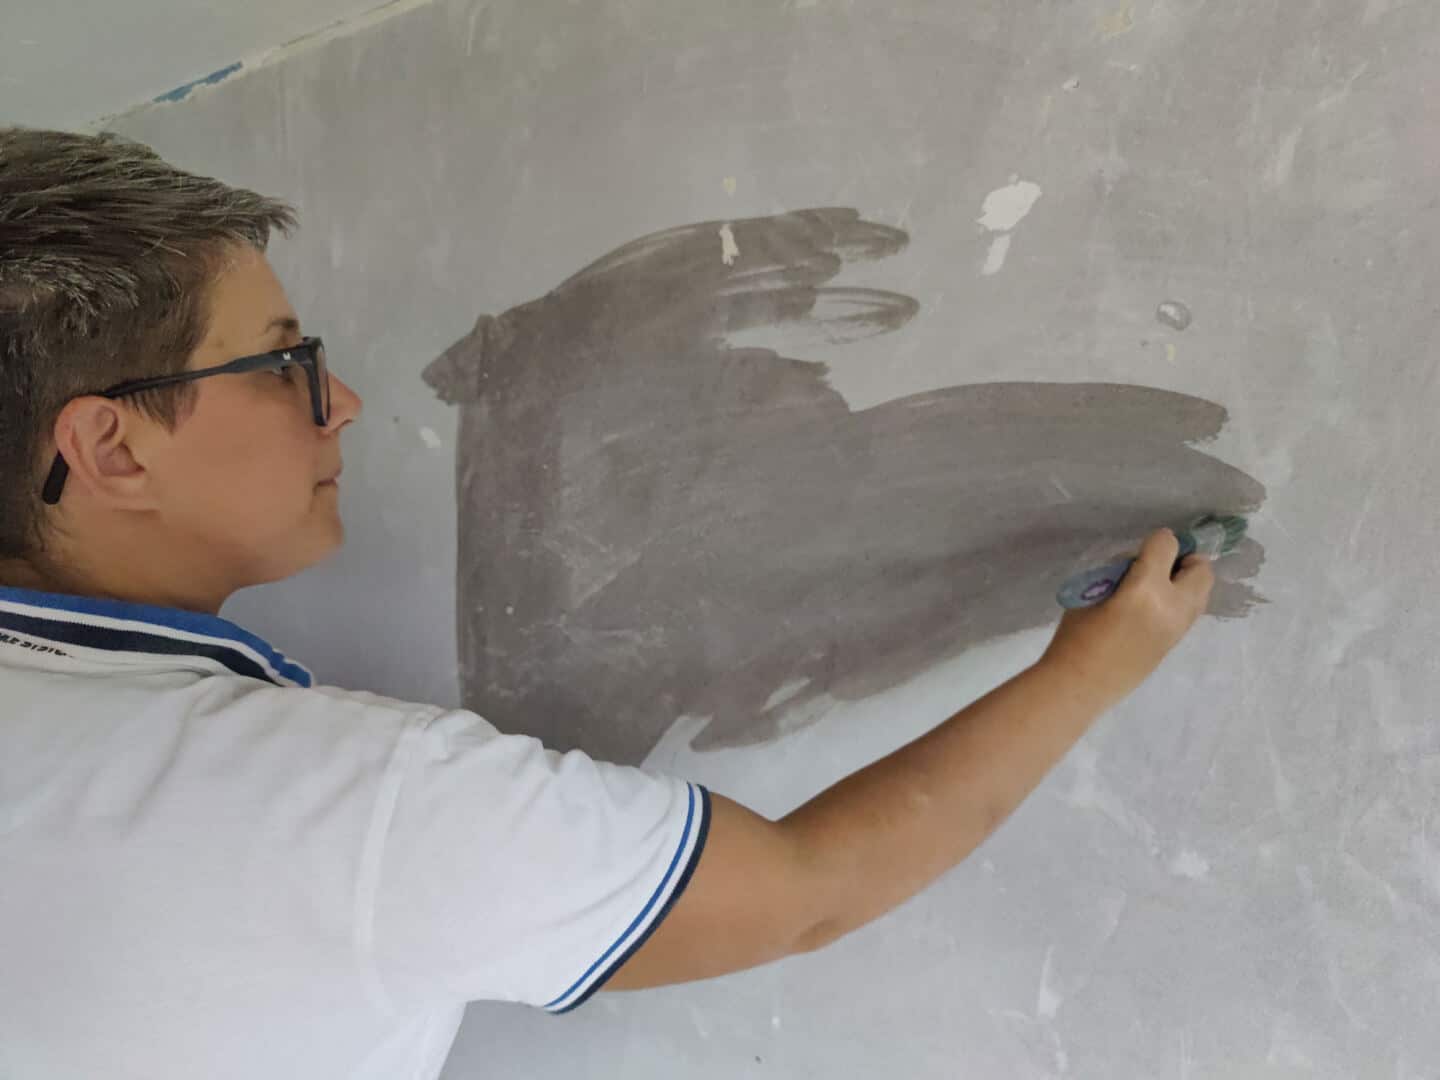
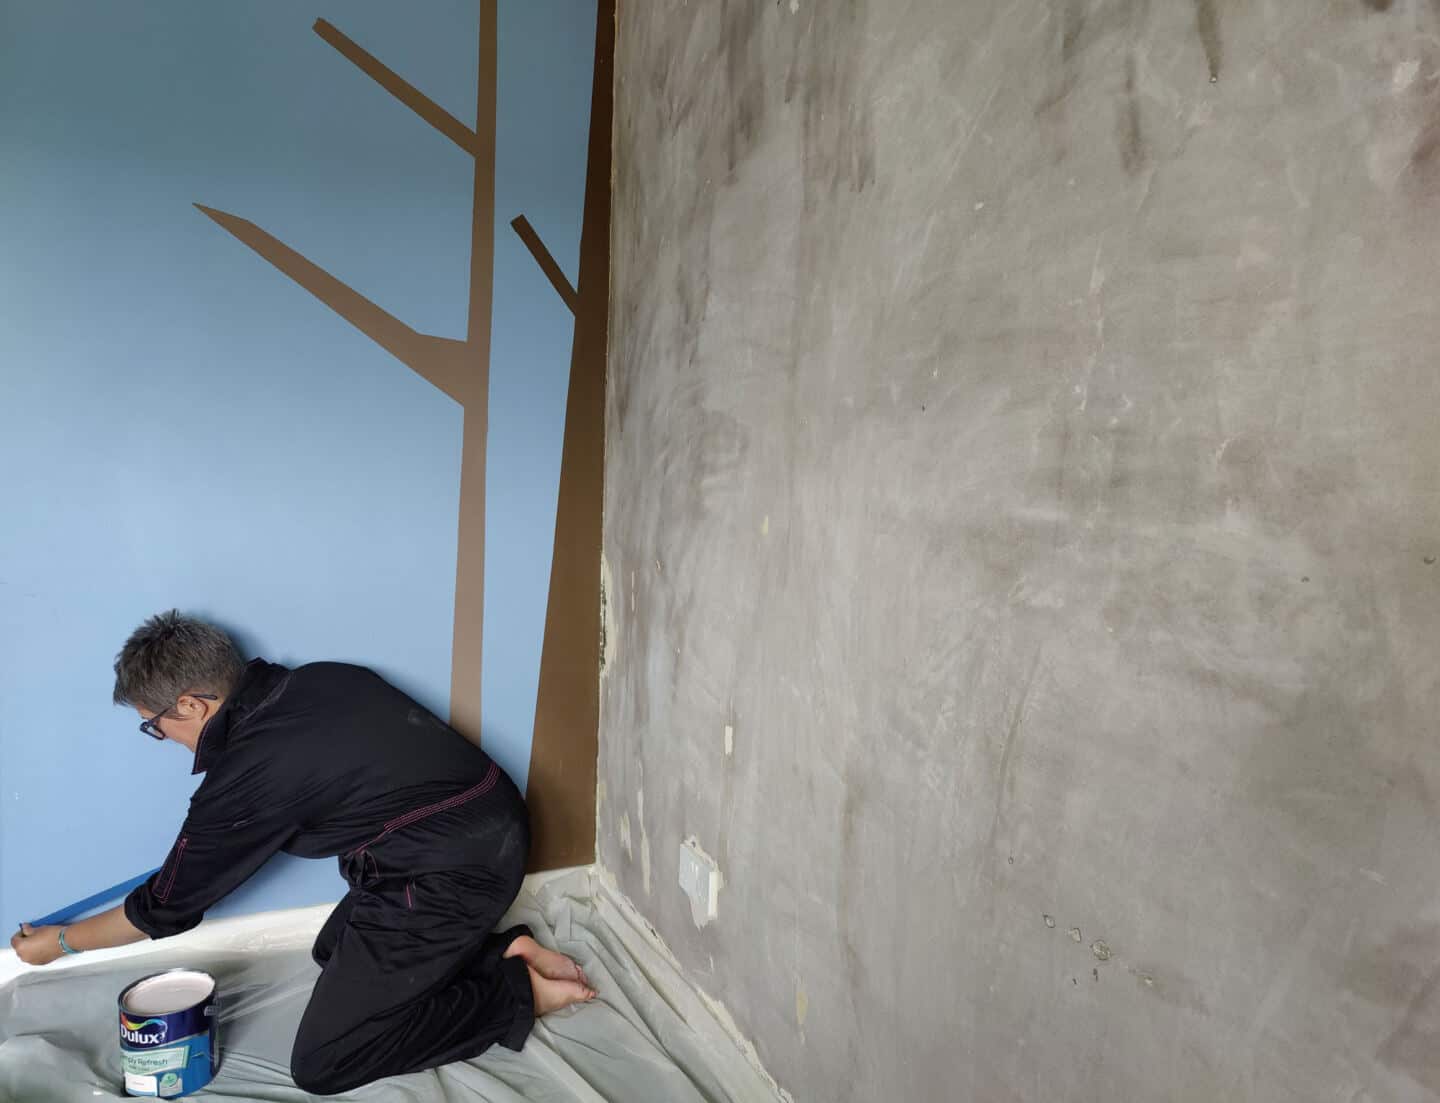
As the paint was flaking off the wall, we had to do a bit of preparation before we could repaint. As we started to scrape and sand the flaking paint off, the whole lot came off, right back to the bare plaster. So we had to seal the wall using some watered down adhesive first. This was painted over the whole wall and then left to dry.
Next, we taped off the skirting boards and we were ready to start creating our DIY painted arch accent wall.
Step 3 – Apply the Base Coat
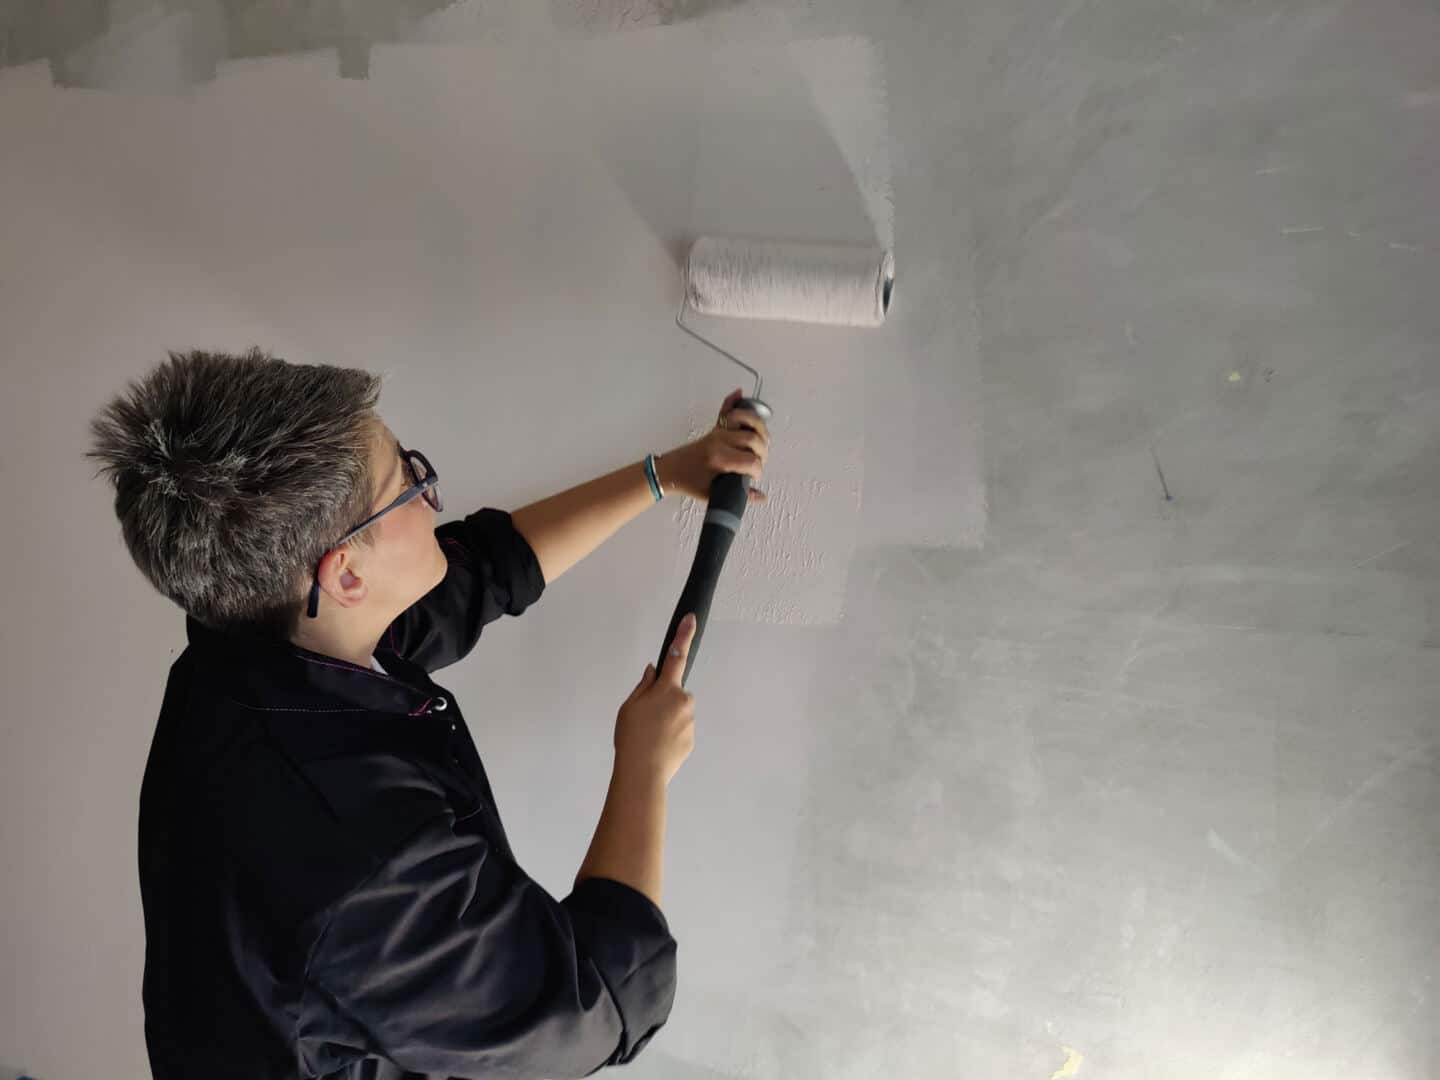
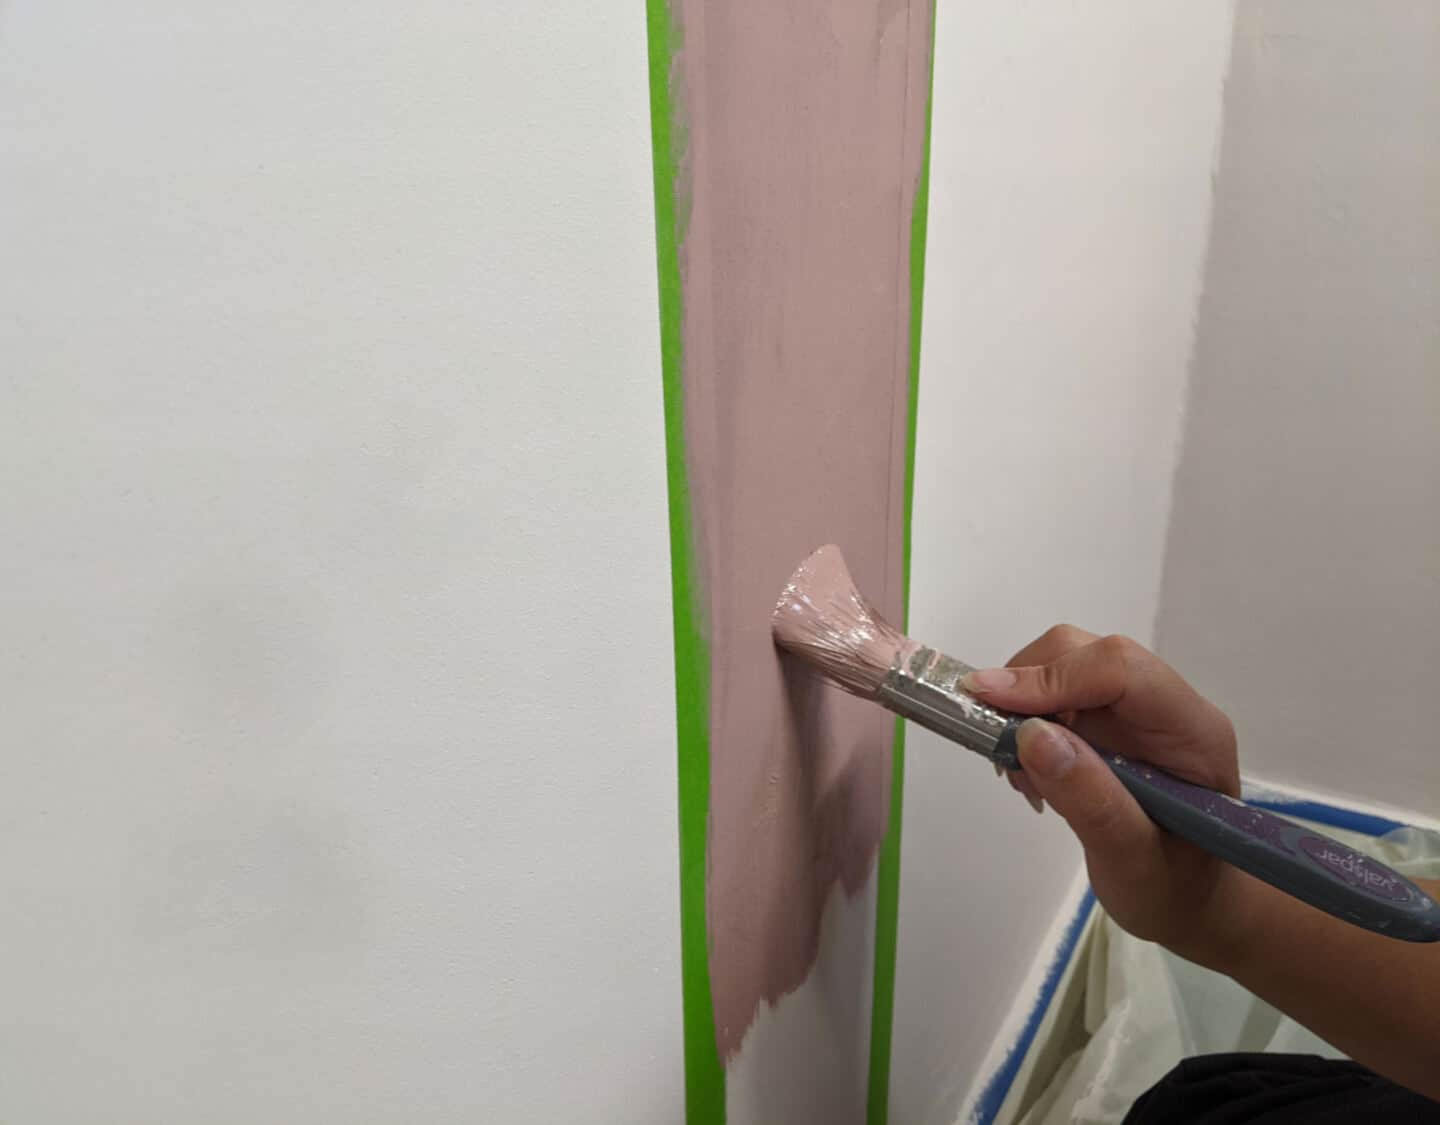
The paint that I used for this project is the Dulux: Simply Refresh range. This range allows you to freshen up your walls in one coat and features 30 core colour options and 15 additional colours in the feature wall collection. Just one 2.5L tin will cover four walls of an average-sized room. Now the Blush Pink that I used as the base coat went on beautifully. It’s a really thick and creamy paint and the coverage is brilliant.
However, I did need to do a second coat in this colour, purely due to the fact that I was painting onto a bare wall. I think the wall absorbed some of the first coat so it needed a quick second coat. But as the paint goes on so easily, this took no time at all.
Step 4 – Measure Out Your Design
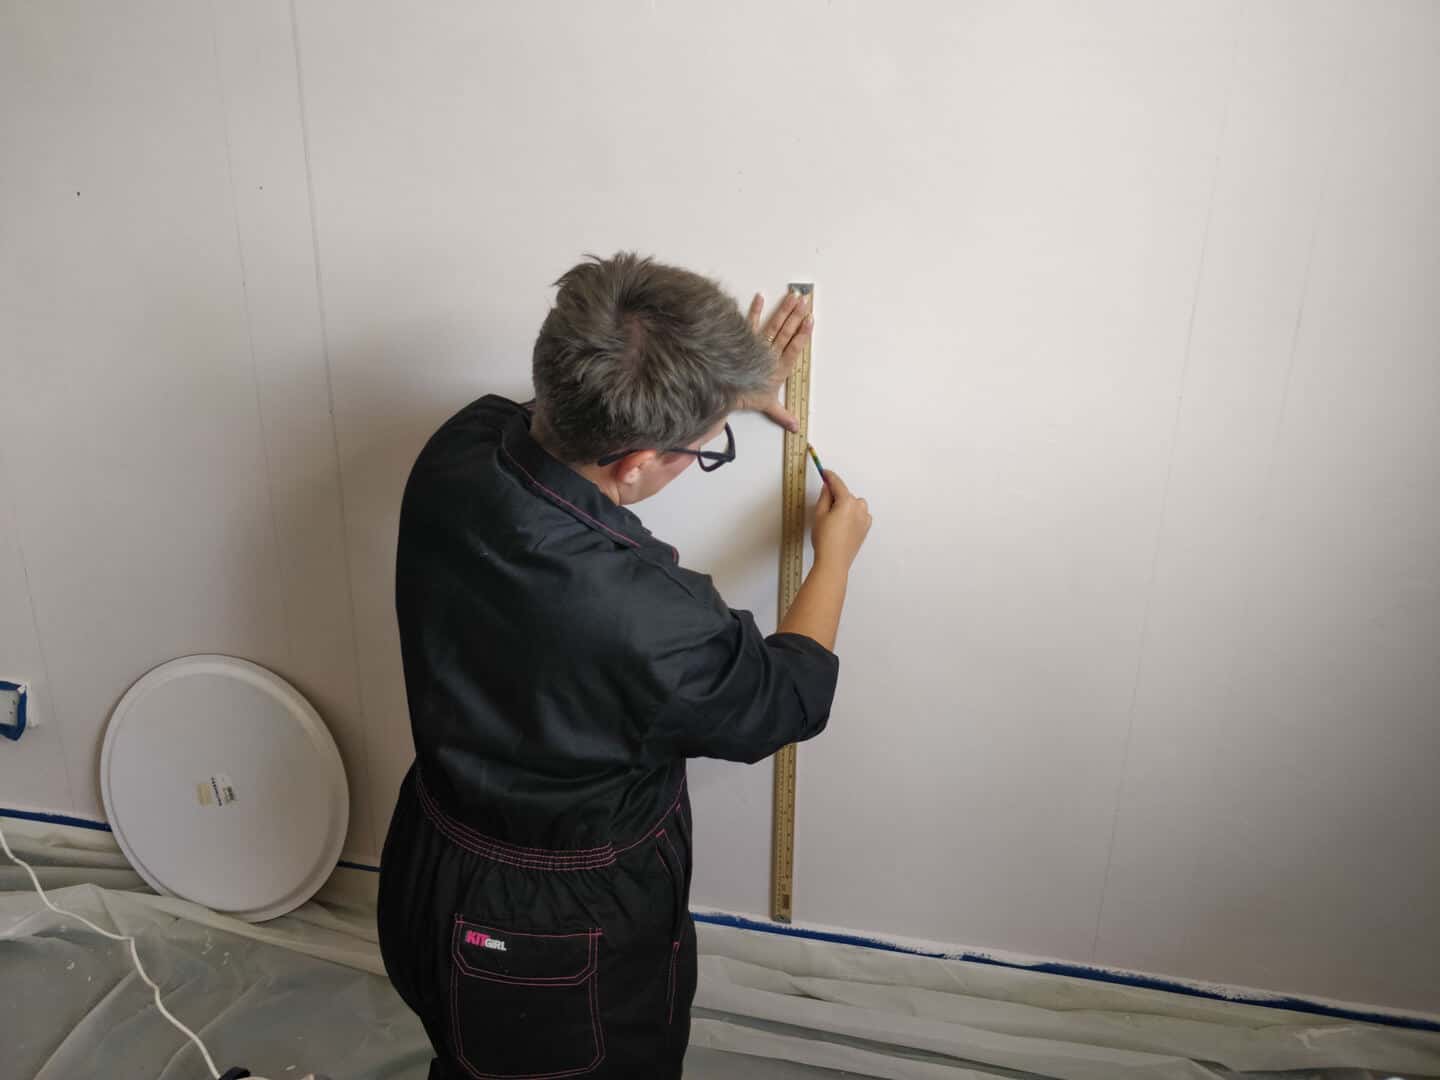
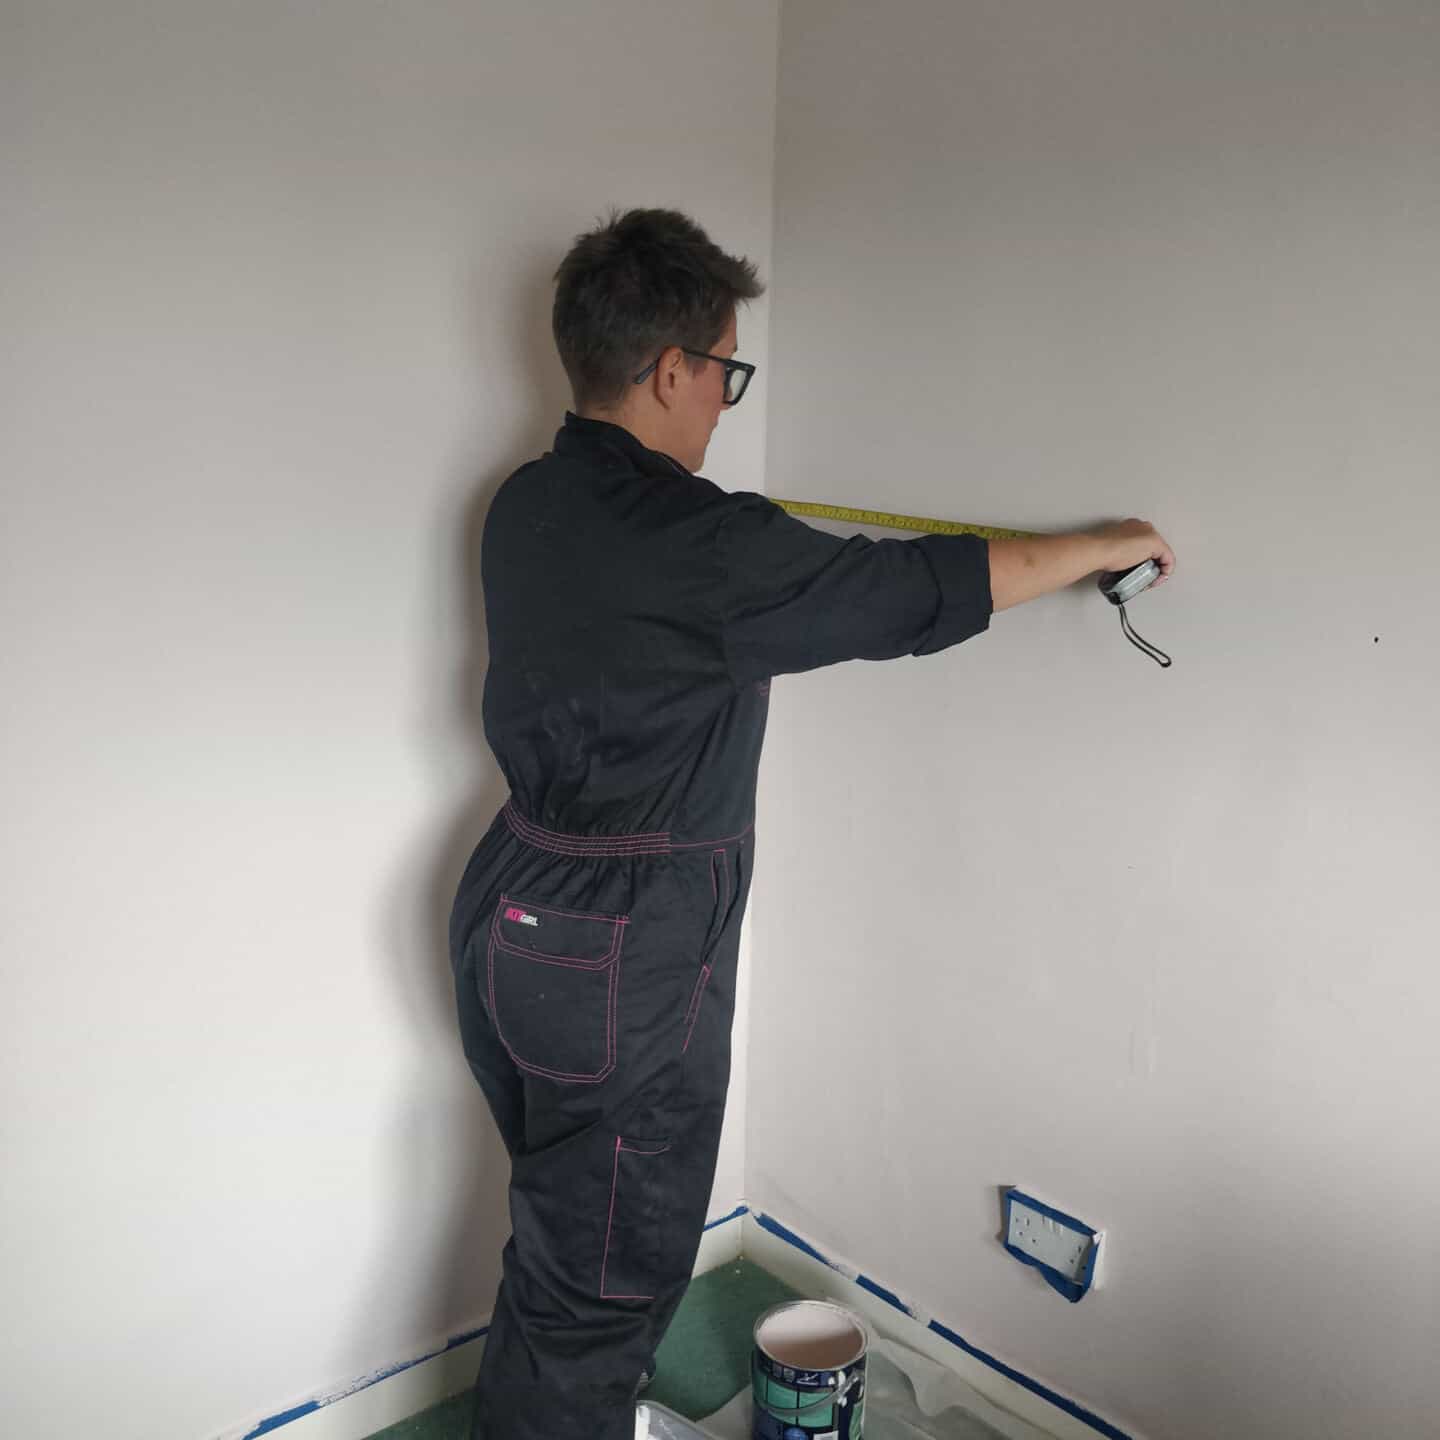
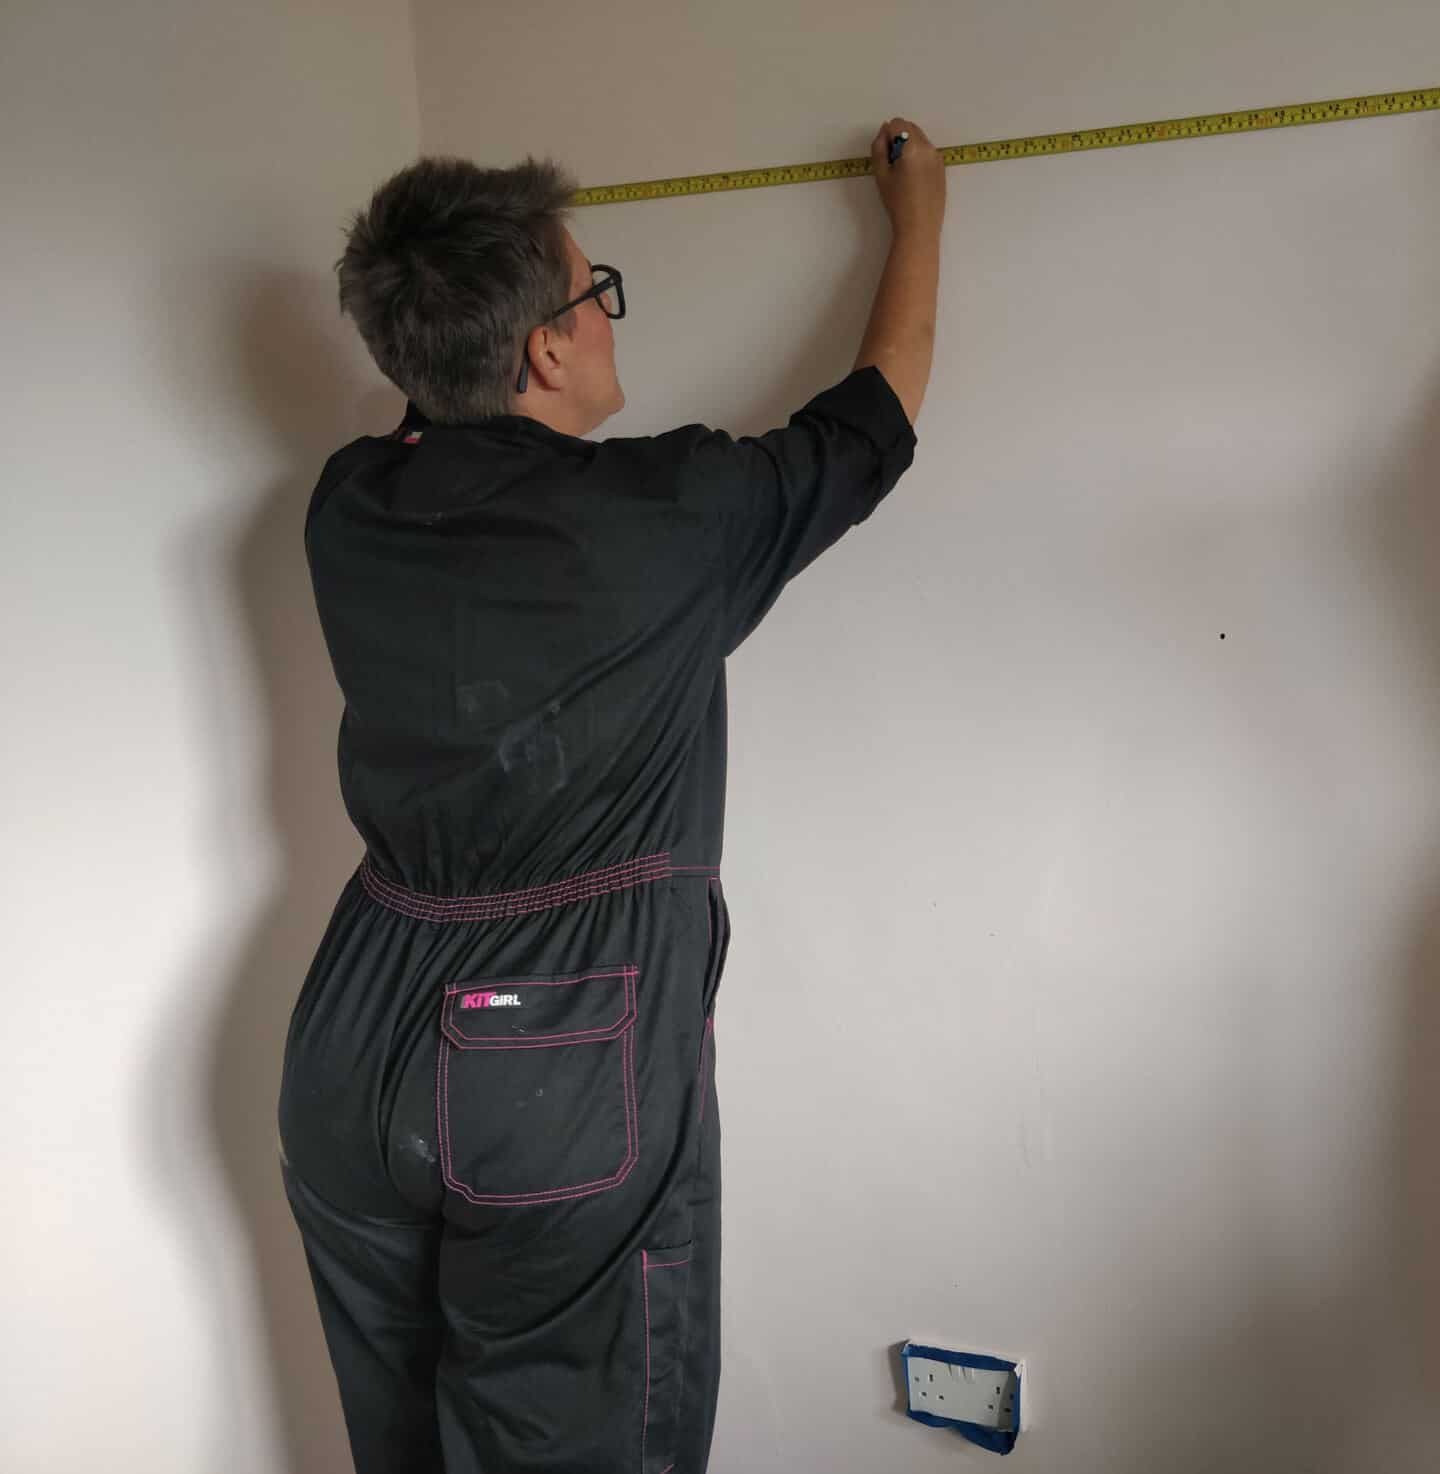
Having drawn out the design for my DIY painted arch accent wall on a piece of paper, I then had to transfer this design onto the wall. I based this on where the girls new bed will go when it arrives and worked from there. I simply used a tape measure, long ruler, spirit level and a pencil to do this.
Step 5 – Draw out the Design
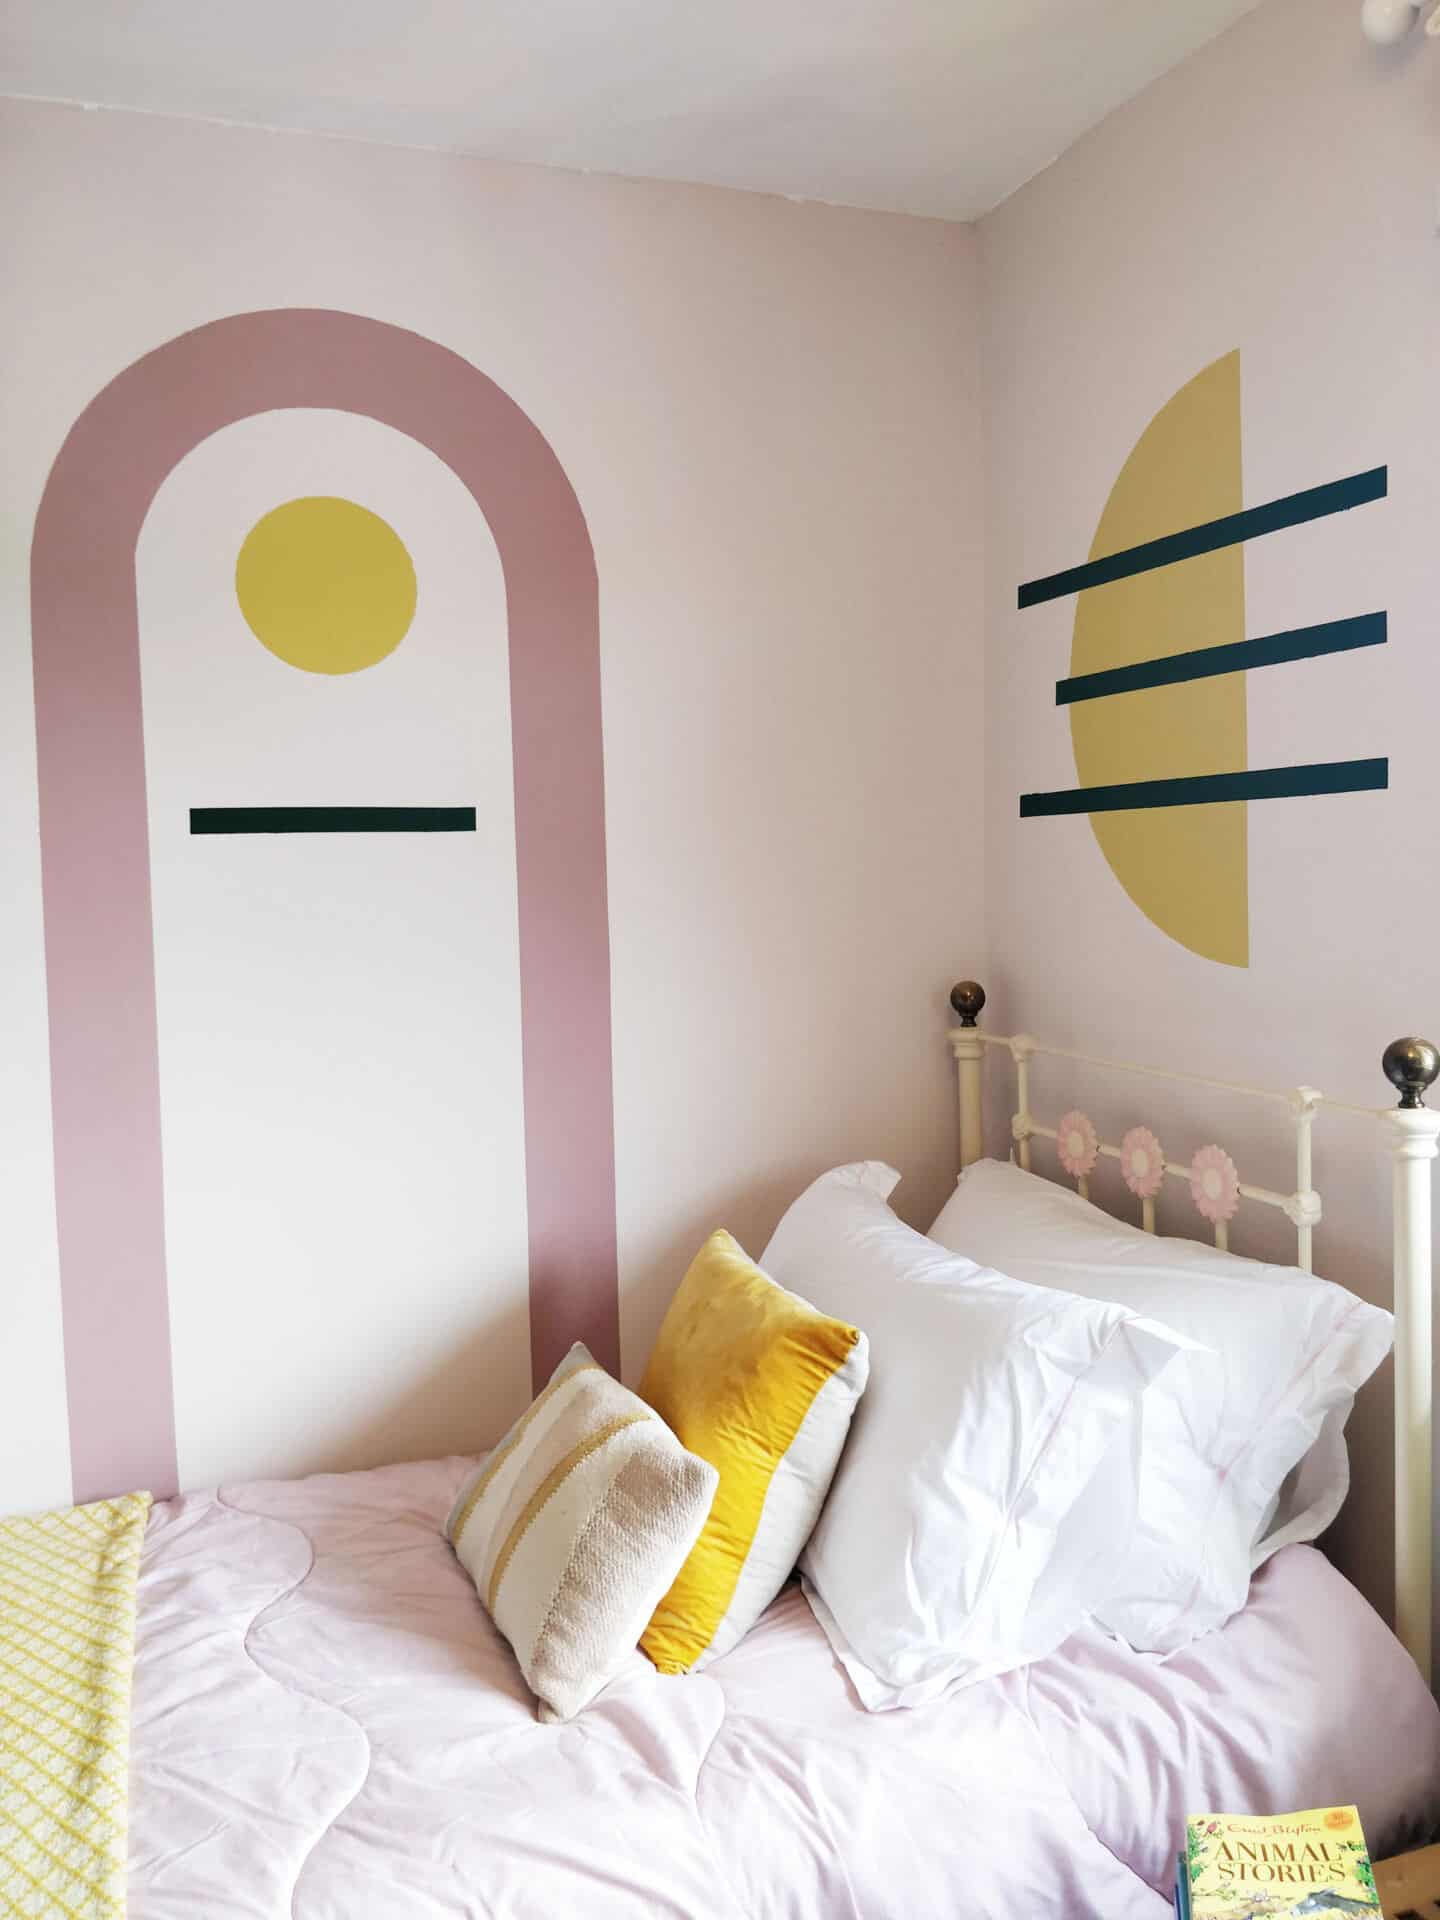
Once I had measured out the design by drawing little marks all over the wall, I then had to join them up so that I could see what I was going to paint. My youngest daughter is pretty keen on rainbows. She loves lots of colour and sparkles. My eldest daughter however, is much more subdued and prefers a more sophisticated colour palette and design. So we decided to go for some on-trend arches (as a nod to a rainbow) with a few geometric additions to add some extra interest and colour to the room.
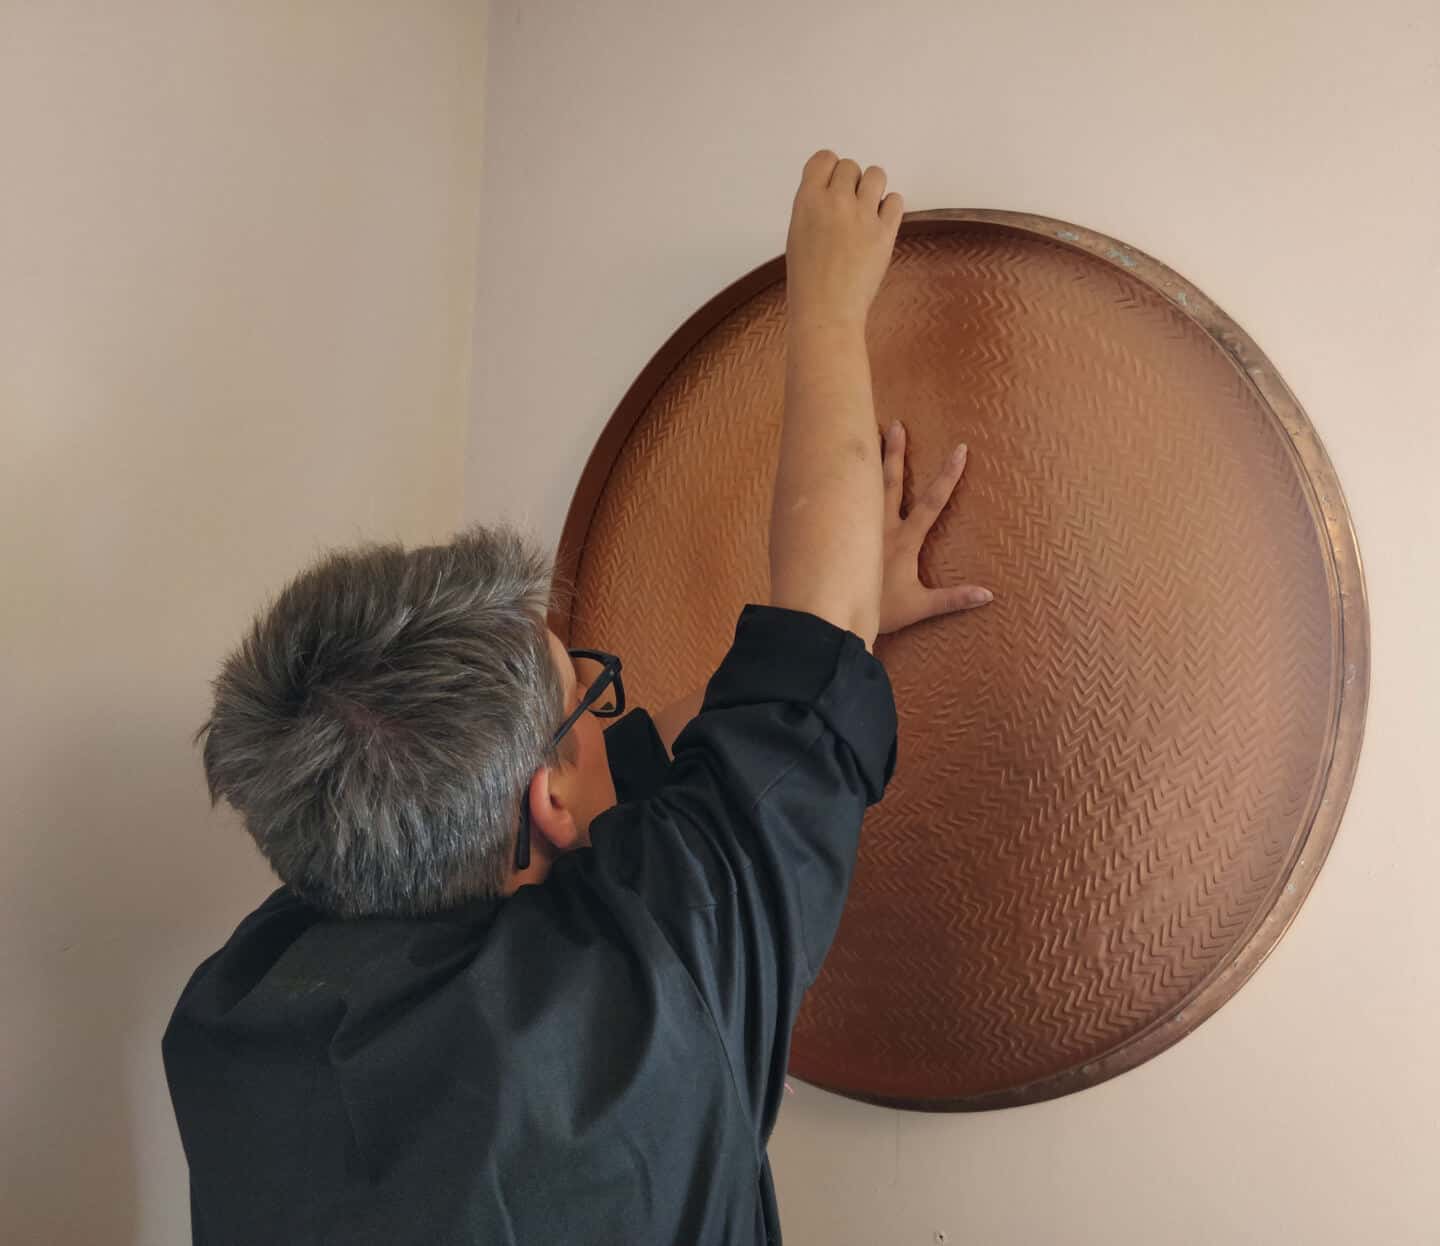
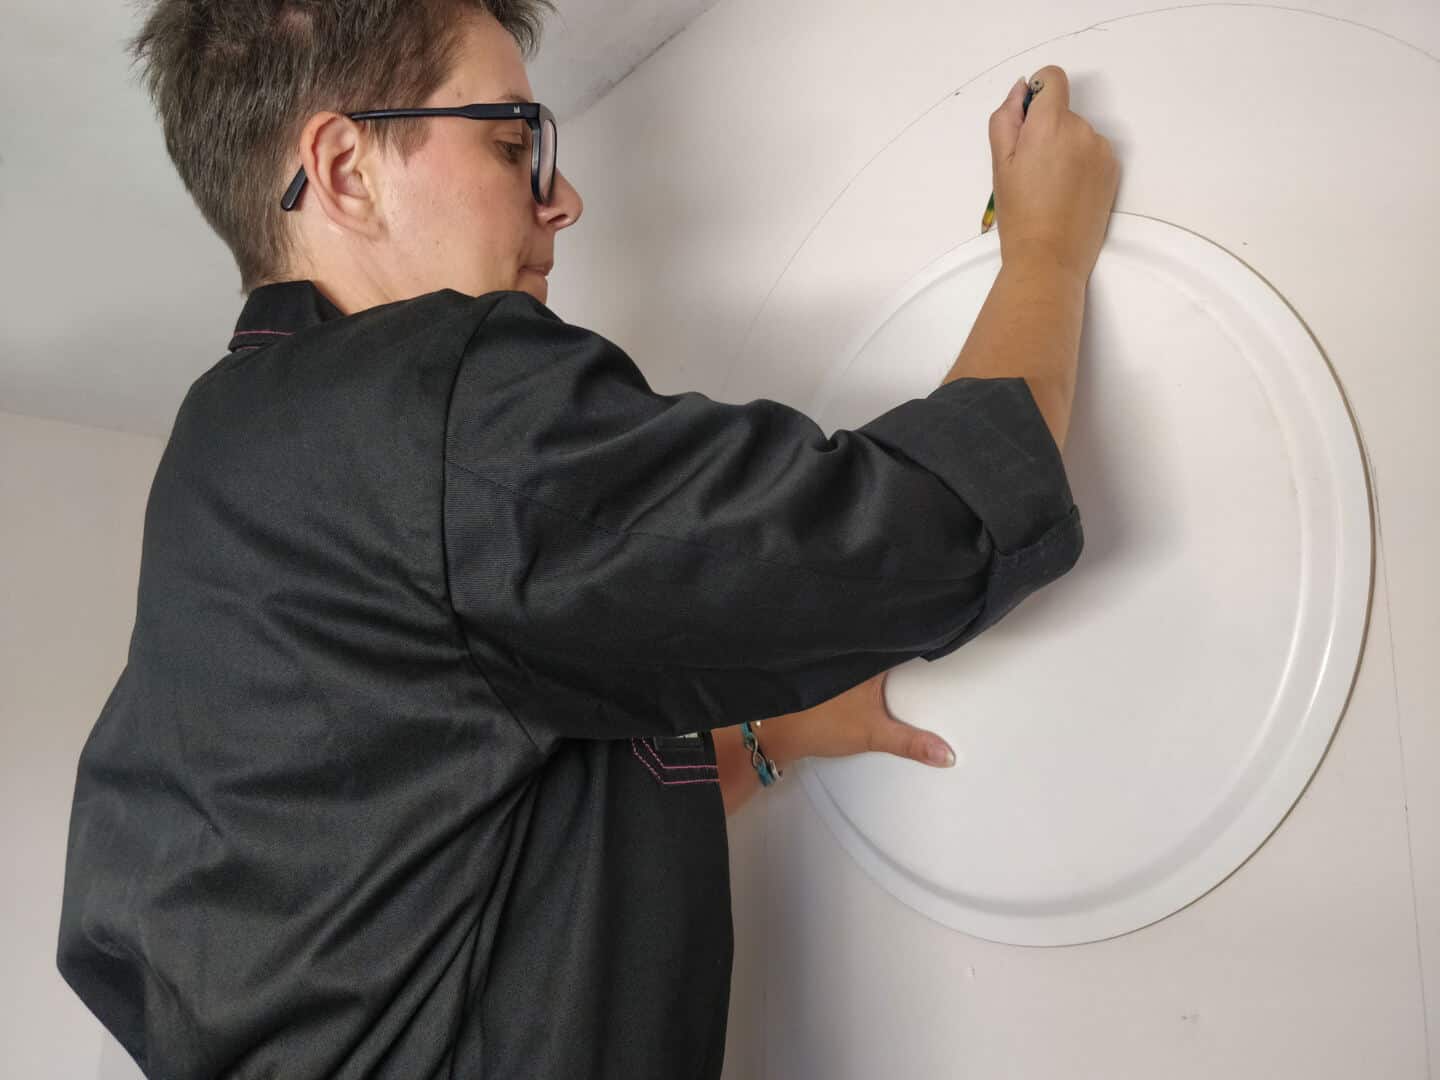
Now, arches aren’t the easiest things to draw out on a wall. I wanted this to be as easy as possible and I didn’t really want to have to freehand any of the curved lines. So instead, I looked around my home to find things I could draw around. That way I would know they would be neat and tidy.
For the outside curve of the arch, I drew around the lid of my coffee table which just so happened to be the perfect size. Then for the inner curve, I drew around a large tray. I was super happy with how easy this was. I then found a small plate to use for the circle inside the arch.
This is definitely a top tip of mine. Scour your home for objects you can draw around to make a project like this much easier.
Step 6 – Tape Up Your Design
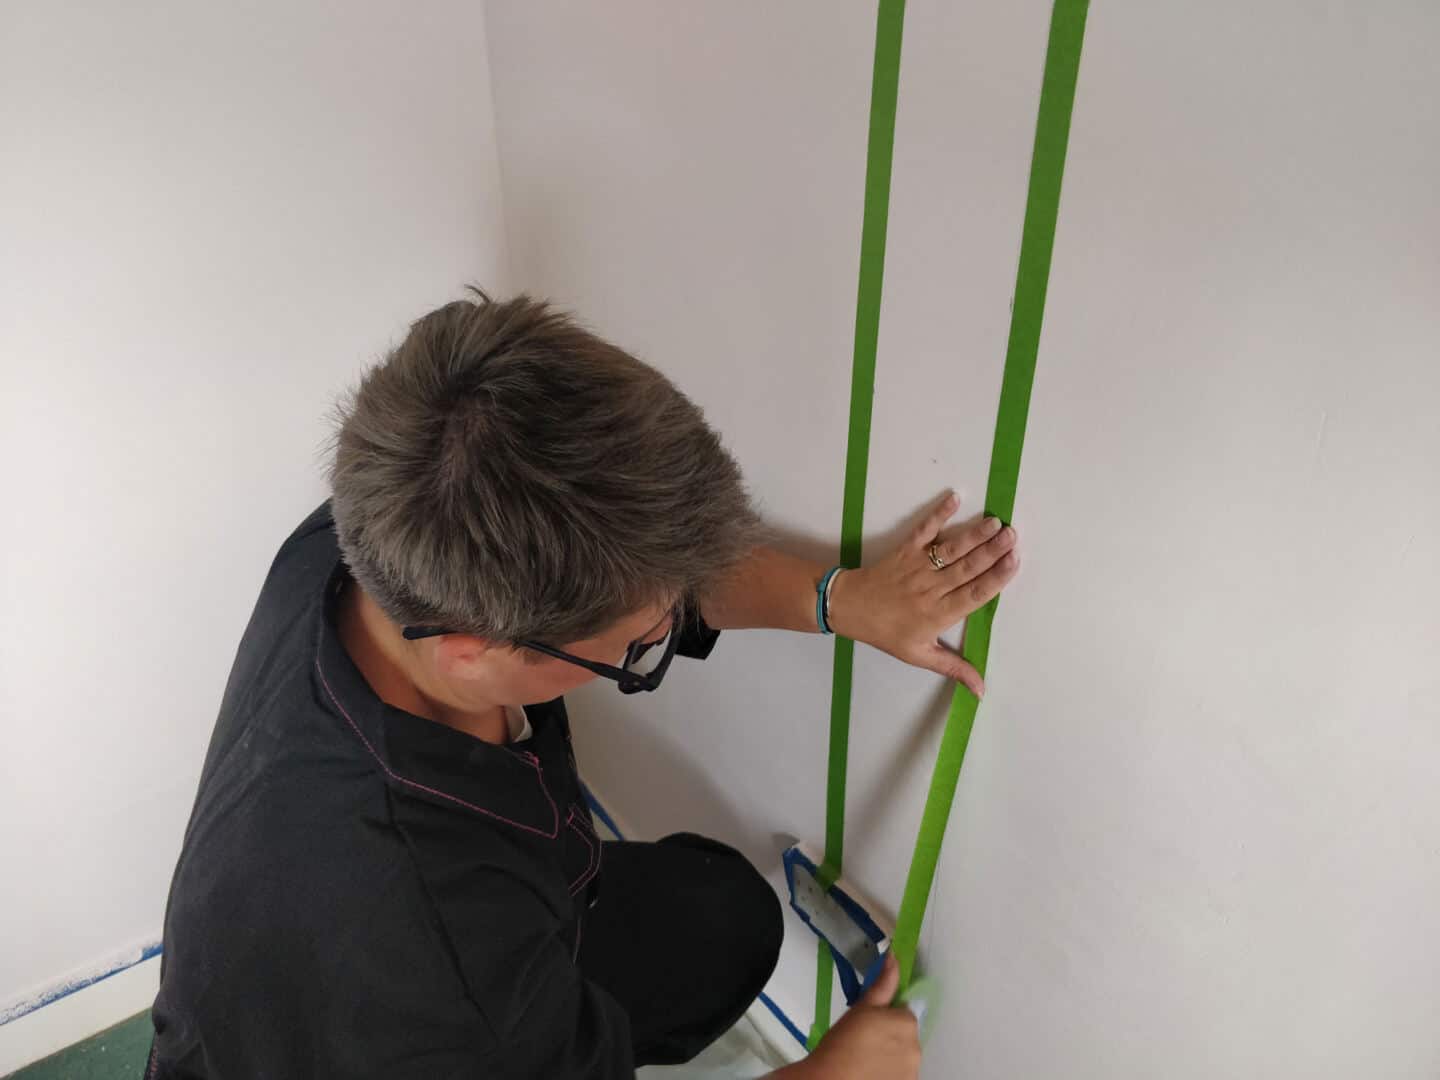
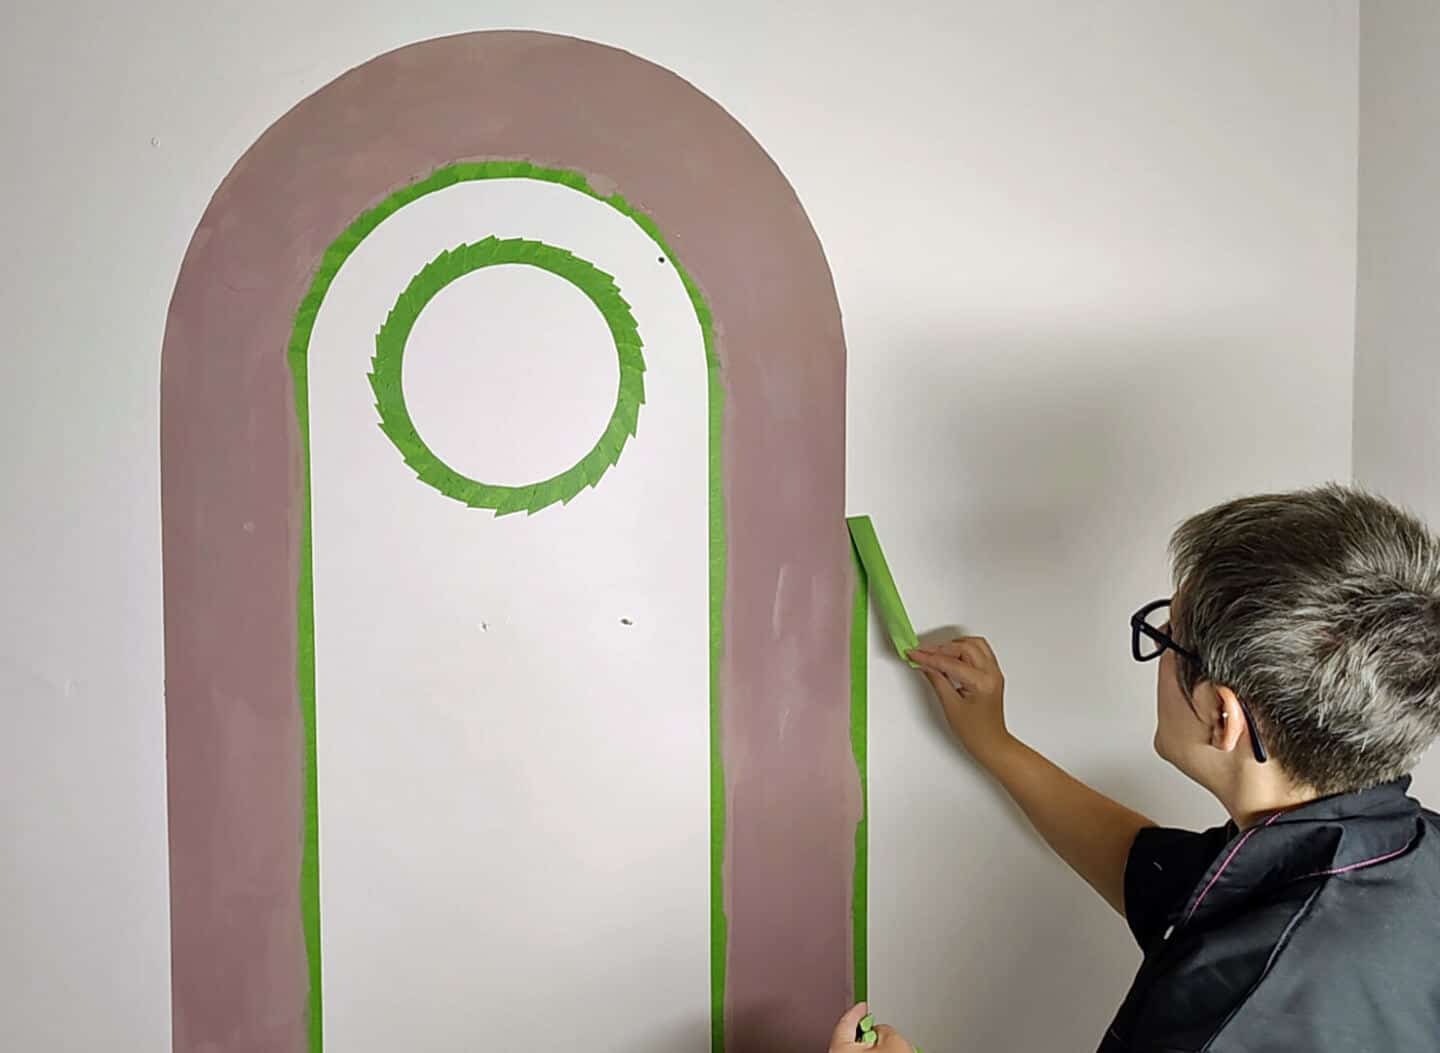
Next, I used tape to mark out where I was going to paint the design of our DIY painted arch accent wall. This makes it so much easier and quicker to get the paint on the wall in the right place. I taped just outside the pencil marks so that they would be painted over and wouldn’t be visible once the tape was removed.
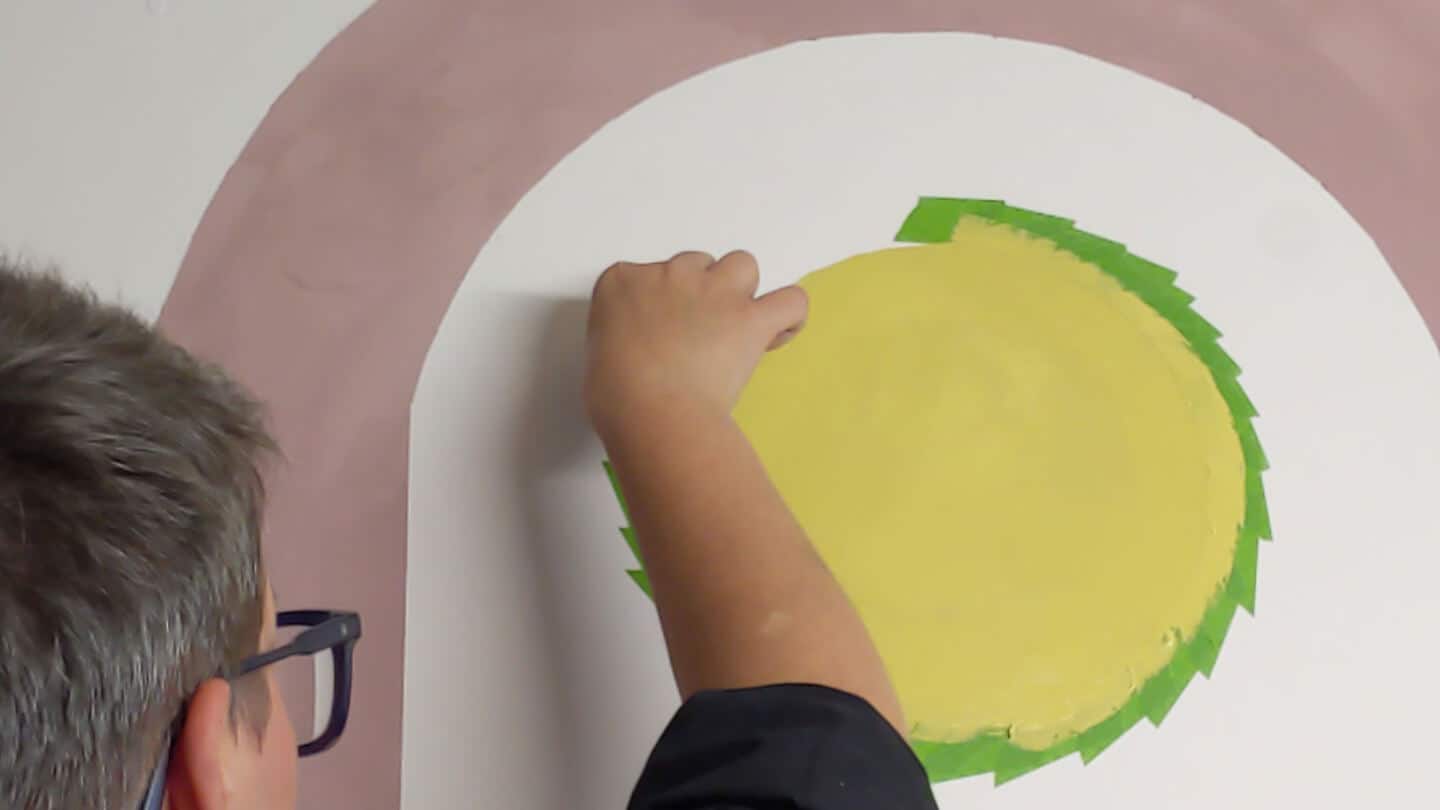
When it came to the curved lines of the arches and circles, I ripped small bits of tape off and overlapped them all the way around the curve. This way I was able to follow the line of the curve exactly and keep the tape flat against the wall whilst I went. It makes it slightly harder to remove but the finish is much crisper.
Step 7 – Paint Your Shapes
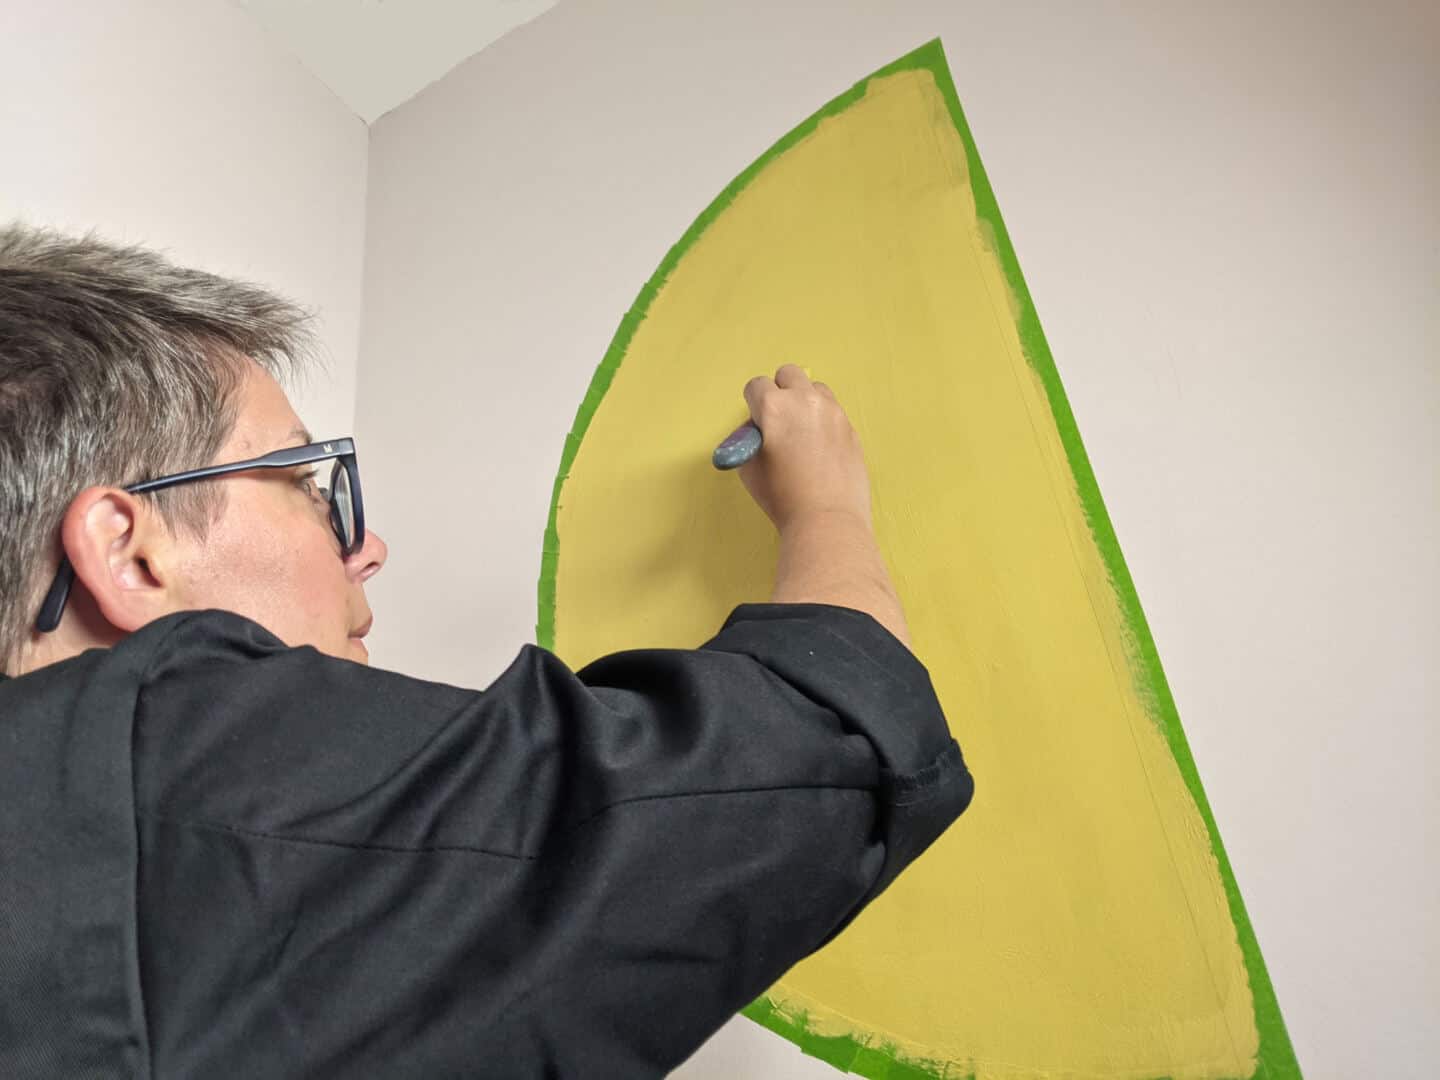
The next step in the process of creating your DIY painted arch accent wall is to paint the shapes that you have just taped up. Take it slowly, making sure you get really good coverage along the tape edge and try to make sure your brush strokes go in the same direction.
Step 8 – Carefully Remove the Tape
Once you have painted your shapes and you’re sure that you’ve not left any areas a bit patchy, it’s time to remove the tape. Do not wait for the paint to dry completely. It helps to get a crisper finish if you remove the tape when the paint is still wet. But this does mean you need to make sure you have good coverage before taking it off as it will be trickier to repaint once the tape has been removed.
And there you have it. Once the tape has been removed you can stand back and admire your handiwork. Using the Dulux Simply Refresh Range you can give your room a whole new look in a matter of hours. In fact, the painting was the quickest and easiest part of this project. I’d not used the Simply Refresh Range before this project, but I would definitely use it again as the coverage was just so good and made the job super speedy. I’m now wondering what other rooms I can spruce up Changing Rooms style.
What about you? Has the new series of Changing Rooms got you excited about transforming a room in your home? I’d love to hear your plans so drop me a comment below.
Don’t forget to pin this post for later when you do your own Changing Rooms transformation.

Love this tutorial! I’ve been wanting to add a pop of color to my living room and a painted arch accent wall is the perfect solution. Can’t wait to give it a try!
It was super fun to create and looks fantastic. Good luck with it and hope it turns out well for you!
Nice and interesting blog
I want to paint floral mural on my bedroom wall that colour coordinates with my favourite floral bedding set that I recently got from Annie’s Home Decor and this blog has helped me plan the whole process to achieve the final look flawlessly.
Thanks for the delightful information which is very propelling and fun-loving.
Ooh, thank you for showing me how to do the circles / semi-circles. We shall be trying that here
Great news. it wasn;t nearly as hard as I thought it would be, but it helps having something to draw around. A cardboard cutout would work just as well if you don’t have anything the right size to hand.
This is so fantastic and I’m sure your girls LOVE their new space. It’s incredible what a little paint can DO!
Thank you!! Yes they do love it. If only I could get them to keep it tidy!!
Wow! Love the video!! Makes me think I can do it too!!
It wasn’t nearly as difficult as I thought it would be!
Wow, that’s absolutely beautiful (and is putting my interior decor to shame too!)
Love the colours and shapes you used. Stunning.
Thank you! Ours was in dire need of redecoration so this came at just the right time to force me to be more creative. It was a lot easier than I was expecting to mostly due to the fact that it was one coat paint.
Wow! It’s amazing how much can be created with a few great paints! This looks so fab!
It’s quite a statement that you can create on a reasonably small budget. Great way to add a touch of your own personality to a room.
I must try this!
It’s really quite easy once you come up with your design. I recommend trying something super simple though for the first time.