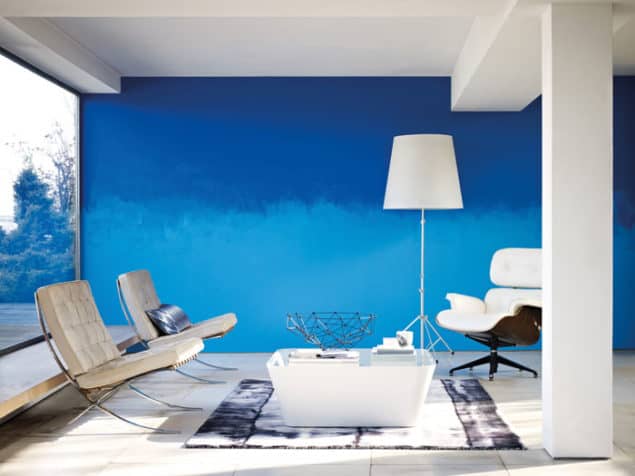
 Image courtesy of Dulux
I don’t know about you, but every year as Spring approaches I have this overwhelming urge not only to do a massive spring clean at home but also to change things up a bit and give my home a refresh or a new look. This year the urge is particularly strong and I’m already looking into paint colours that I can use to paint over all the magnolia walls in our home. At the moment I am totally sold on Lime Squeeze from the Dulux Home Factories range.
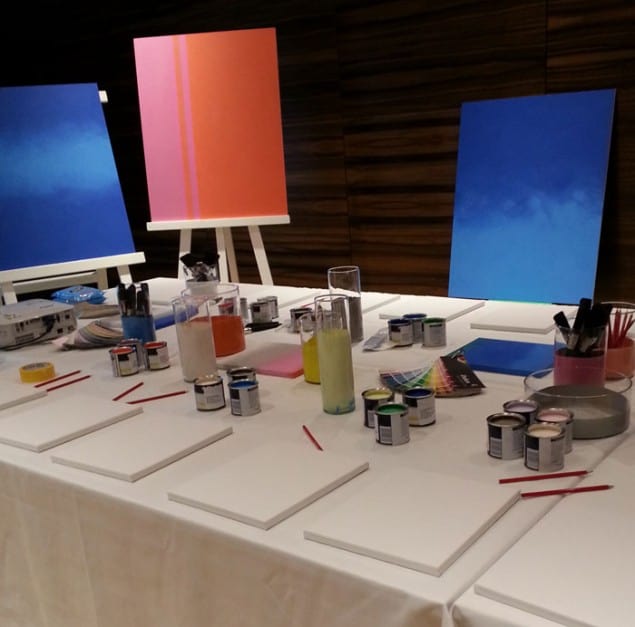
Anyway, just in case any of you are currently considering giving your home a much-needed lick of paint I thought you might be interested to learn a bit more about the ombre paint technique. I first learnt about it a couple of weeks ago at Meet the Blogger in London where I attended a workshop run by Dulux. There, Marianne Shillingford, Creative Director at Dulux, gave us a crash course in how to achieve the ombre paint effect, also known as flocking.
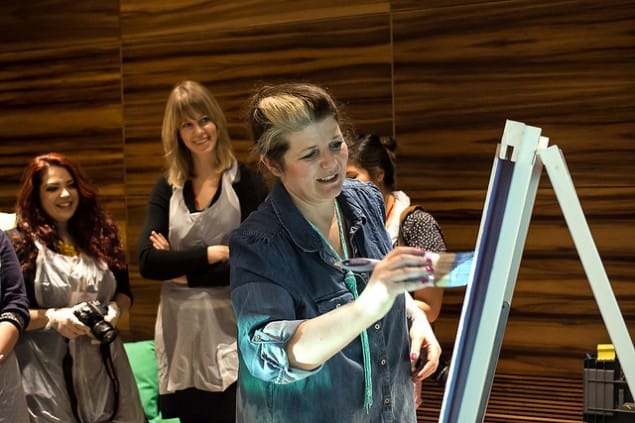
Image courtesy of Meet the Blogger London. Photography by Yeshen Venema
As usual I couldn’t just attend a workshop and write about it. Oh no, I had questions about this paint effect and how to achieve the look in our own homes, particularly if we’re not a dab hand with a paint brush. Luckily Marianne agreed to answer my questions so once we’ve all read this it’s off to the DIY shop for a spot of Easter decorating!
Why do you think flocking has become popular again?
It’s an ombre paint effect for walls that allows you to be much more creative with colour. It’s also incredibly cost effective and you can use it on walls, panels and oversized canvasses to add instant unique impact to a room. Oh yes, and the really important thing is that it’s really fun and easy to do.
How would you suggest we use the flocking paint technique in our homes to best effect?
Pick an area or one beautiful wall that takes centre stage and use combinations of colour that you can pick up in the furniture and accessories.
Can it be used in small rooms or does it work better in rooms with large expansive walls?
The effect works beautifully in either. In small rooms you can use subtler and more delicate colour combinations or paint the effect onto a large canvas rather than the wall.
What advice can you give for selecting the colours to use?
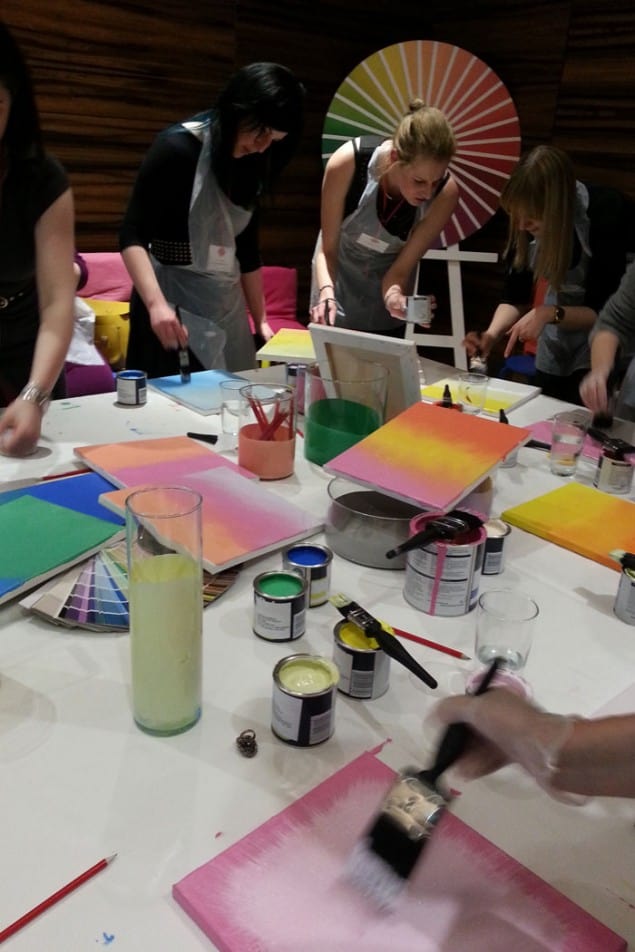
Pull colours together that you have in the room already to link the effect to its surroundings and work with colours that are closely connected like harmonious shades in different tones. When you pick colours, consider what they look like when they are mixed together as this will happen subtly along the connecting line. For example: Yellow and blue make green, red and blue make purple but purple and yellow make a mushroomy taupe. Use pale grey between 2 colours to avoid strange transitional shades.
How many colours do you recommend using?
2 or 3 works beautifully but you can use as many as you like. Try changing the width of each band for added interest too.
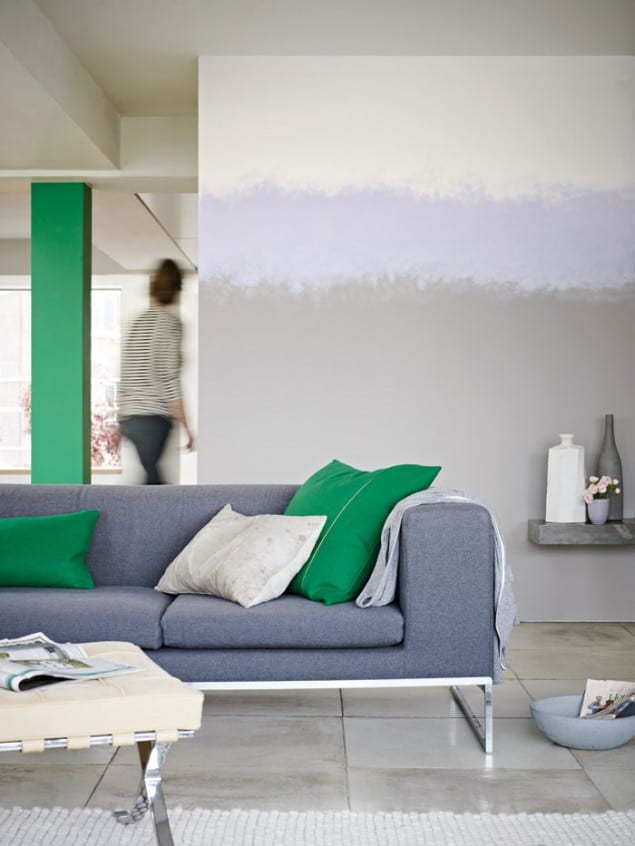
Image courtesy of Dulux
Should flocking be reserved to a feature wall or can it be used on the whole room?
Try one wall in a bold combination and if you want to use it on other walls, use a different and much more subtle combination in neutral shades.
What are your top tips for getting it right?
Watch the ‘How to’ video and don’t worry if it doesn’t look right straight away. Stand back and look at your work as you go along and if you want to add bits or paint them out you can
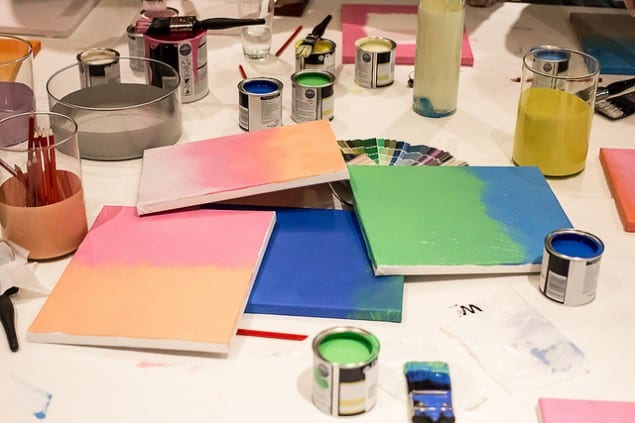
Image courtesy of Meet the Blogger London. Photography by Yeshen Venema
And if it all goes wrong?
Don’t panic, this effect is meant to be tweaked and played with. The biggest problem is if you rush and try to blend the colours together on a wall when they are both wet. Use a small roller or a brush with very little paint on it to blend them as you go and afterwards when its dry to get it just right. If it looks horrible and the colour combinations just are not working, add a grey band to connect the shades. Have a huge bar of chocolate handy to congratulate yourself when you have finished too.
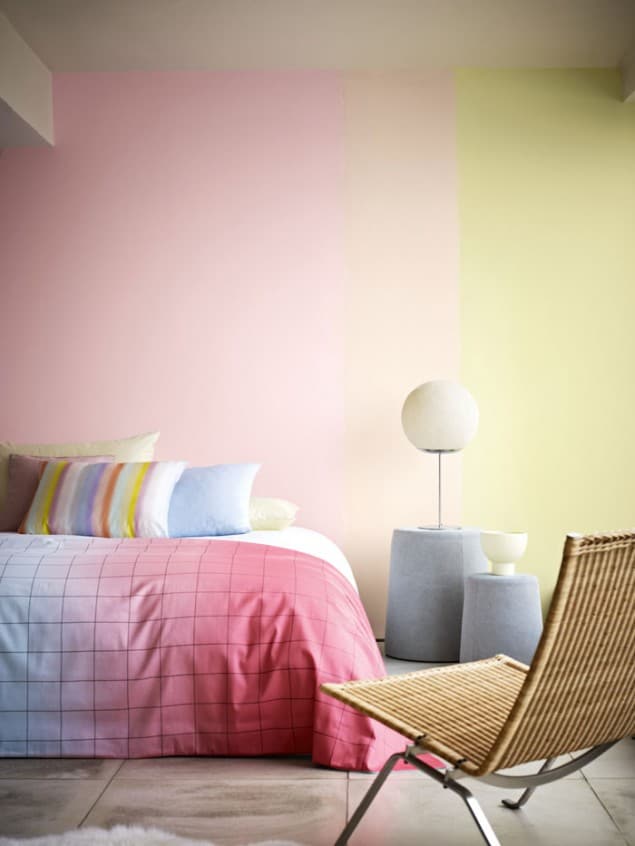
Image courtesy of Dulux
So if you’re convinced that the ombre paint effect is for you and you fancy an ombre wall in your house, simply kit yourself out with the equipment listed below and follow Marianne’s step-by-step guide. There is even a helpful video to guide you through the process. And if any of you take a stab at this please do let me know. If a whole wall is just too much to take on though, why not have a go at painting some canvases like we did in the the workshop. They look great hung up in a cluster.


*All images my own unless otherwise stated

I’m going to do the ombre effect on a customers wall today so that should be fun to do..I’ll post a pic of the end product later ?
Good work
I love this. Thank you for sharing!
Glad you found it useful Jo!
Stacey, what a beautiful paint technique – so Rothko! Your interview with Marianne and the method and tools illustrations are so helpful – not to mention the video. Off to pin some of these beautiful ombré interiors! Thank you!
Thanks Sarah, Glad you liked the post and the helpful tips from Marianne. I particular liked the tip of having a big bar of chocolate on hand to celebrate!