You may remember a couple of weeks ago I wrote a post about how I’d been invited to do a short interior design course with Juliette’s Interiors in London? Well, I have now completed the course and as I promised, I want to share my thoughts with you.
I was really excited about this course, and as I mentioned in my last post, the fact that it was run over just five days was a really big bonus for me. Most of the courses I had previously looked at take place in London over maybe 12 weeks, which just wasn’t something I could commit to as I live in Devon and can’t travel to London once a week for lessons.
I really liked the idea of staying in London for five days of intensive learning on
- The Brief – initial consultation and fact-finding
- Discovering colours, fabrics and finishes
- Space planning
- How to create traditional, paper plans and layouts
- Mood boards
- Soft furnishings
- Lighting scheme
- Proposal approval
- Sourcing items
- Costing schedule
- Procurement
- Project management
- The pitfalls and risks of designing a
high end residential property - Logistics and installation
- Snagging
There were so many topics in that list that I had never explored before and I was looking forward to getting a deeper insight into this side of interior design. However, this list is a little different from when I first agreed to go on this course. If you take a look at my original post you will notice that we were supposed to be learning how to use low-cost software to aid our designs and also how to create physical and digital mood boards.
In the end, we didn’t explore any software or look at creating digital mood boards and I was a little disappointed that this had changed. I would have really relished the opportunity to learn about using low-cost design software, but it turned out that not everyone on the course felt confident about using computers in this way so it was decided that we would focus on traditional drawing techniques and mood board creation.
When I arrived at Juliette’s on the first day of the short interior design
The first morning, we discussed the project that we would be working on during the week. We’d all been asked to come along with an idea of a room we were hoping to design. We had to bring the dimensions with us and an idea of how we’d like the room to look. I decided to design my garden office, which I’m hoping to get at some point this year. Two of the other students were looking to design living rooms and one a master bedroom.
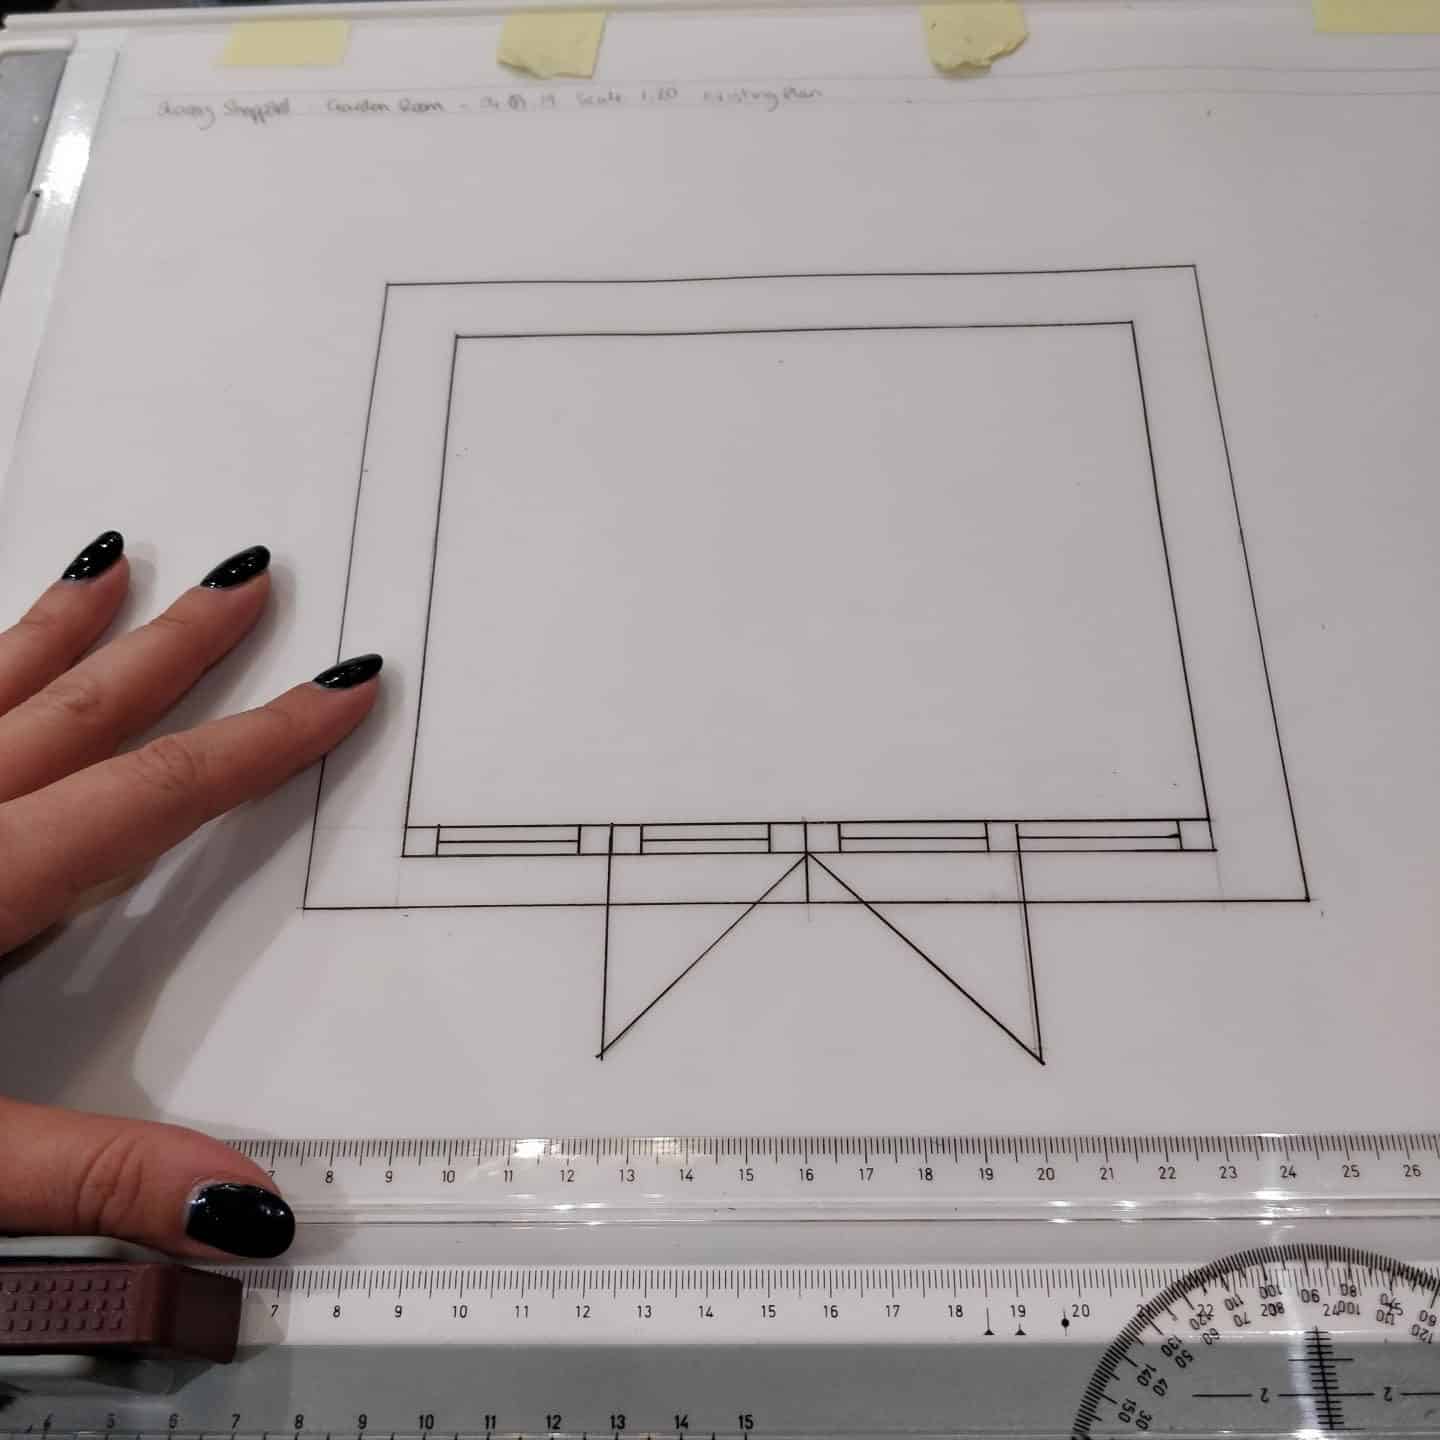
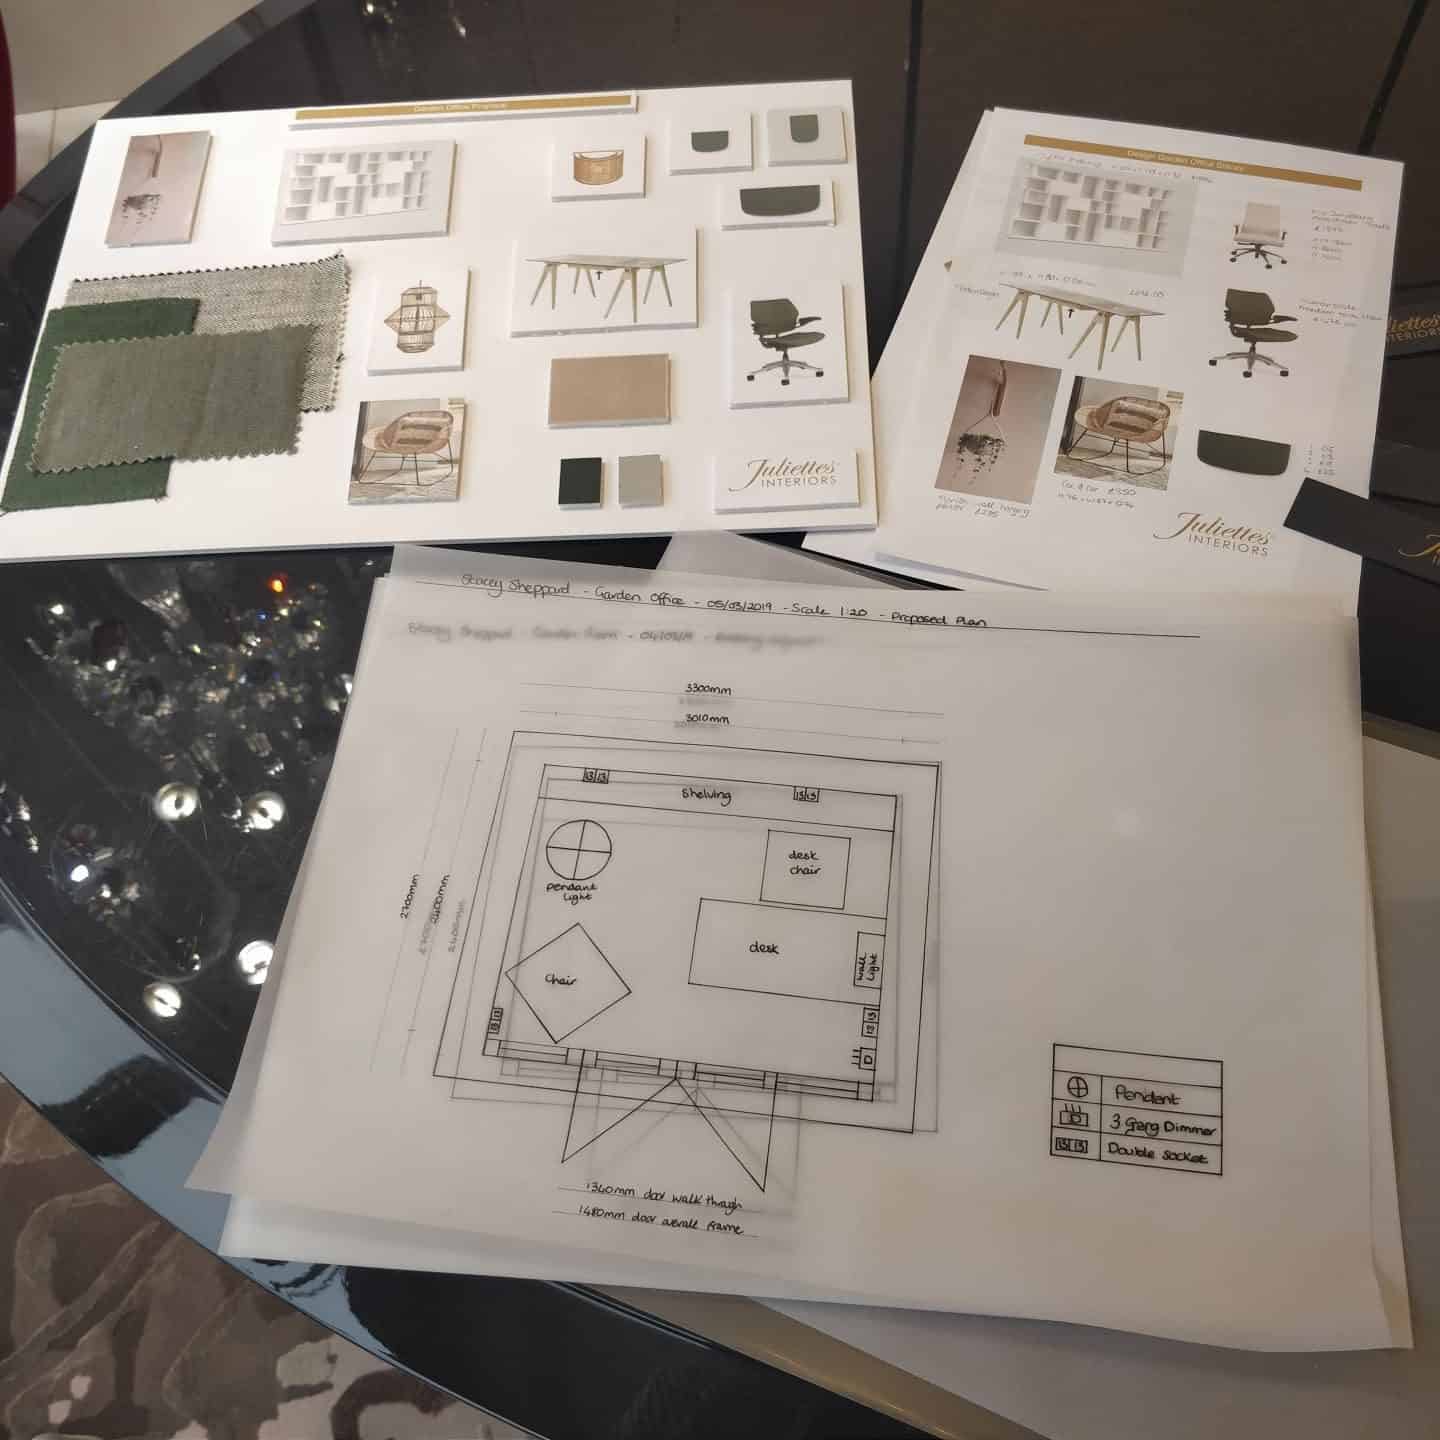
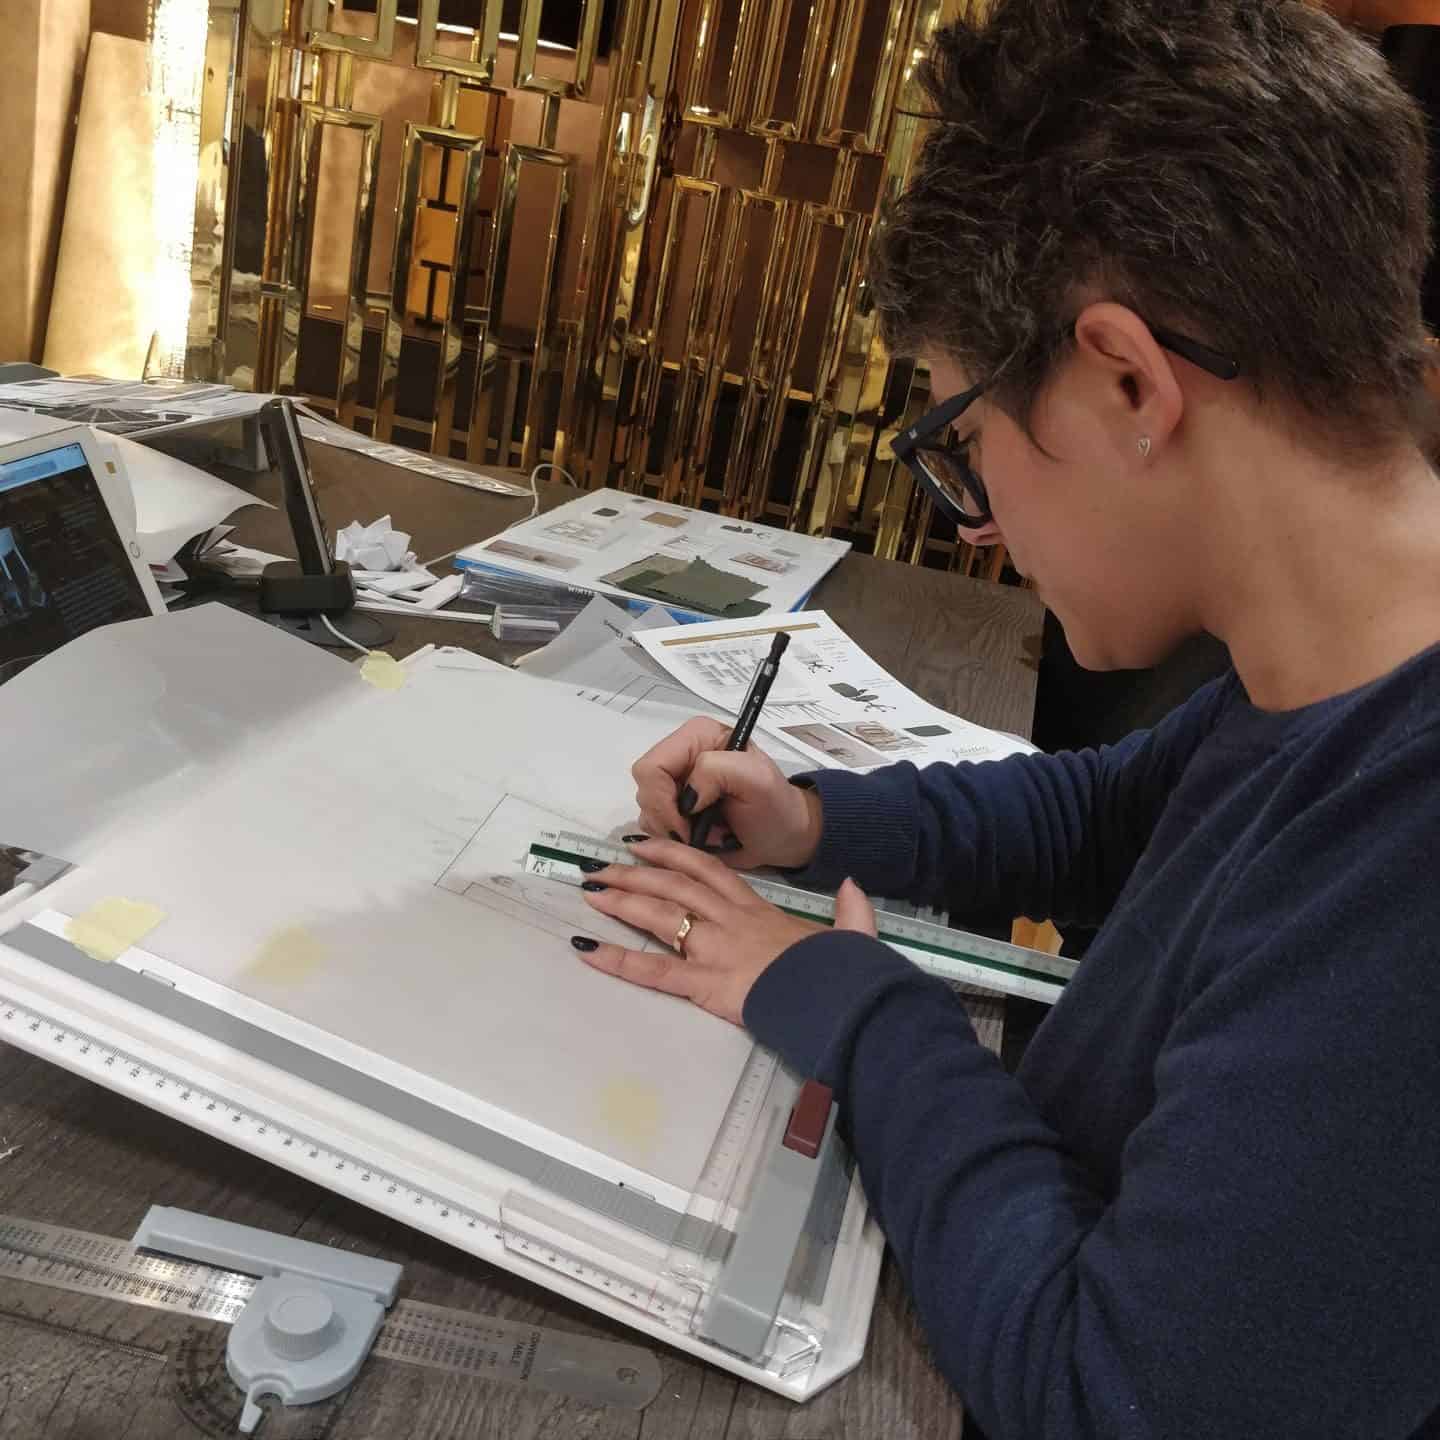
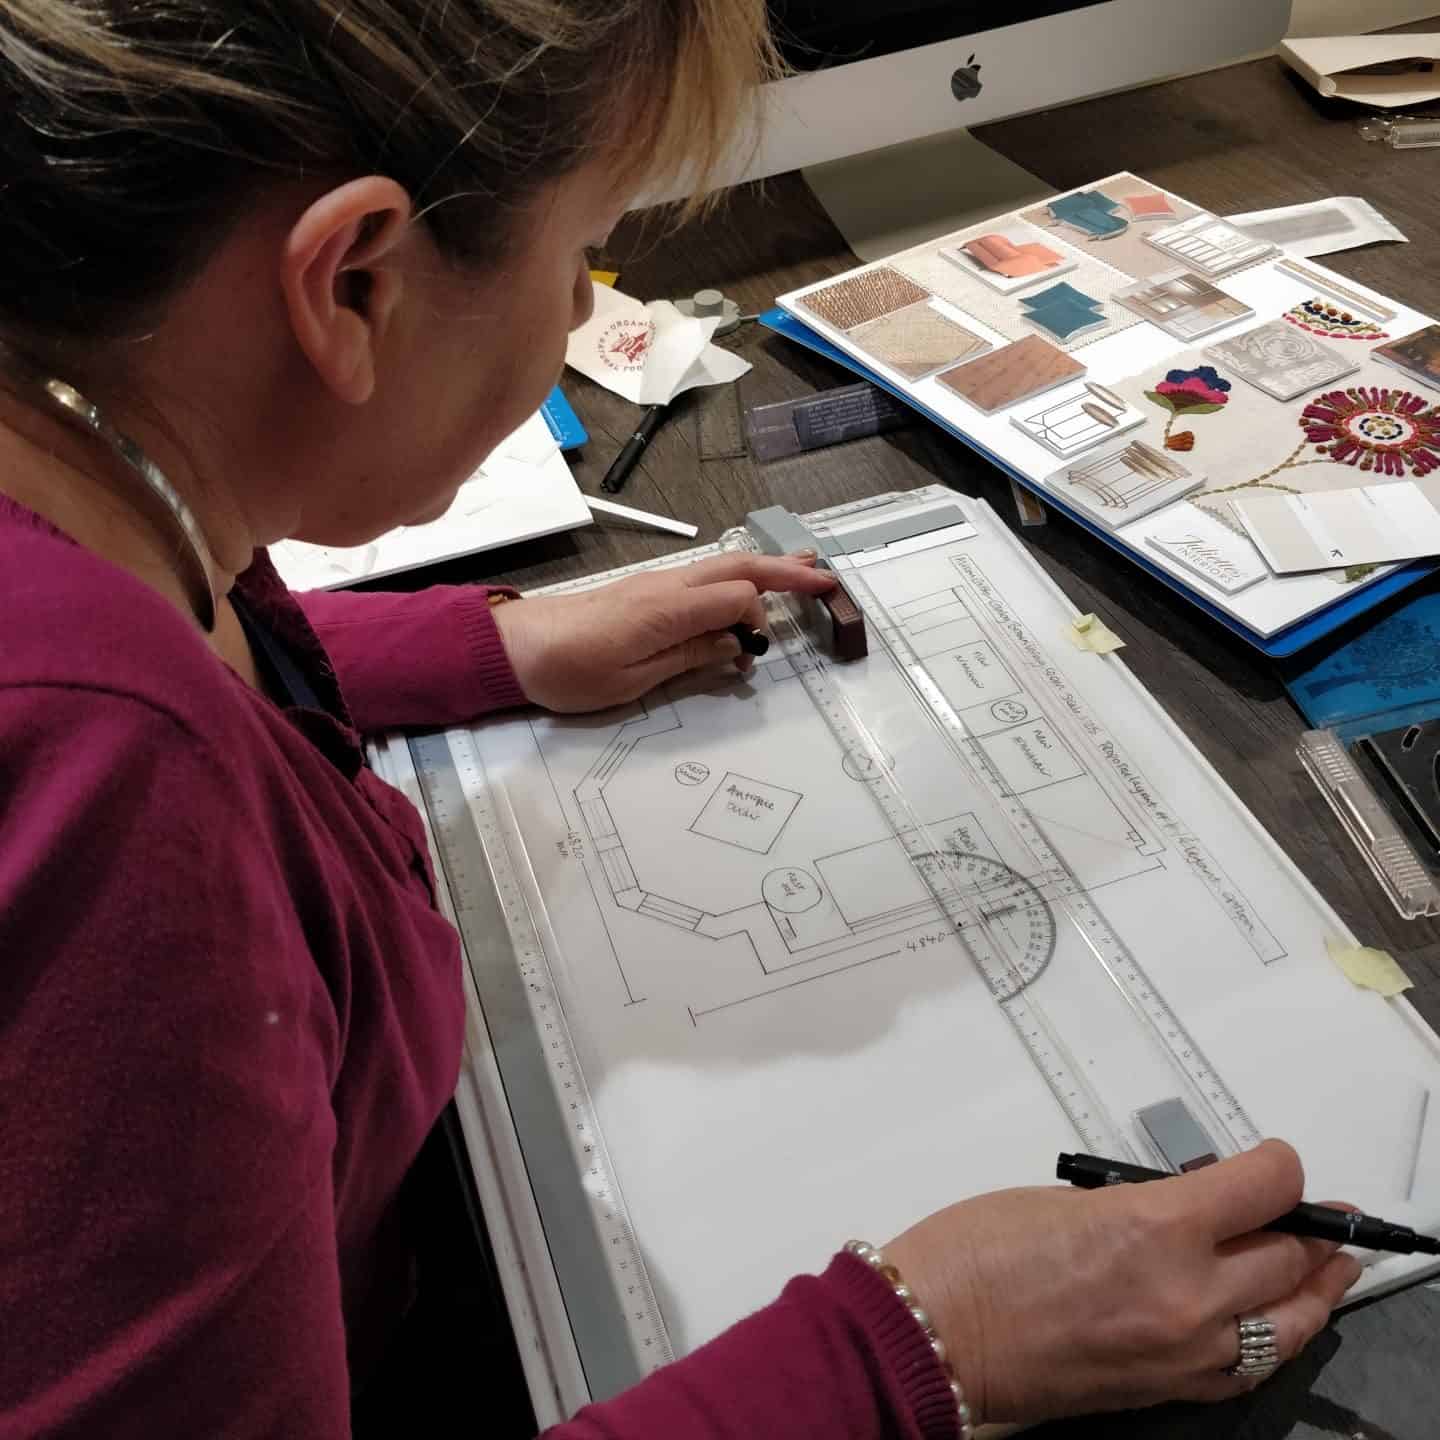
After we had clarified our reasons for choosing these rooms and what we were hoping to achieve we got stuck straight into drawing our plans of the room. Using a drawing board, tracing paper and an adjustable angle and ruler tool set we were able to create a scale drawing of the room. I had never used such equipment before and also never done a scale drawing of a room, so it was all new to me. Luckily, my room was very simple, but other students had to contend with alcoves, bay windows, fireplaces and other features that complicated the plan.
Once our plans were complete, we were able to experiment with potential layout options for the new design. This was a really worthwhile exercise and allowed us to work out the best possible furniture arrangement for the room. It also allowed us to get a really good idea whether the furniture we were picking out would actually fit in the room.
Quite a few of the pieces I had picked out ended up being far too big for my tiny garden office. I don’t think I’d have necessarily realised this without having done the scale drawings. I will definitely be using this skill for future design projects at home as it will save so much time when it comes to furniture selection, and it avoids the problem of ordering something only to find when it arrives that it is too big for the space.
We worked on three possible options before settling on our final layout. We also had an opportunity to draw one elevation of the room to show how this would look.
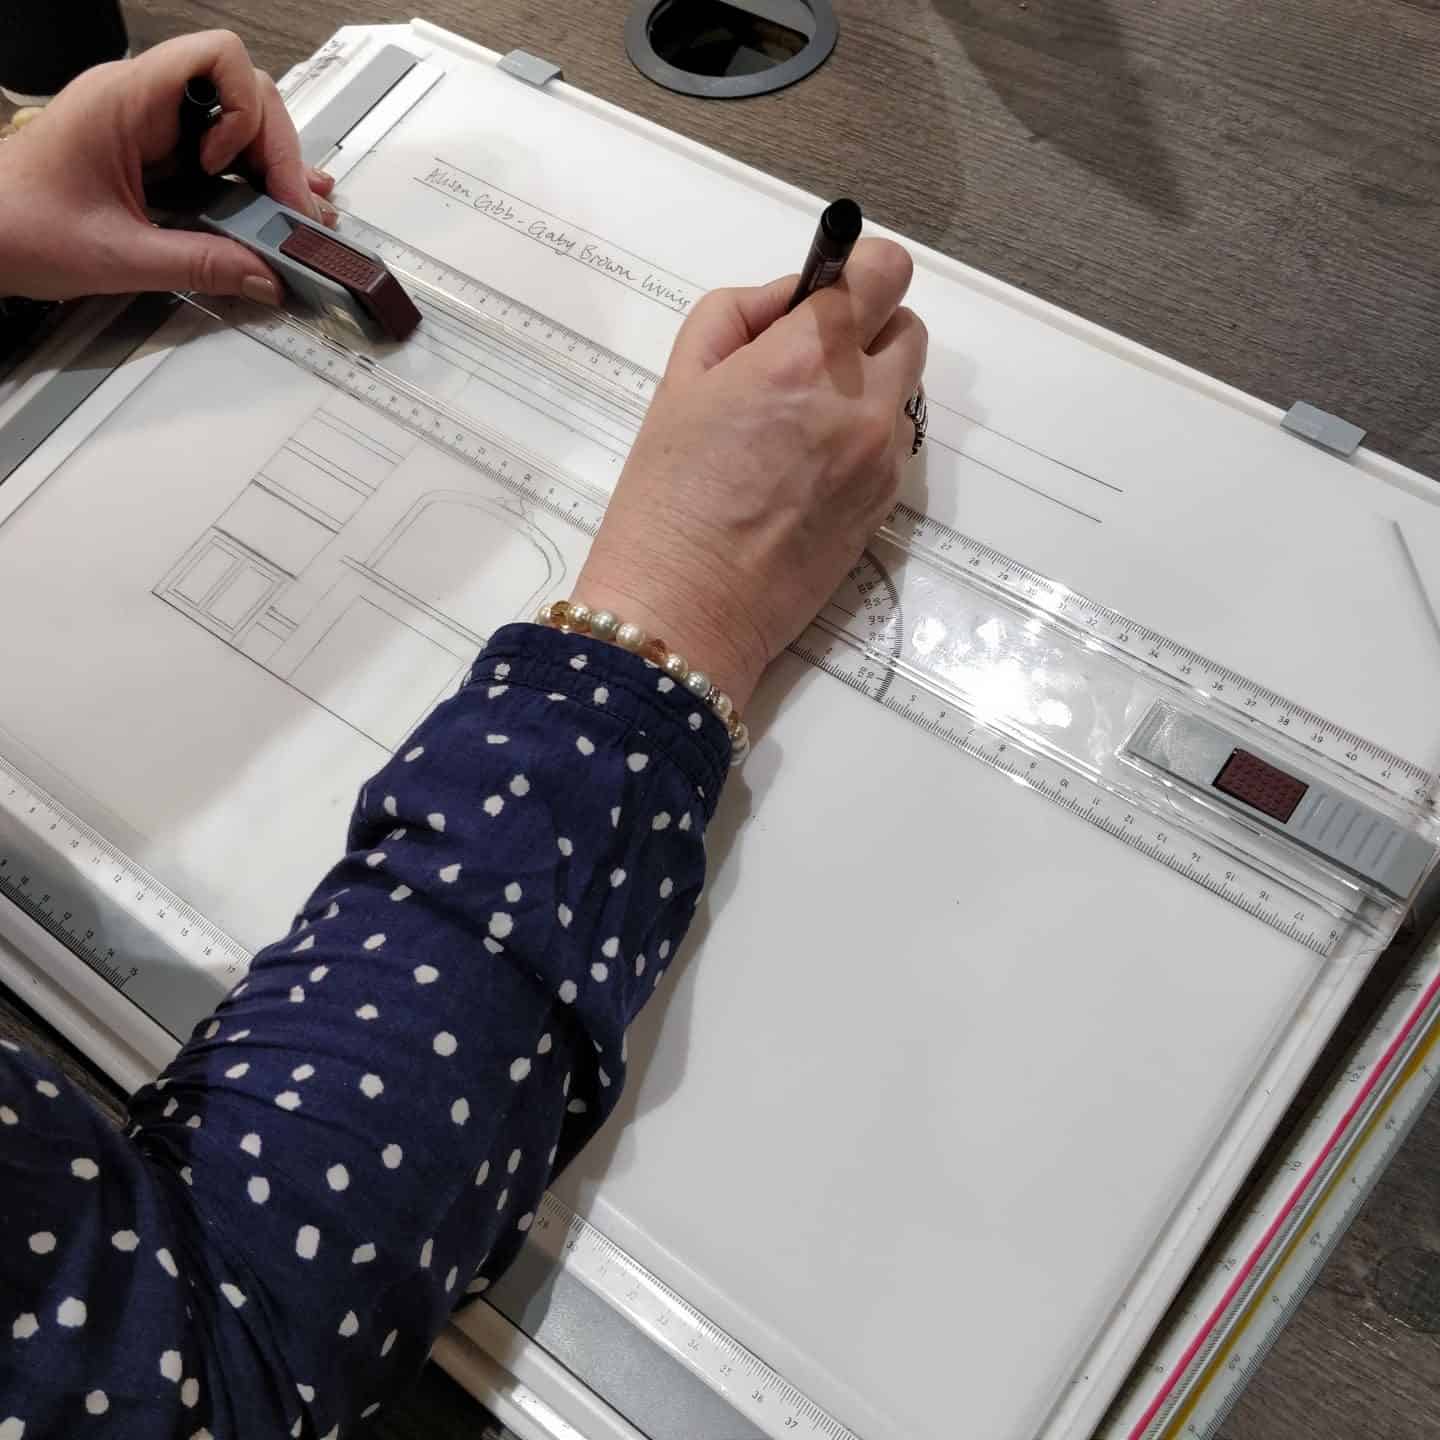
I actually really struggled with this aspect of the course. I don’t have a mathematical brain and I’m not very good at visualising spaces so this was a real challenge for me. I had to redo my floor plan three times as I kept making mistakes, but I was very proud of myself once it was done and it is such a useful skill
On the second day, once all our plans were complete, we were able to move on to the less technical elements like choosing the furniture, fabrics, soft furnishings, wall coverings, flooring and lighting. We spent a fair amount of time on the internet looking for products that would fit our scheme and that were the correct size according to the layout plans. Luckily for me, this is something that I’m pretty good at and I already had a very clear idea of the products that I wanted to use in my garden office.
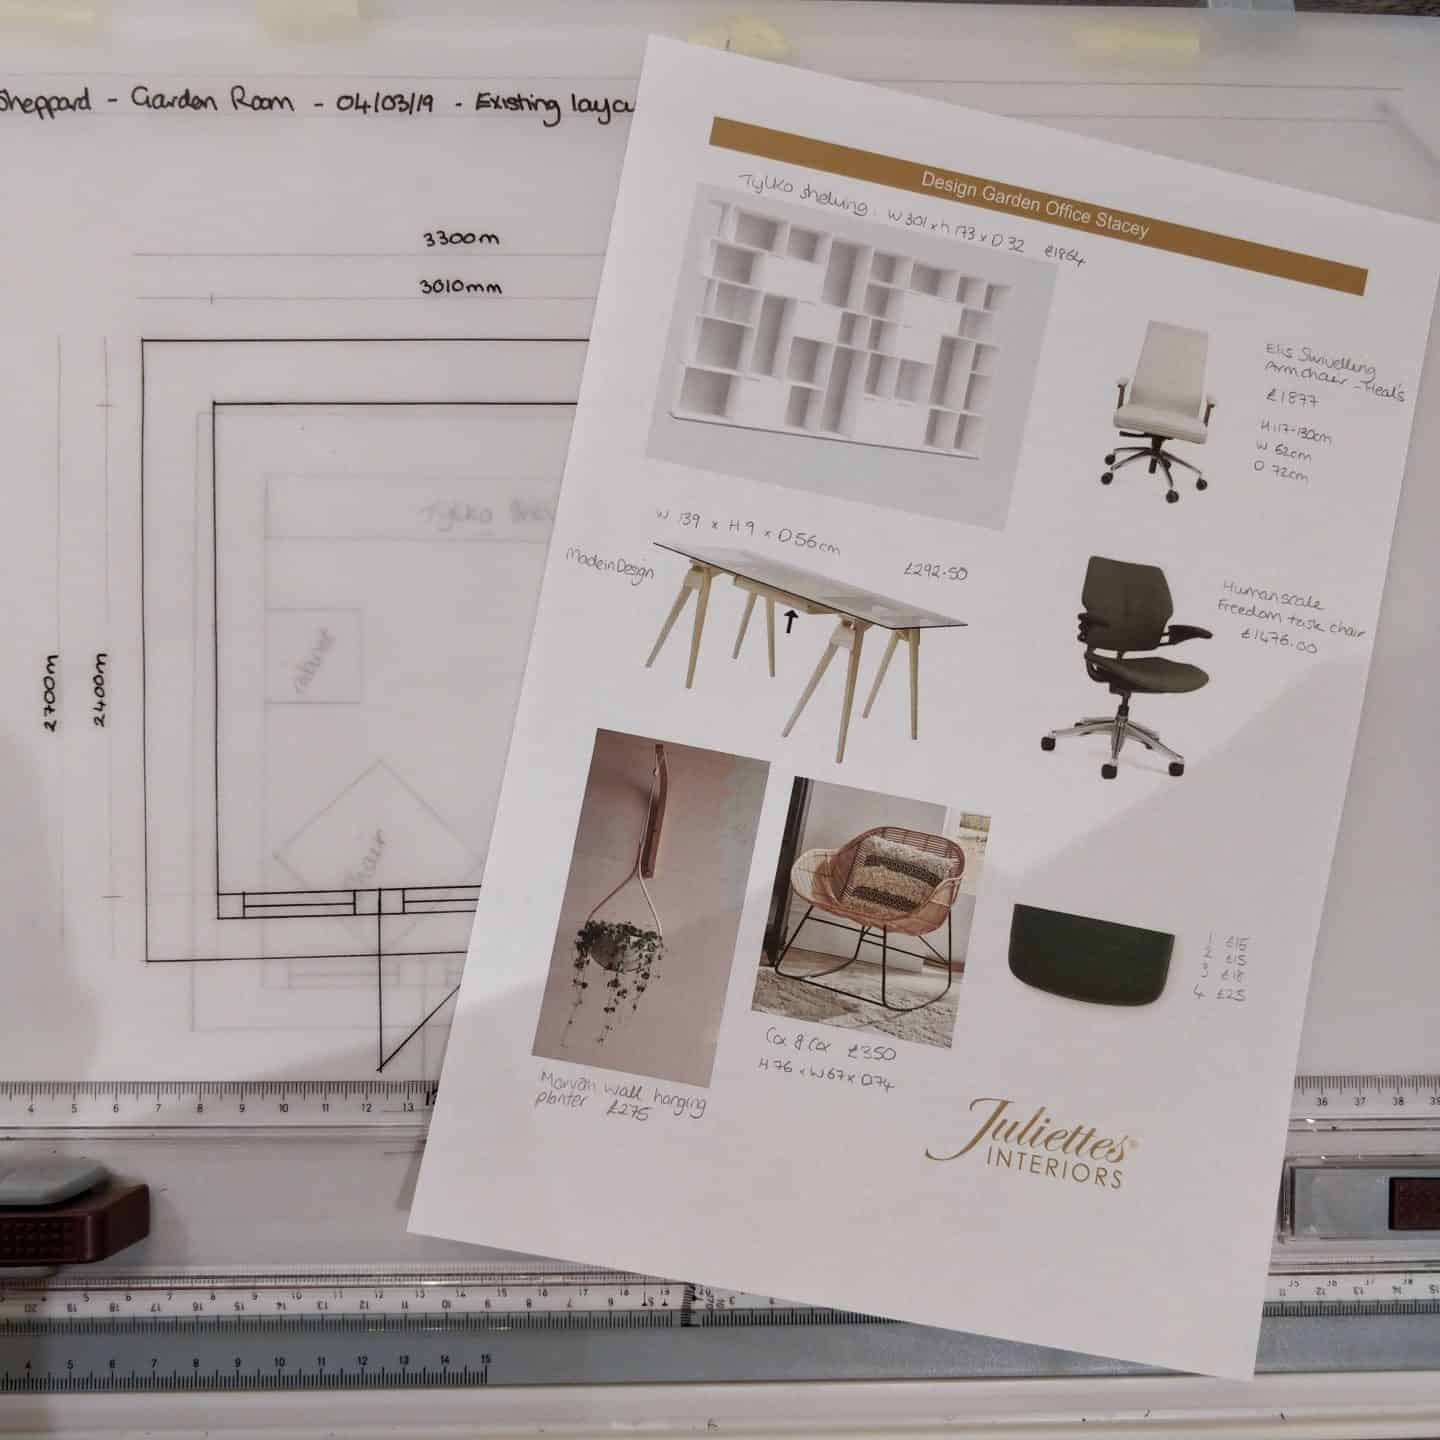
But I do think that this stage can be quite daunting if you don’t have a really good knowledge of the market, the products that are available and where to find them. You can spend hours browsing the internet and Pinterest for inspiration and this can take up quite a lot of time on the course which may have been better used learning something else.
I think it might have been quite nice to be given a list of brands, designers, retailers and websites that you can try when looking to source products for your project. Otherwise many people don’t know where to start. It could be like a little black book of interior design sources that students could go away with for the future.
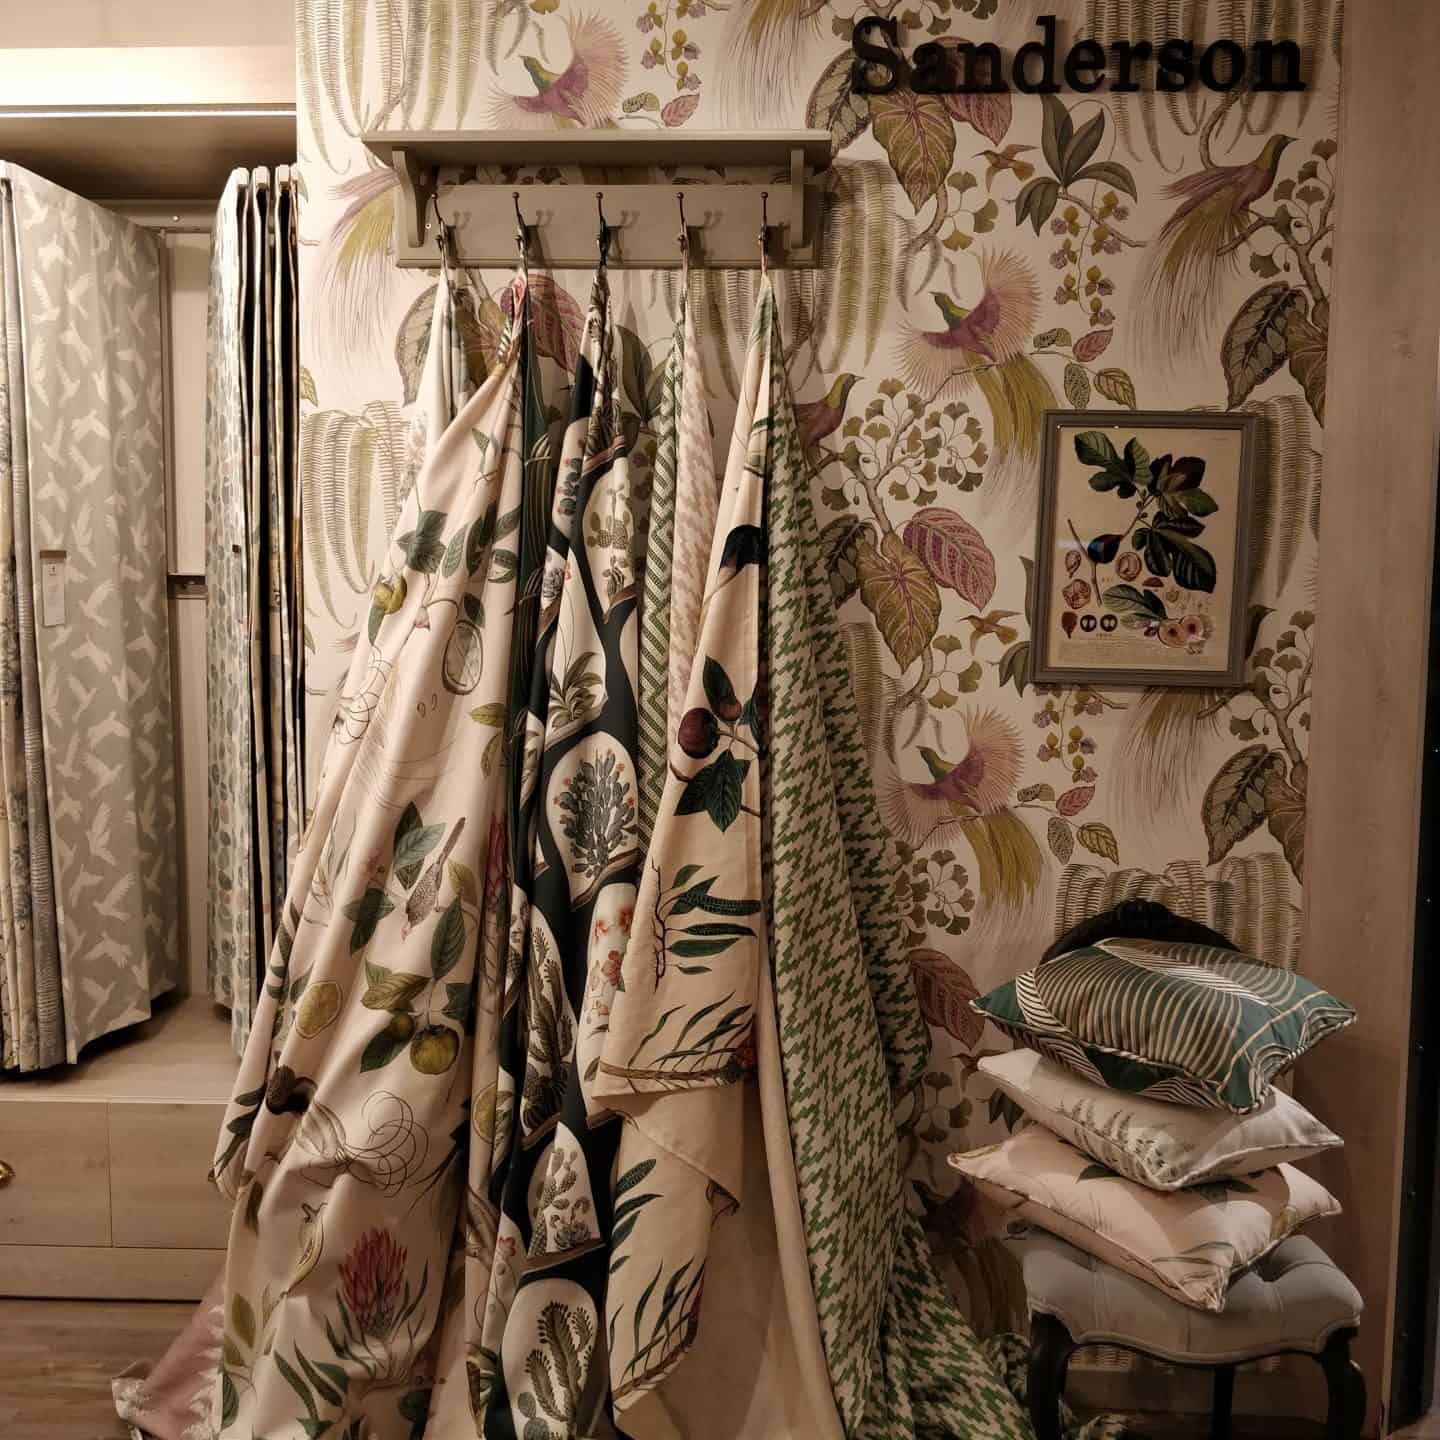
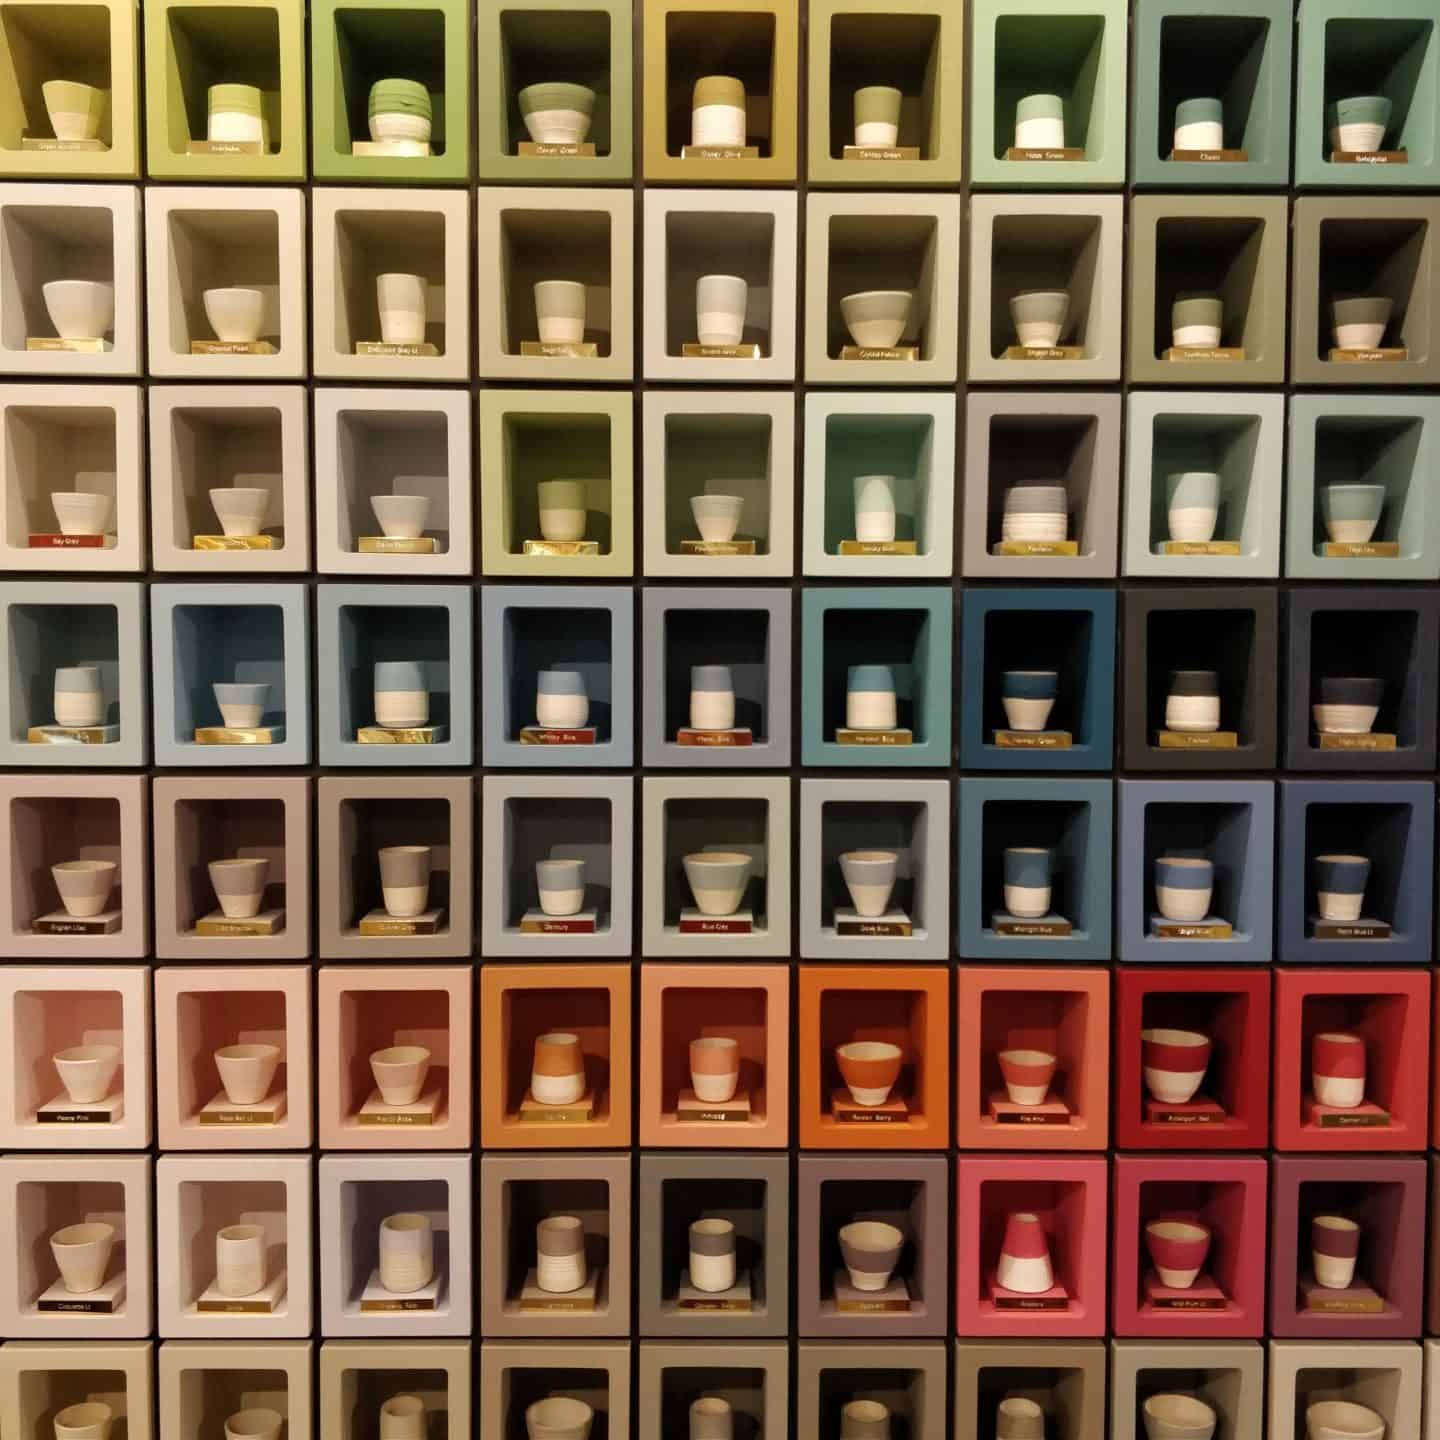
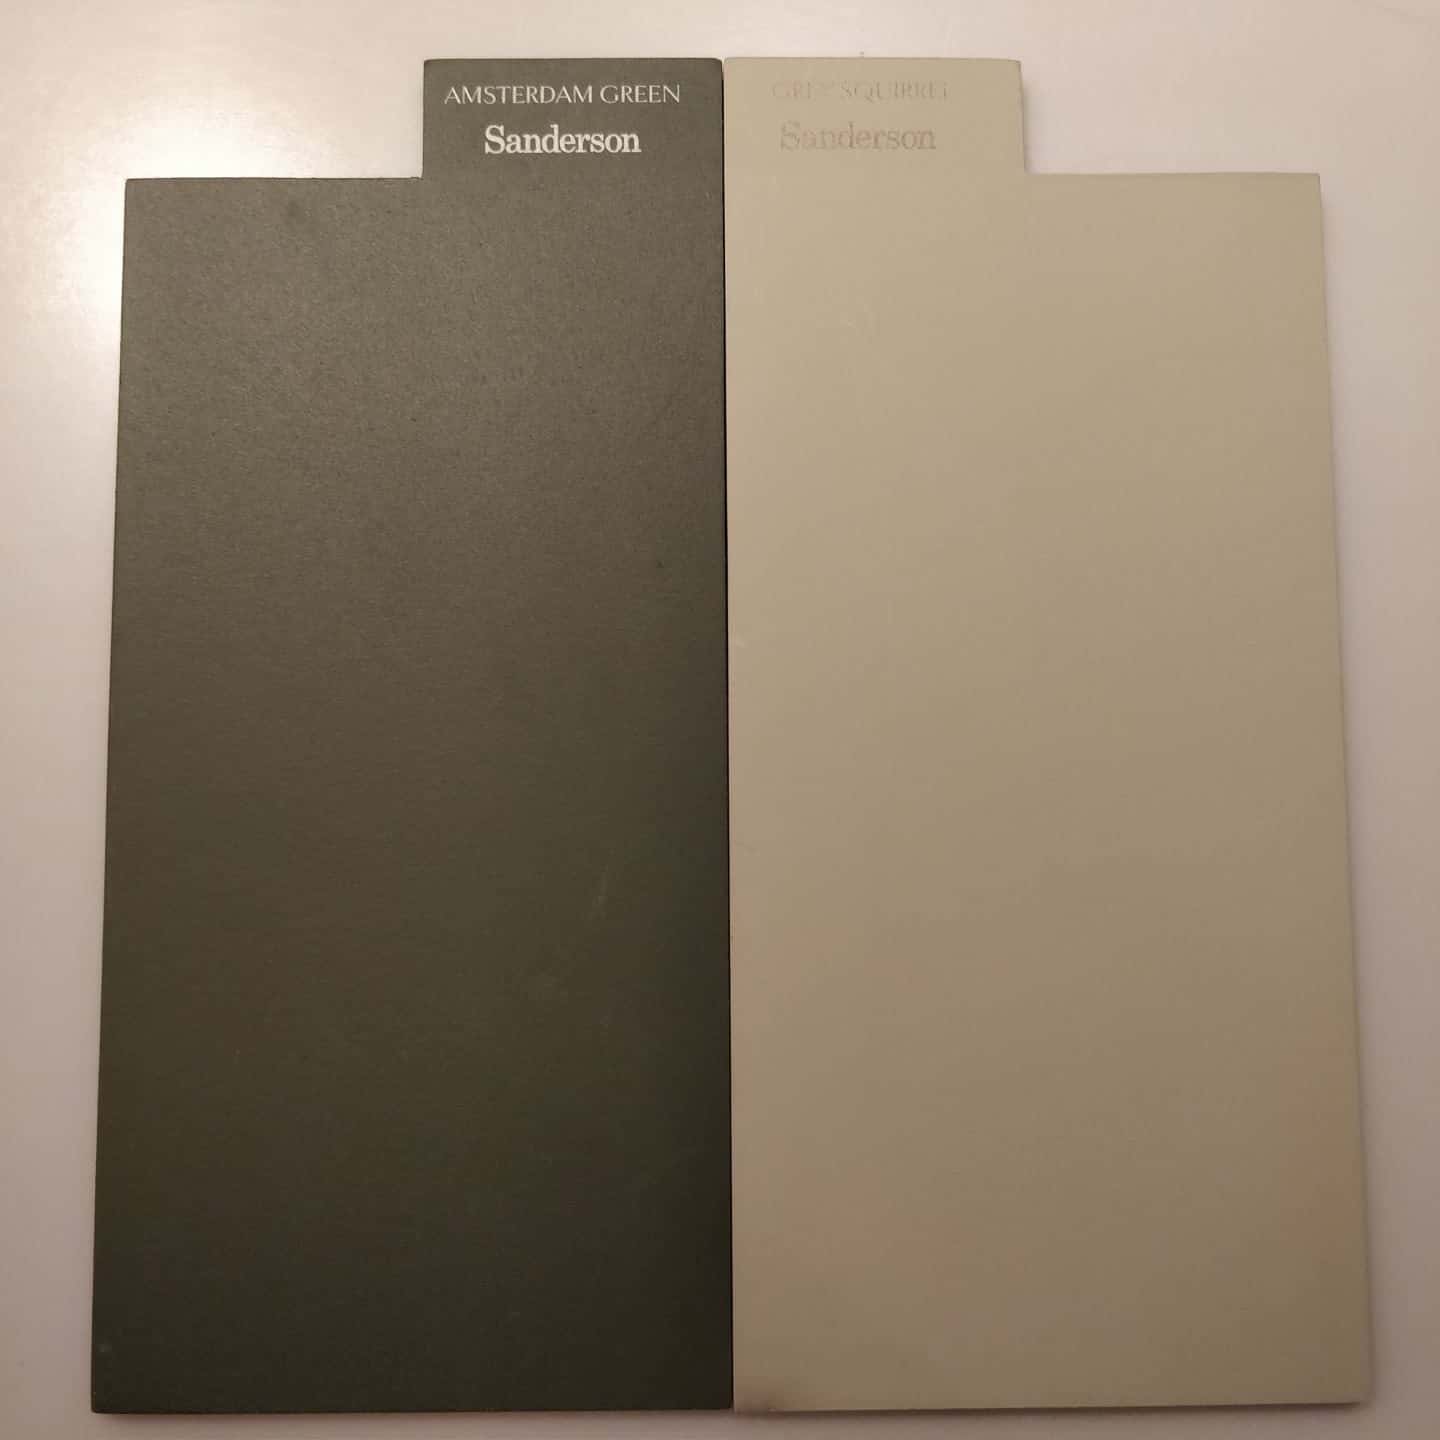
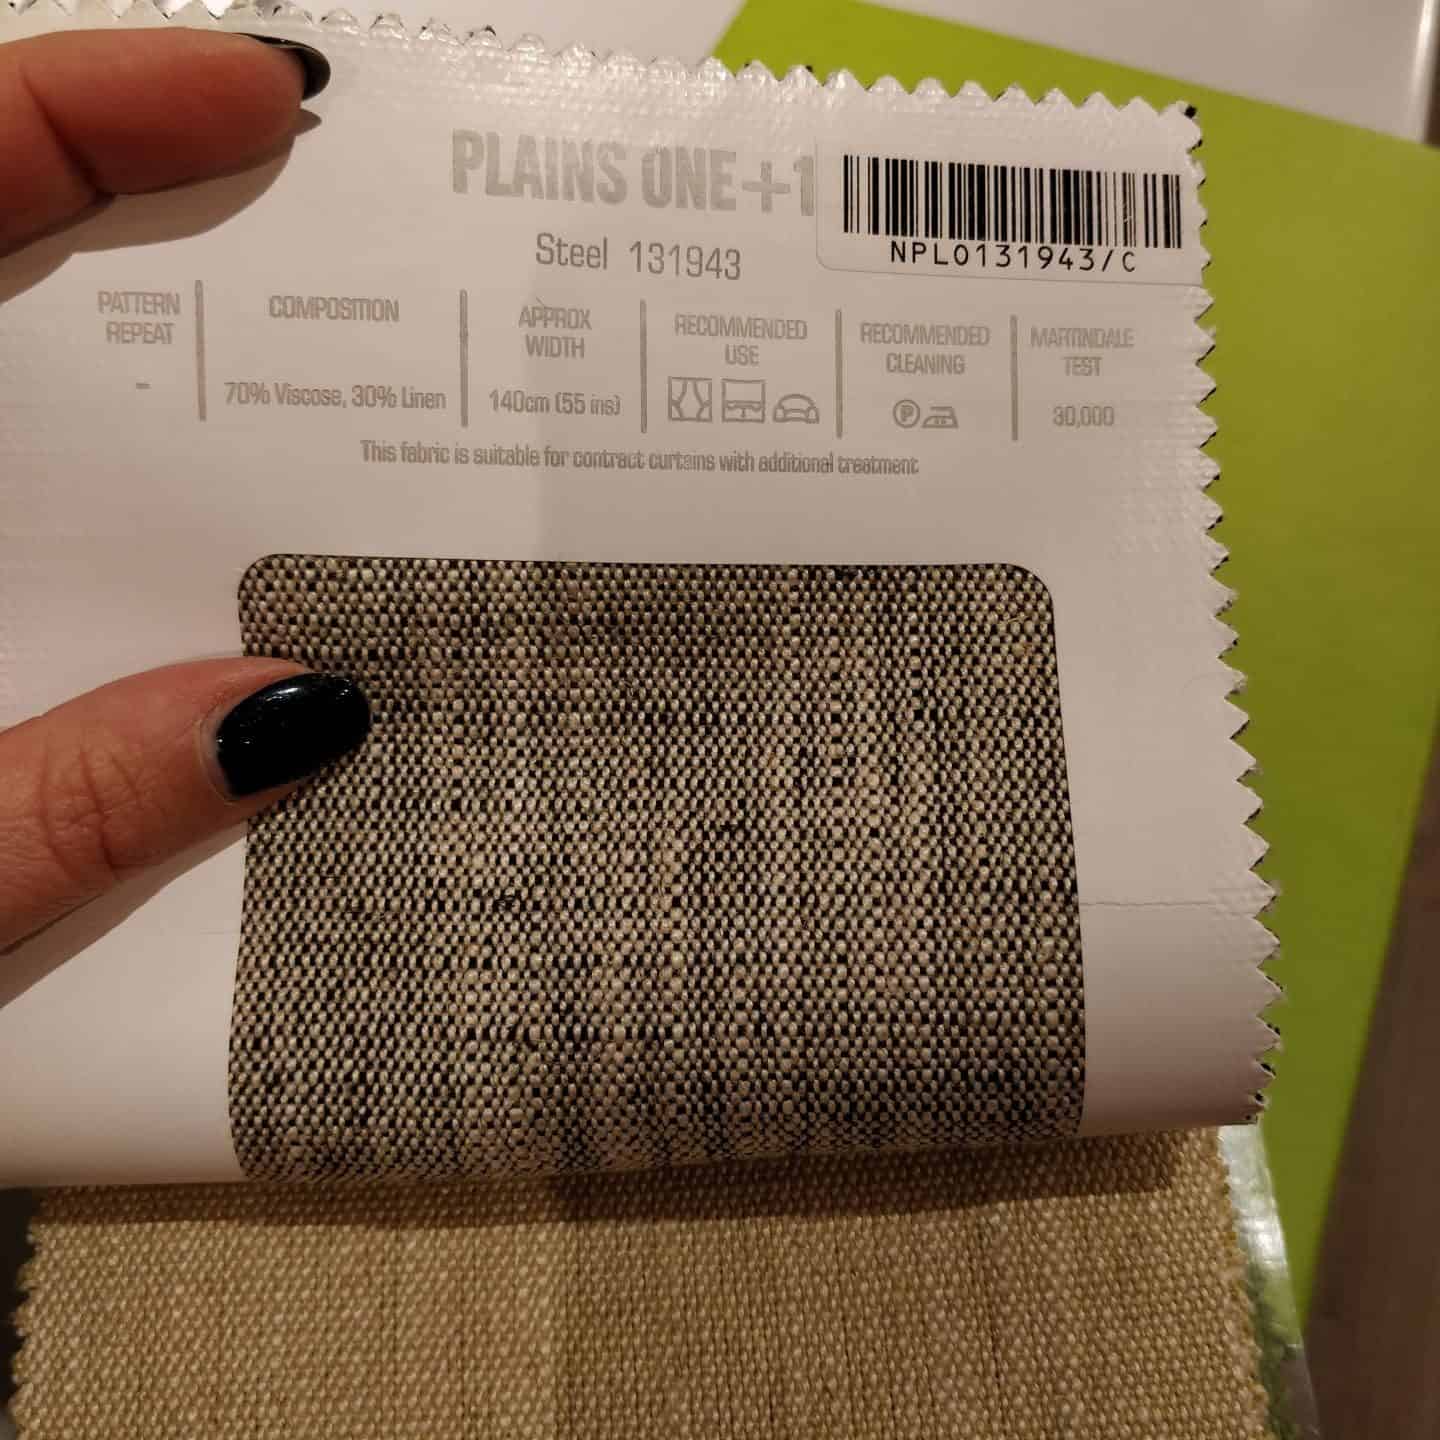
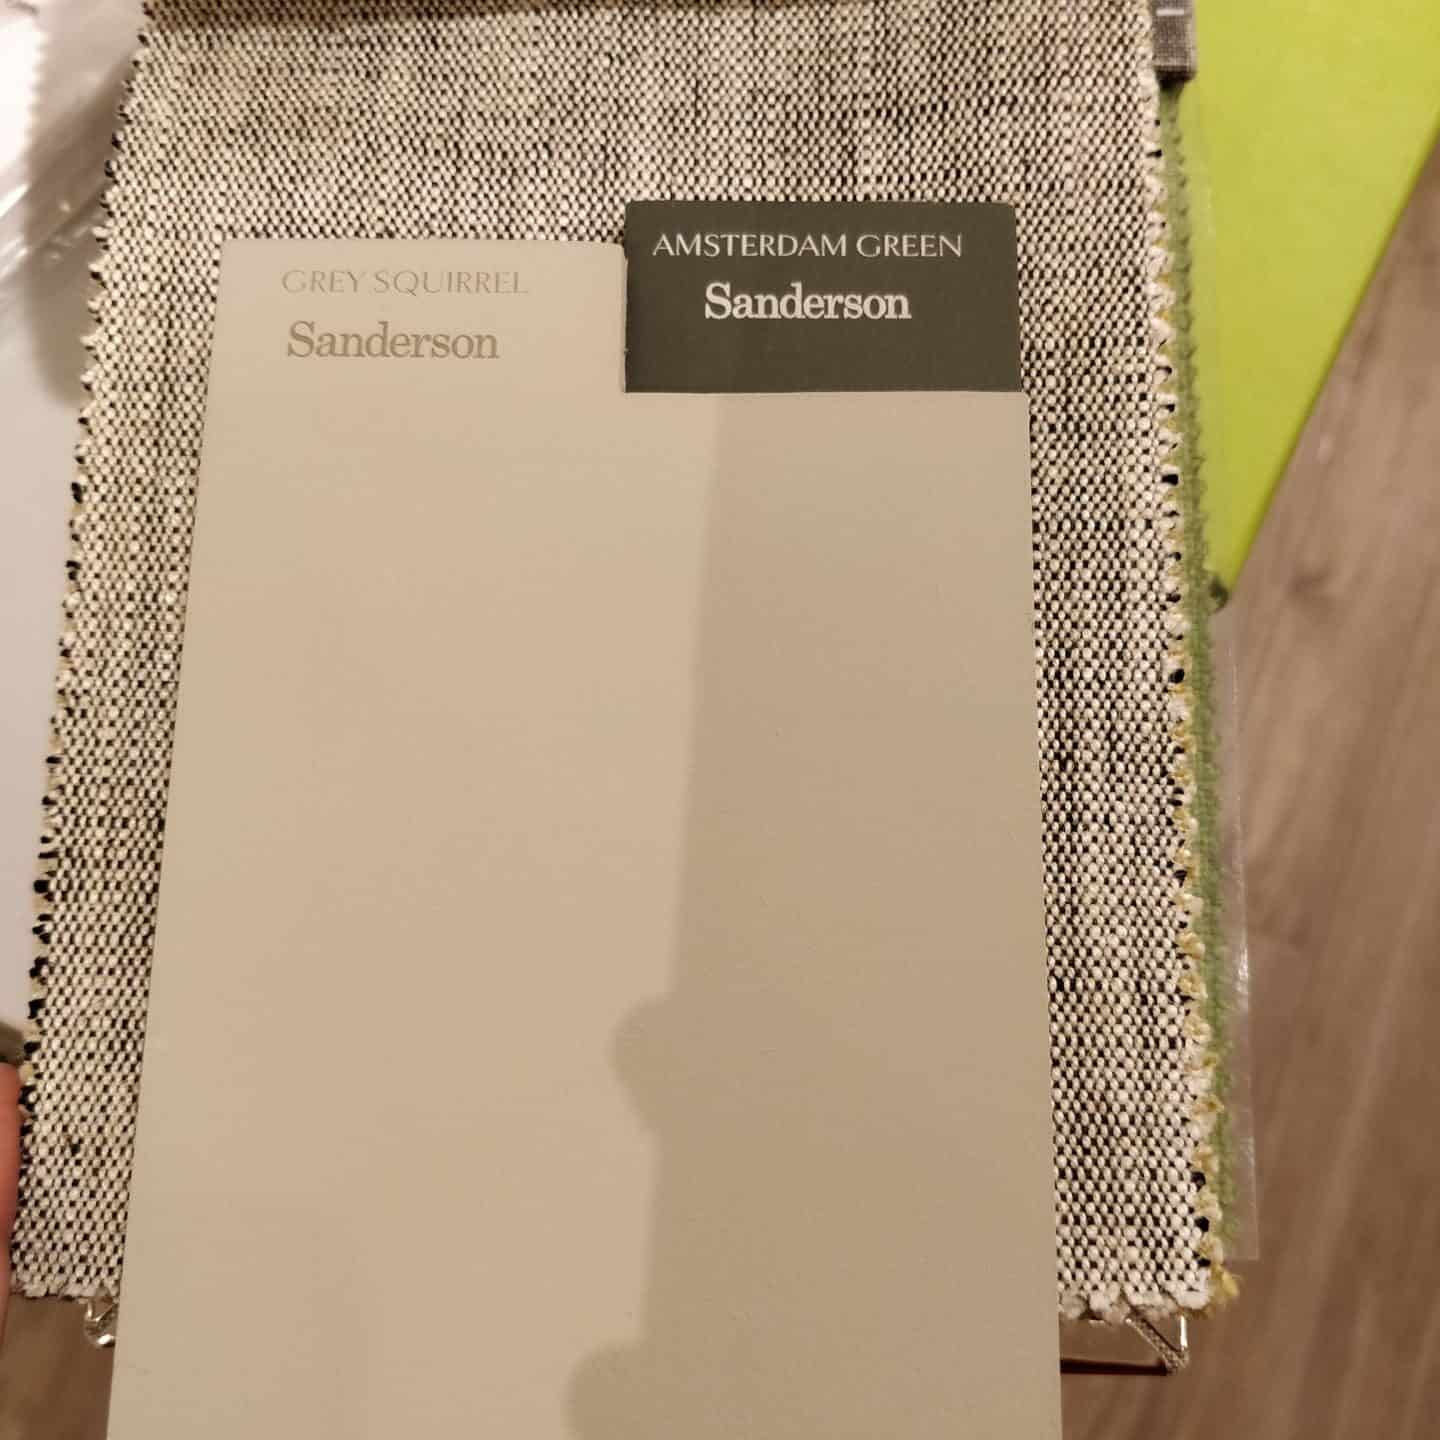
Once we had a good idea of the furniture that we were going to include in our schemes, we were able to venture out of Juliette’s showroom to explore Chelsea Design Centre. This was a really nice touch and allowed us to have a more hands-on experience when it came to choosing fabrics, wallpaper, rugs and paint colours. Looking on the internet is all well and good but being able to see and feel products in person really is invaluable. It also allowed us to pick up swatches to complete our mood boards.
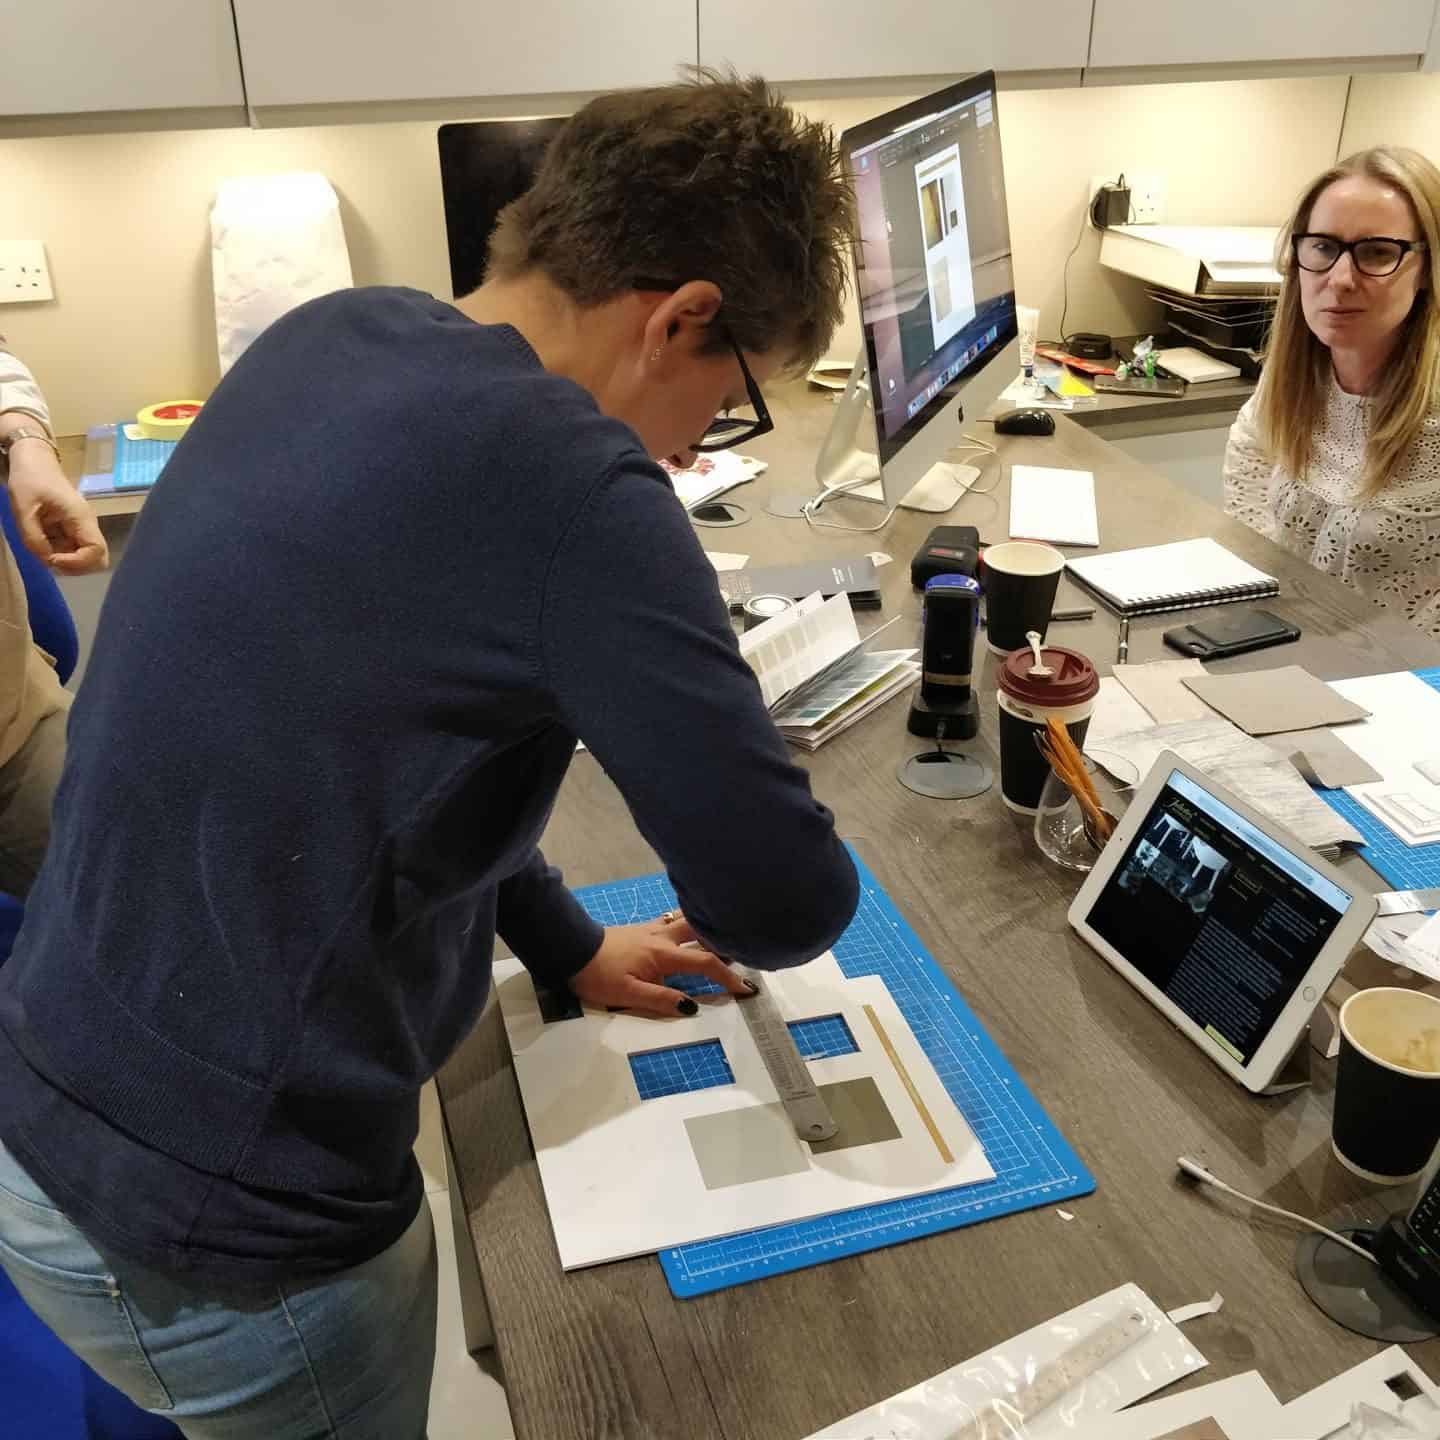
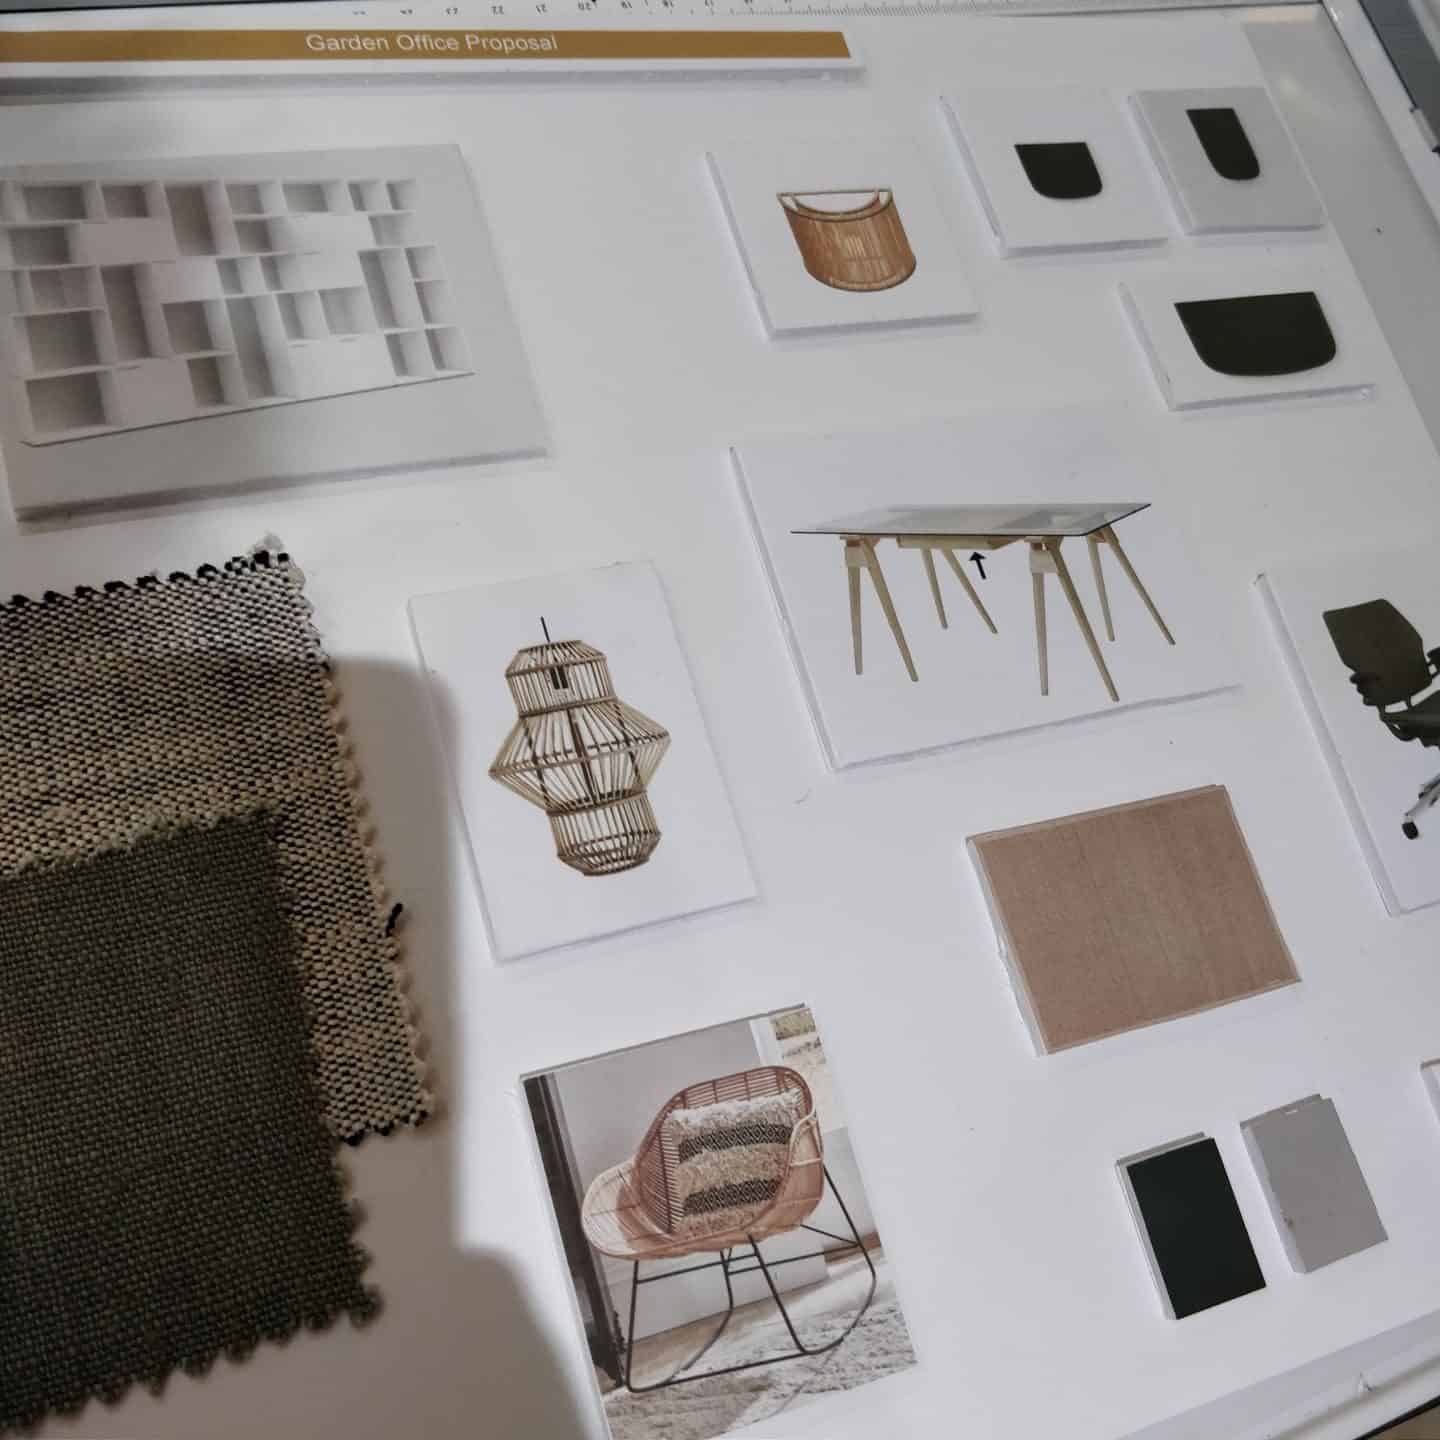
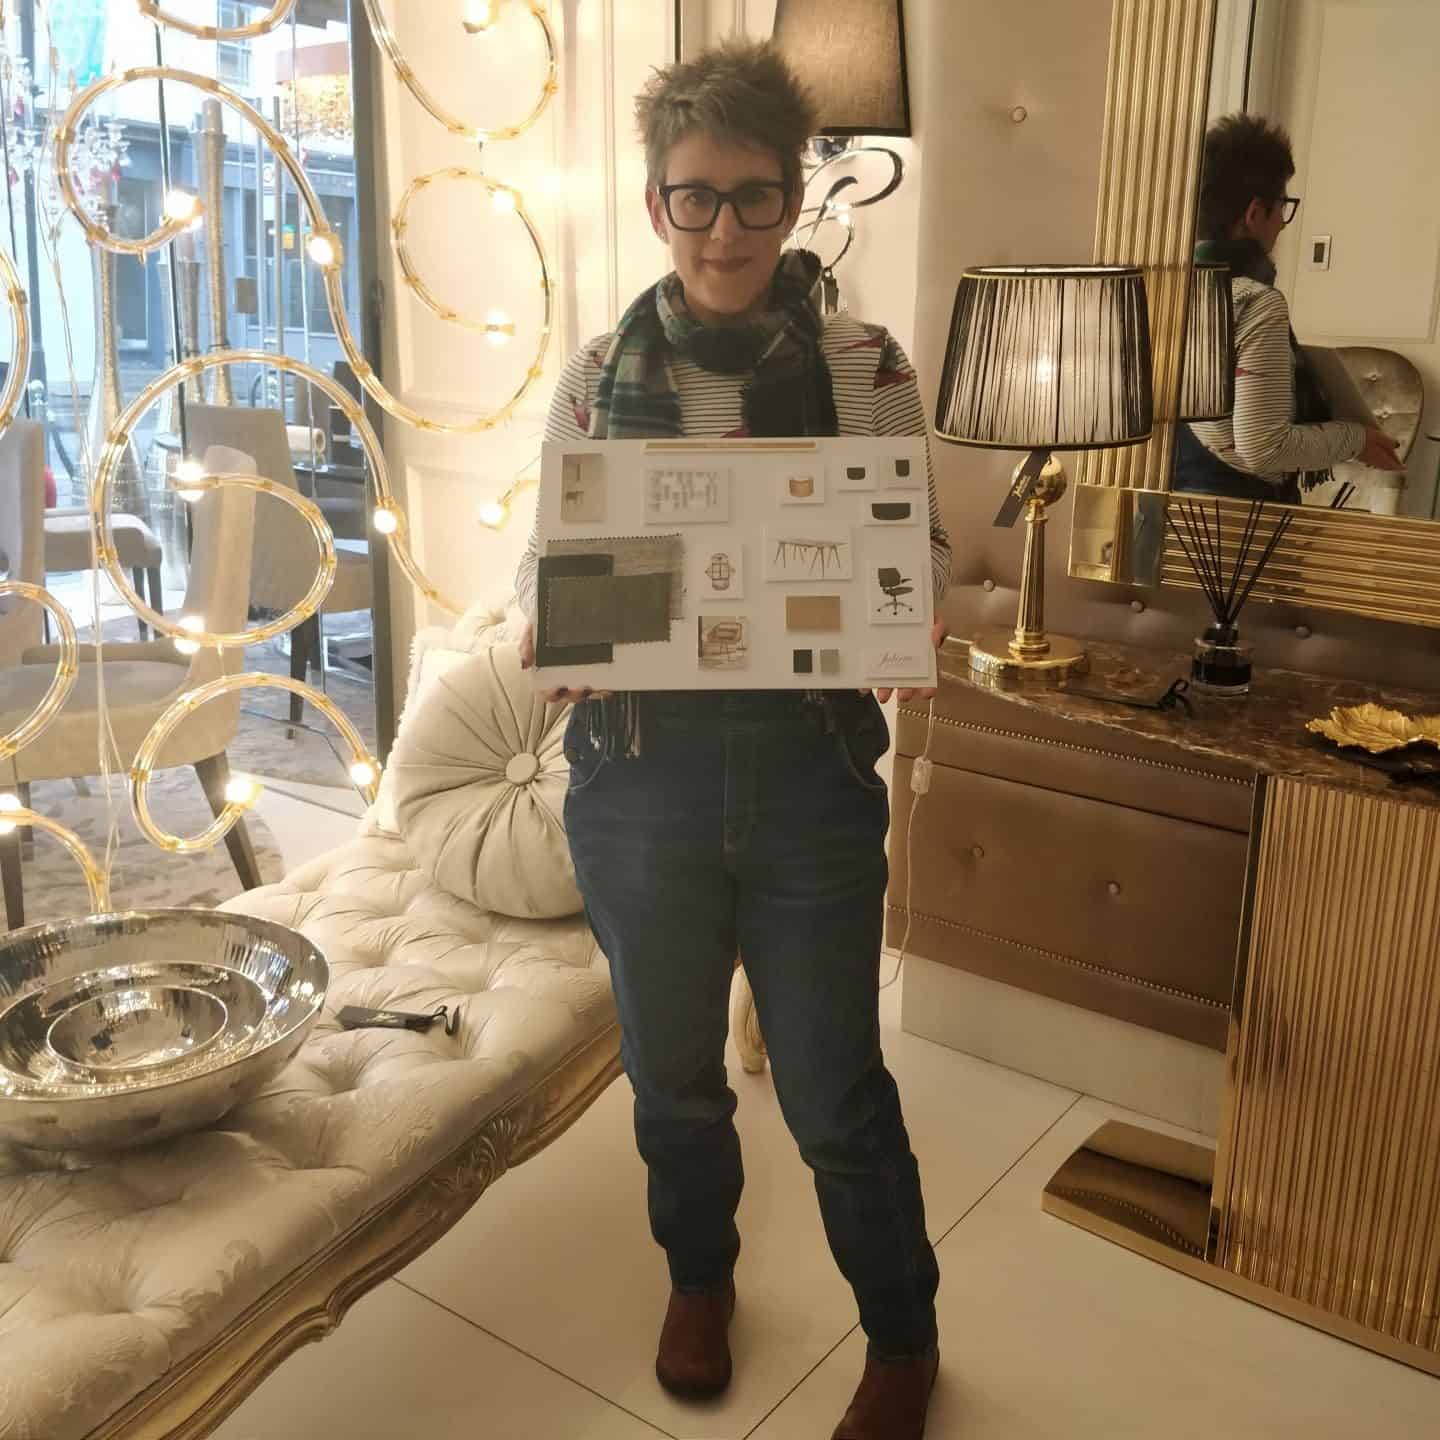
When it came to creating our mood boards, this is where we were really able to see how far our projects had come over the week. As we mounted our images and swatches on the foam board and stuck them all down, our visions for our room designs really came to life.
I’ve never been particularly confident when it comes to putting together a mood board but after this course, I can see that this is definitely something that I’m capable of doing and actually doing well. I will certainly be taking the skills that I learned on this course and making more mood boards in the future.
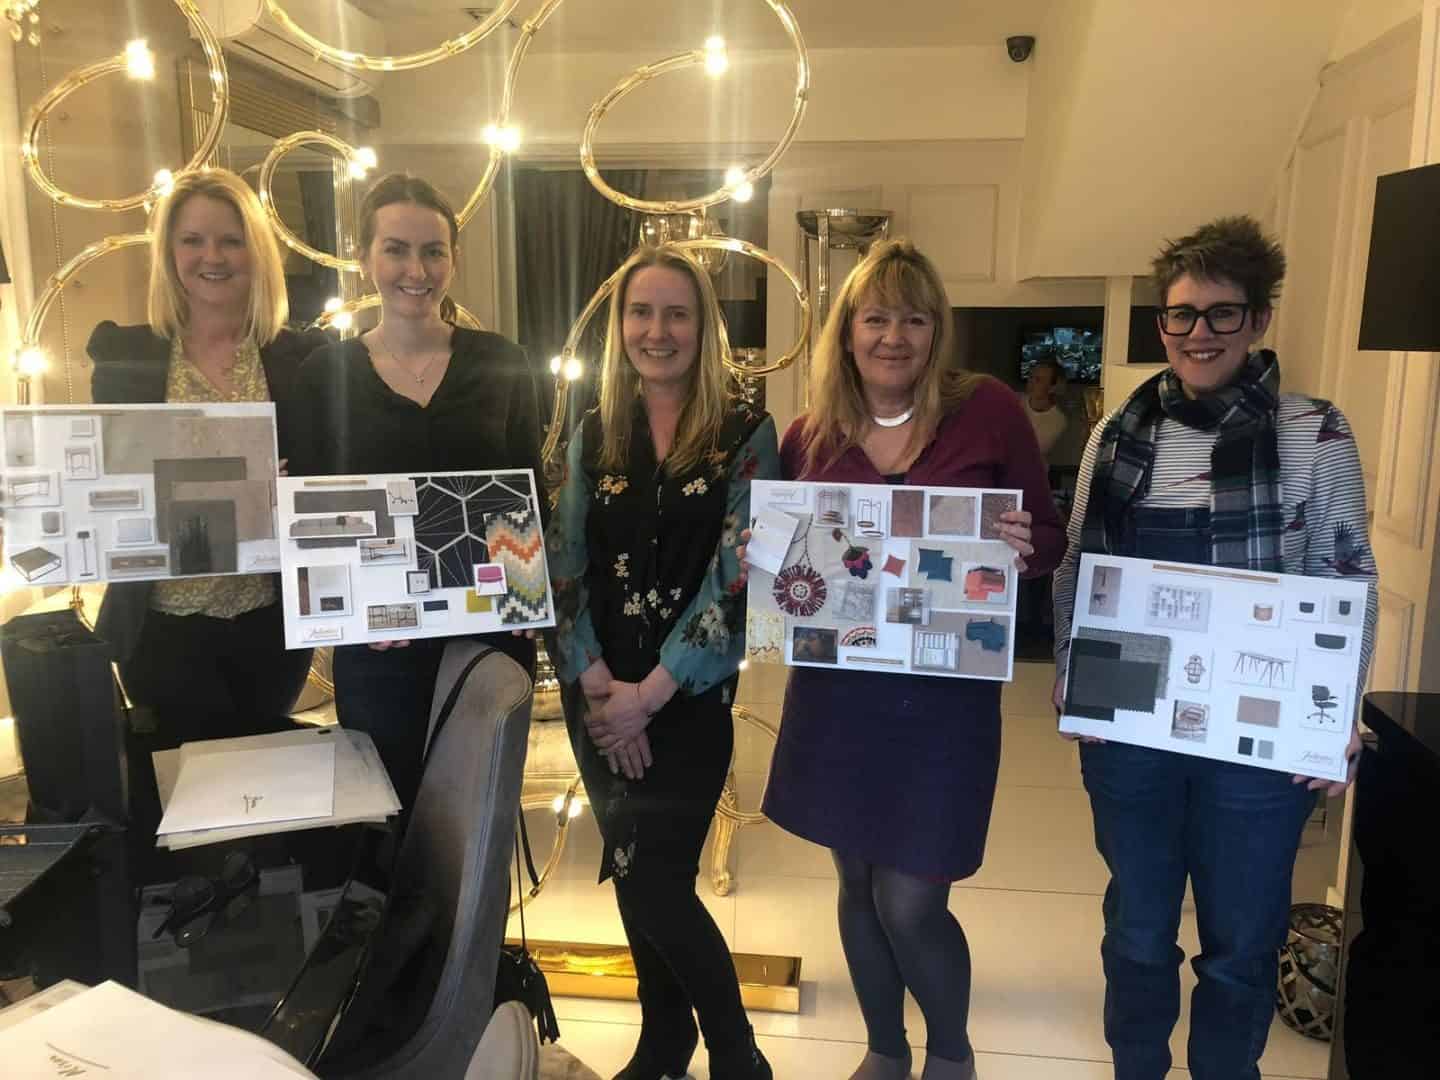
It was also fascinating to see the four final mood boards created by the students as it showed how completely different all the designs were. We may have all done the same course but we all came up with completely individual designs, in very different styles. To me, this just showed how successfully Juliette and Tanya had created a course that really catered to our individual needs.
There was plenty of time and opportunity on this short interior design course to discuss our own projects in very fine detail and ask very poignant and personal questions. Tanya was more than happy to discuss any issues that we were struggling with in great detail and offer her expert advice.
I really felt that this course was a great way to get expert guidance and insight into a personal project from a designer who works successfully in the industry. You are basically getting a bespoke appraisal of your design ideas and then receiving advice and suggestions on ho to improve it.
However, there were quite a few topics that I was hoping to explore in more depth but that we only really touched on very lightly. As this is a course for beginners, I had hoped that we would look at the theory behind choosing colours in a bit of detail. Many people are quite scared of using colour at home and having a bit of knowledge about how to choose colours that work well in certain rooms, in certain light and colours that go well together can really give people more confidence when it comes to experimenting with colour.
I would have liked to spend more time really talking about colours and how to go through that process of choosing them. I think people doing this course want to be pushed outside of their comfort zone and encouraged try something new or unexpected, so having that extra knowledge would be really helpful.
I also don’t think that we covered lighting in enough detail. Lighting is such a hard thing to get right but it can really make or break a room. It would have been nice to talk a bit more about the various types of lighting, what they are used for, how to layer them and incorporate them into one scheme.
We did chat casually about the lighting in our particular rooms but I would have liked to see a bit of theory included here that we could take away and apply to any future project and not just this one room we were working on.
Finally, I think window treatments could have been covered in more detail. As I have discovered, window treatments are actually quite a tricky subject and it can be really difficult to know what to choose for the best result. I think it would have been nice to look at this in more detail and explore the options for bay windows, double-height windows, windows that have radiators below etc.
Although we did discuss our own issues, I felt like it would have been useful to look at this from a more general point of view so that we felt equipped to tackle the window dressings in any room following the course.
As all of us on the course were there to design our own homes rather than branch into a career in interior design, some of the points on the itinerary were less relevant to us so we didn’t spend as much time on them.
However, Juliette did take the time to explain to us how she costs her own projects and advised how we can do something similar using a simple spreadsheet. She also explained to us and gave us examples of how projects can go wrong and how to minimise the risks. We also talked about the challenges concerning logistics and installation, particularly when working with suppliers aboard.
All in all, I had a great experience
I would have liked to learn a little more theory though that I could have taken away and applied to other room schemes and I did feel this was a bit lacking. I have obviously passed this feedback on to the team at Juliette’s and they have assured me that they are taking it on board for the next courses in April and June.
Juliette and Tanya are so approachable and so open, I am sure that if there is anything you would particularly like to cover during the week, they would be more than happy to incorporate it into the course for you. Just make sure that you mention this right at the beginning to ensure that there is time to cover it.
This is not a cheap course, costing £2995 for five days, so as with any large purchase, I recommend that you do your research thoroughly before committing. Ask questions and get assurances that you will be covering the topics that you expect. And set out your objectives right at the beginning so that the teachers know what you are expecting to achieve by the end of the course.

Yes, that is certainly true. Many of us are scared of experimenting with colours in our homes. The insufficient knowledge about variations makes us stick to some basic pastel colours only. If you feel, can you also give some ideas about the use of lighting and furniture solutions, possibly sometime in the near future?
Thanks for your feedback. It’s always great to hear content suggestions so I’ll make a note. Lighting is definitely something I need help with so I’m sure many others would find that post useful too.
Hi Stacey. Thank you so much for your very constructive feedback on the course. As this was our first Interior Design Course, we really welcome your suggestions and are now working on ways to incorporate these into our next two courses. It was great to meet you at last and we can’t wait to see your finished garden room.